It isn’t often that in the suburbs of Melbourne we get to see very much of the Southern Aurora, unlike our friends in Tasmania and south island New Zealand.
When solar activity is sufficient to create activity in the middle latitudes where we live then it certainly does stir up a degree of excitement. Only once have I seen a really strong aurora from the suburbs of Melbourne and that was when was just about 8 years old in 1957 or thereabouts.
I vividly remember going to the beach with my parents just a few doors down from where we lived in Black Rock to see the amazing sky show. A full curtain of waving red to pink light in the south-western sky certainly was a sight to see. No digital cameras in those days and film wasn’t an option either and it was black and white anyway.
Such as it was, the experience left a lifelong impression upon me.
Driven by the childhood experience, I was excited to have a wonderful trip to Norway and Iceland in 2014 where we managed to capture the Aurora Borealis (Northern Lights). Being in the Arctic circle in the Lofted Islands was an ideal place to see the lights. To get that close in the Southern Hemisphere we would need to head for Mawson or Davis Antarctic bases to see images like this.
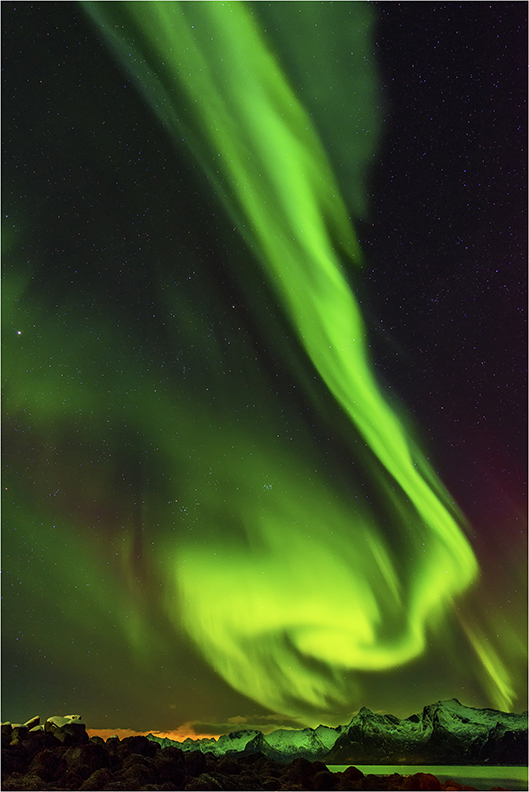
Aurora Borealis – Lofoten Islands, Norway
With rarity comes desire so whenever there are sightings in Tasmania or here on the mainland it is a photographer’s dream to capture even a glimpse of Aurora activity. Last night was just one of those occasions. With predictions from Space Weather Live www.SpaceWeatherLive.com I was prompted to have a casual look at the sky to the south from our balcony.
With a pale dim shadow in the sky, the only way to confirm that what I could see was actually aurora activity was to photograph it and inspect the image for a showing of green colour. Here is what I saw.

Looking south over the rooftops
That meant action, and the race was on to prepare the gear, grab a coat and hat and head for the nearest clear view of the horizon. By the time I managed to set up at Rickett’s Point, the nearest location, half an hour had elapsed and just about all evidence of the green glow had dissipated. In typical aurora fashion, where you need to expect the unexpected, two bright shafts of light appeared in the south-southwest. Luckily I had already sorted out focus and exposure and managed to capture this image before everything faded.
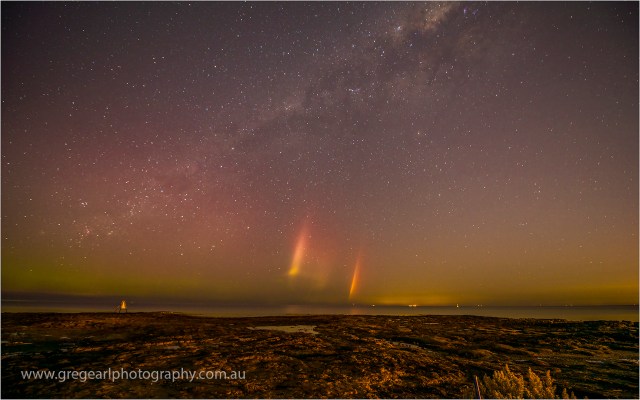
View SSW at Rickett’s Point, Beaumaris just before midnight.
With prior sightings in Norway, Iceland and New Zealand, this is the first time in nearly 58 years that I have managed to see the southern lights from my home town. Nothing as spectacular as what I saw in the northern hemisphere, however, a sighting that means so much in nostalgia terms that it is every bit as special.
If you would like to attempt shooting the Aurora here’s a few tips.
They are unpredictable as to whether you will see them or not as clear skies and no moonlight are really needed to have a chance. Solar activity has to occur and the blast of plasma from the sun has to strike the earth at a time when there is darkness in order for you to see the effect. Sometimes its directed more to the north pole so we miss out altogether. The best way of knowing if there’s a chance is to subscribe for email alerts from Space Weather Live in the link above.
You will need a decent SLR camera that can handle higher ISO settings, a tripod and preferably a cable release. Set the camera to manual focus and focus on infinity using a distant object. Auto focus usually won’t work in the low light. Set the camera to manual mode with a shutter speed of 15 seconds and an ISO of 1200 with the aperture at around f2.8 to f4.
If your image is too bright then lower the ISO setting. If it is too dark then expose for longer, say 30 seconds. Do not exceed 30 seconds otherwise the stars will streak as they move during the exposure.
To the naked eye you may only see a pale grey-greenish hue but your camera will detect all the light and colour present that the rods and cones of our eyes are unable to see.
You will be amazed at your skycapes even if there is no aurora.
Happy shooting.


 Looking at the people was just as interesting. I guess this lady in the passing bus was just as amused by two strangers in town walking around with big cameras. Her expression was classic.
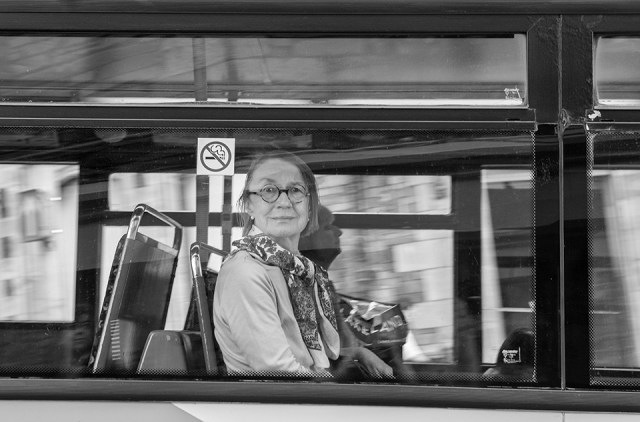
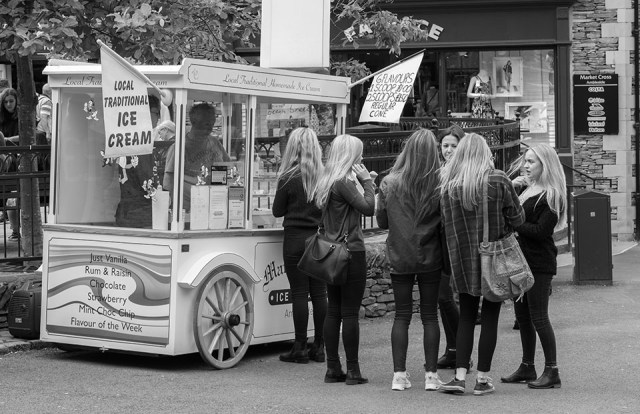
 A mild 12 degree (54F) day for us, but no doubt quite summery for these parts of Cumbria, saw the ice cream vendors doing a steady trade.