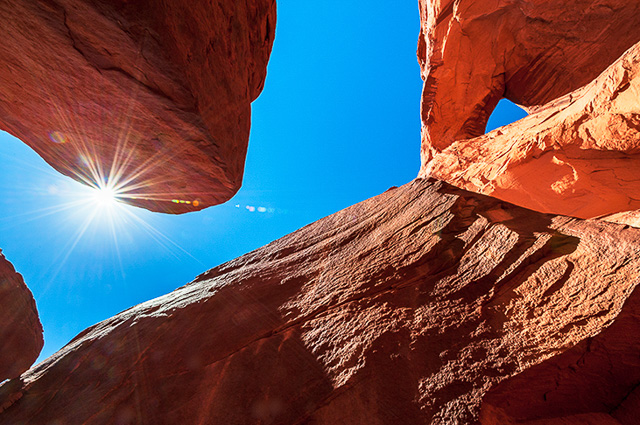
Adding The Finishing Touch To Your Images

When artists create paintings and display them in a gallery, they present their work in a way that is flattering to the subject. Mounted, framed and hung in amongst other works of art.

Likewise, when a diamond is found in its raw state, it is cut, polished and mounted to maximise its qualities of colour and clarity before being displayed as a piece of jewellery.

In the digital age of photography, we can also present our images in a manner that is becoming of the love and attention imparted in them during the post-processing stages, the pre-visualisation, the depth of feeling experienced at the time of shooting the image, and the amount of emotional amplification applied, are no different to the jeweller or the painter. When all is said and done, collectively, we are all artists using different mediums to show our work at its best.

A simple, wide border, placed around a photograph is one way a finishing touch can be added to draw the viewer to concentrate within the image itself. Sometimes it can be desirable to add a title and the makers name as well, I can show you how that can be done too.

Like most things with photographic editing, there are usually several ways of achieving the same outcome. It really boils down to using the method that suits the task and is easy to achieve – as long as you know what it is that you want to achieve. Sometimes that in itself is not always quite so obvious. I’ll now walk you through my process from start to finish.

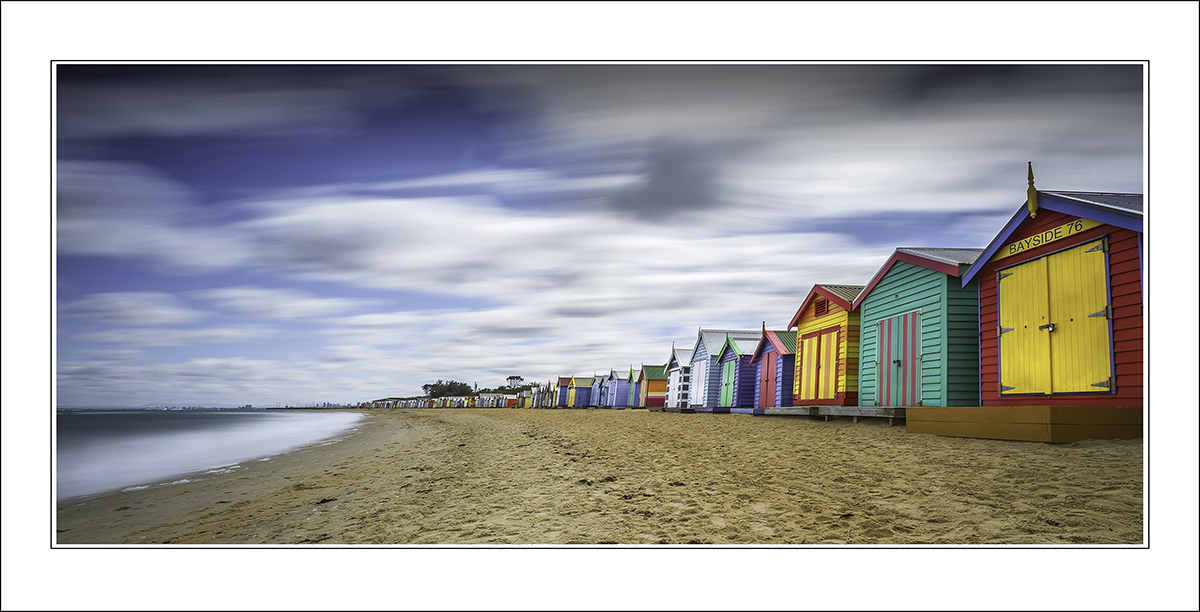
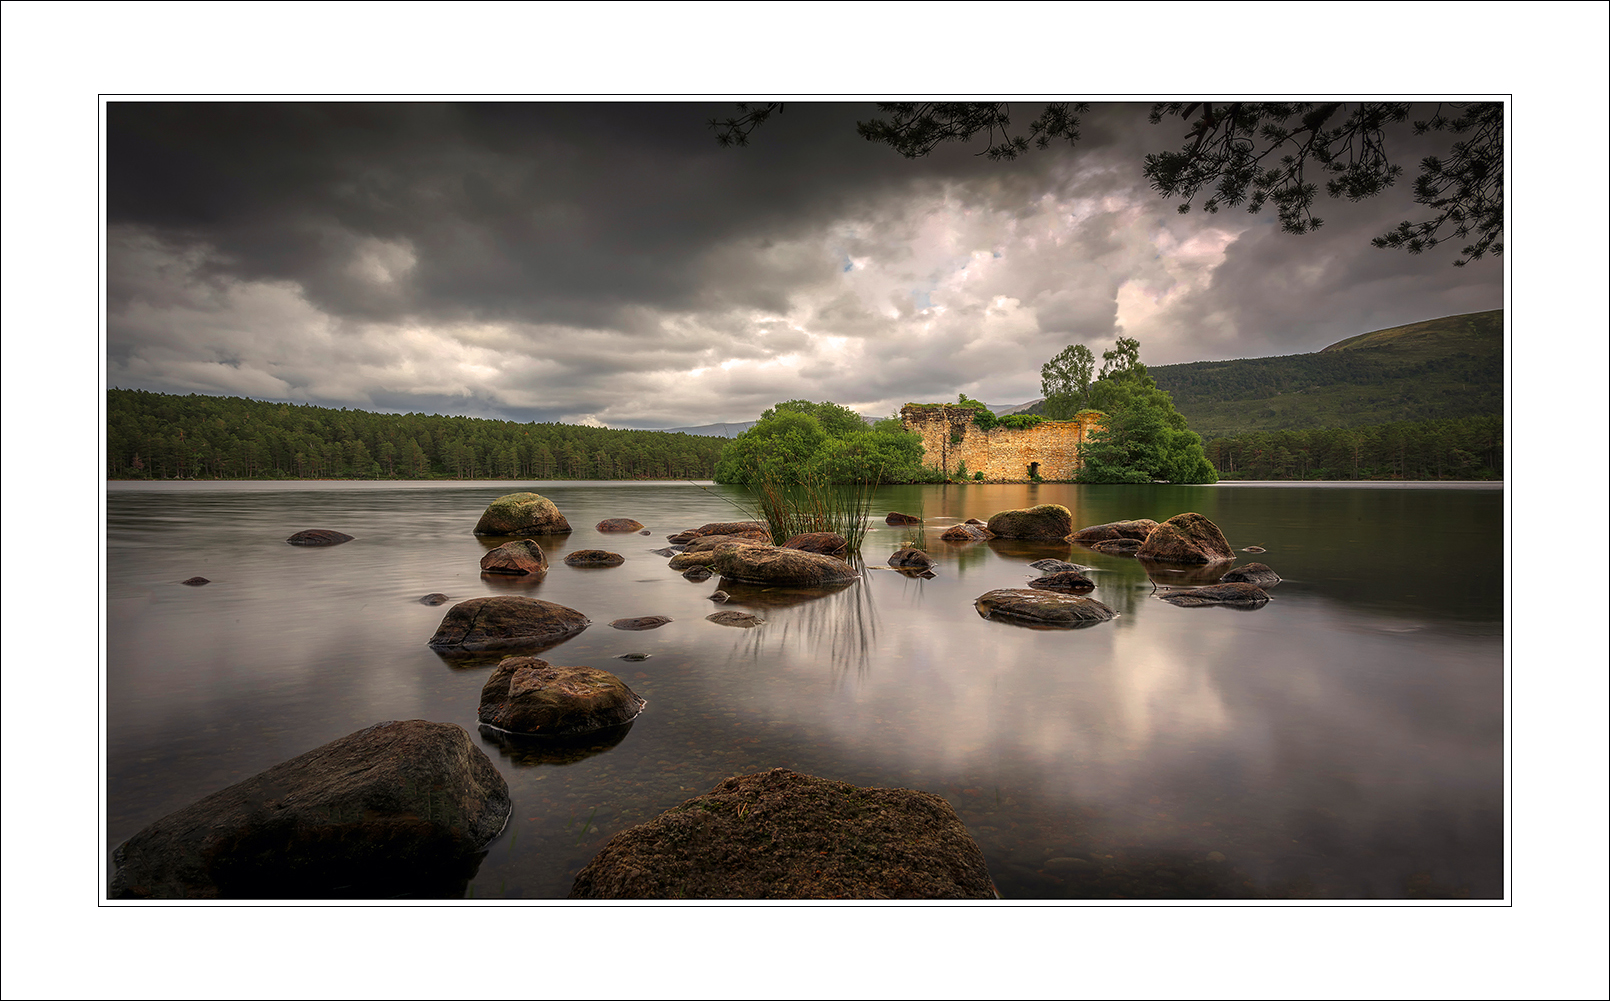
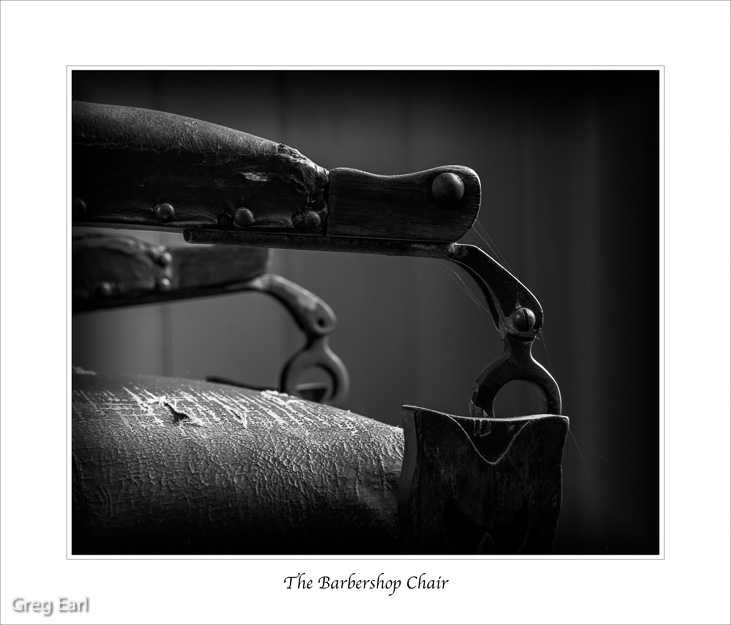
The following steps will illustrate the method I utilise to place a wide white border around an image. This border is outlined with a fine black edge so it will stand out on a white background such as a projector screen or in a book. The image is further enhanced by a second black line set much closer, only 3 or 4 millimetres away.

I always do all my editing firstly in Lightroom, then Photoshop, and save a copy before adding the final touch of adding a border. The border is applied in Adobe Photoshop 2020 in my case.

The steps…

  • Increase the canvas size.

1. In the top menu bar go Image > select canvas size in the drop down menu box

2. Change from Pixels to Percent and make the longer side 120% and the shorter side 130% 
3. Make sure the canvas colour is WHITE (or any other colour if you’d prefer something different to white) and click OK


4. Your image should then look like this
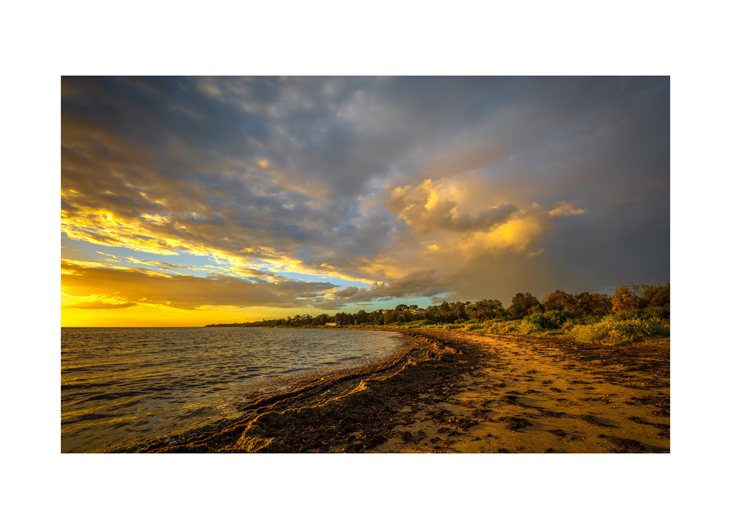
The image above has a white border but is not visible on a white background.

5. If you want a black edge to the canvas for showing on a white display screen such as a projector.
Select the Marquee tool from the tool bar and drag it diagonally from corner to corner.> This will give you what I call “marching ants” as shown below.

6. Next step, from the top menu bar go > Edit > Stroke and the drop down menu example will appear.
7. Select Width 3px (or wider if you so choose, I only want a fine line) > Colour black > Location INSIDE (not Centre or Outside) > click OK 

8. Next, click the cursor just outside the image and the marching ants will change to a 3 px wide black line as in the image below.

9. Using the Marquee tool again, draw another set of marching ants 3- 4mm outside the photograph by draging the mouse diagonally across, making sure the spacing is even on all sides. Release the mouse button as in steps 6- 7 above to achieve the marching ants as you see in the image below.

10. Next, click the cursor just outside the image and the marching ants will change to a 3 px wide black line as in the image below.

Finally, use the Horizontal Type Tool if you wish to add a title to the image.
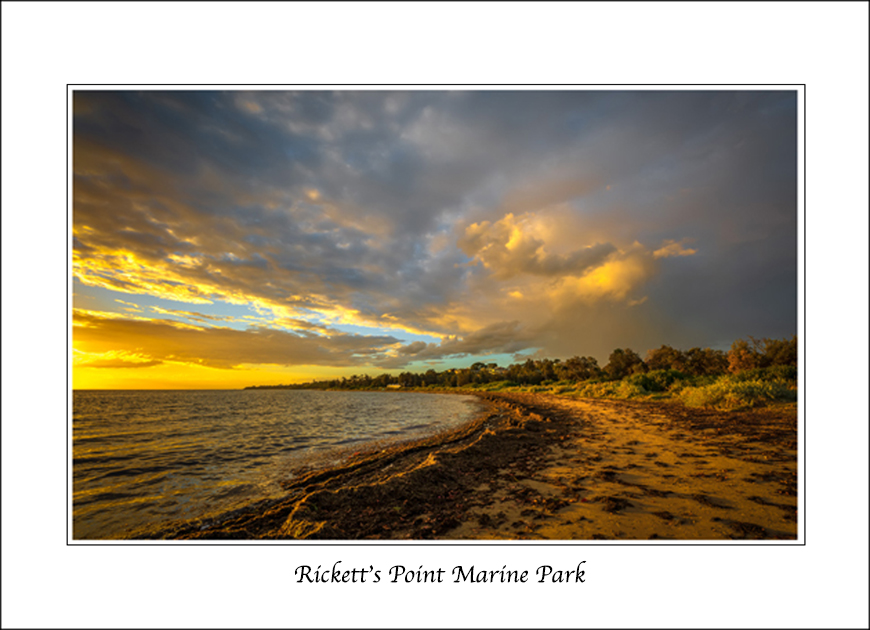
In Closing: Not every image requires a wide border nor a descriptive title. I have shown you how I achieve the outcome that I desire for special presentations. As I said at the outset, I’m sure there are several other ways to achieve a similar result. Find the method that best suits your workflow and stick with it.

Greg
Sun-stars can add Sparkle to Your Shots

Especially when travelling, you aren’t really in control of the lighting you are going to encounter. One little trick that was taught to me when I first started travelling and doing workshops with my good friend, Ian Rolfe, was the technique of shooting sun- stars.
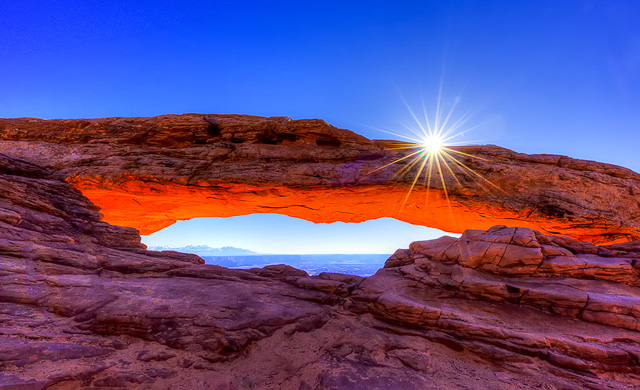
Any time that there is a facinating subject, particularly in a landscape, and you are faced with having to shoot into the sun, this technique can be used to great advantage. Like all things, it’s a case of doing it well and doing in moderation. If all your images in a series included a sun-star, it would quickly become boring, rather than adding variety and interest.

_GNE2139 Blog-2

Mesa Arch, Utah, shortly after Sunrise

Firstly, let us understand what we are trying to achieve. 

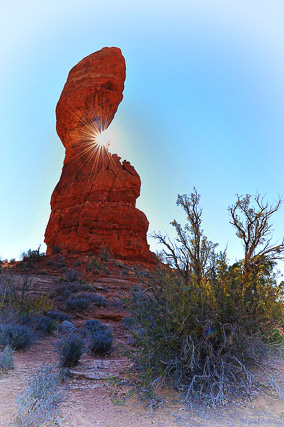
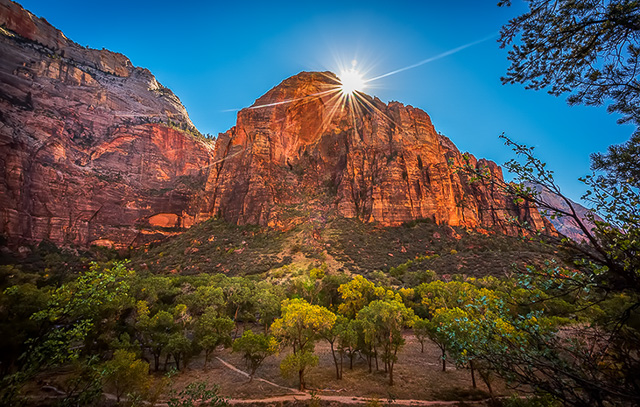
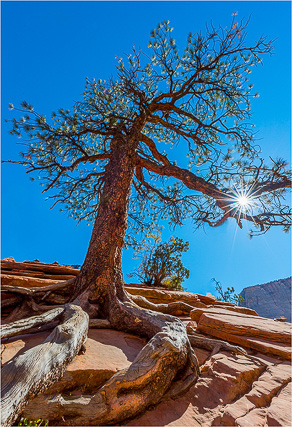
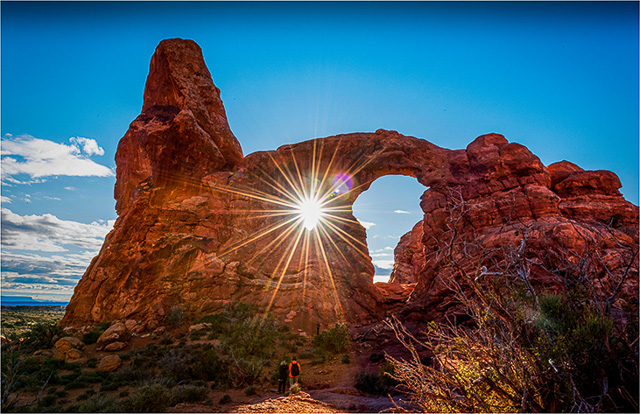
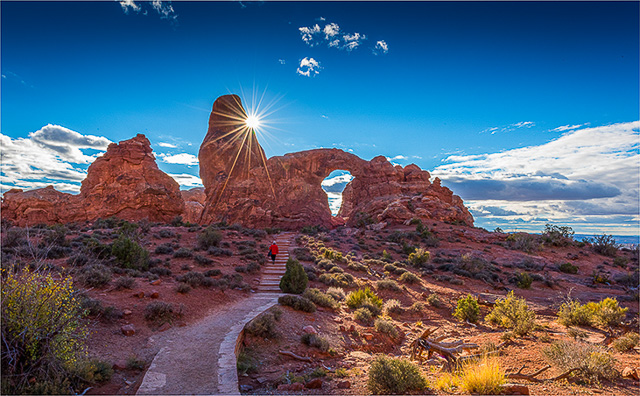
We want the sun to be included in the shot but in a way that causes the light to be diffused by the diaphragm of the lens, allowing leakage of light to occur around the diaphragm’s blades. This leakage creates the star effect without full-blown glare.

GNE_8631 B H

Balanced Rock, Arches National Park, Utah

How do we achieve this effect?

Two main criteria come into play to achieve the star effect.

  1. A very small aperture of at least f16 or even smaller, f22 if your lens shuts down that far. Some may argue that as a result of using the lens’s smallest aperture, diffraction will cause degradation of the rest of the image. If that worries you, take your lens to its smallest aperture then open it up one stop as a compromise.
  2.  The sun must be partially obscured at the moment the shutter is pressed. Ideally, you only want about half of the sun peeping out from behind the subject. This makes using a tripod very difficult as the sun appears to move very quickly. No sooner have you aligned it, and it has moved too much. Hand-holding the camera and moving the body slightly seems to be more productive.
_GNE0547 Zion Blog-2

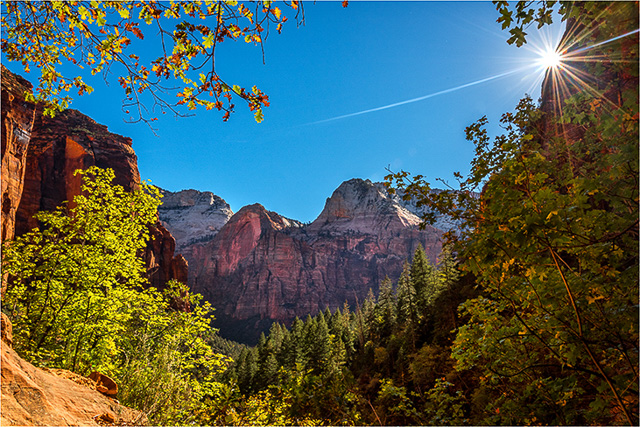
Zion National Park

_GNE0754Blog-2

Wide-angle lenses work well

_GNE2122 Blog-2

Arches National Park, Utah

Lens flare can often add to the desired effect. If you find flare objectionable, be prepared to do some careful editing of the image to remove it later. This can be very problematic, depending on the particular image. It is always worthwhile taking several shots at the time of capture then choosing the easiest one to work with later.

_GNE8778 Ed.Blog jpg-2

Be prepared for lens flare

Clean your lens frequently as any slight amount of dust or salt spray will add to your woes and create unnatural looking blobs of flare. Bulbous front elements of wide-angle lenses are notorious for this.

_GNE2107 Blog-2

Arches National Park, Utah

_GNE0520 Emerald Pools Zion Blog-2

Zion National Park

Have fun experimenting along the way and keep this easy-to-master technique in mind next time you find you wish to add a little variety to your work.


88.3 FM Friday Magazine Radio Interview

Talking photography with Leanne and Paul at the studio of Southern FM 88.3 Friday Magazine session on 10th January 2020

Interview begins at 7:30 sec into the broadcast

Storm over Half Moon Bay
Jellyfish – Vertical Landscape
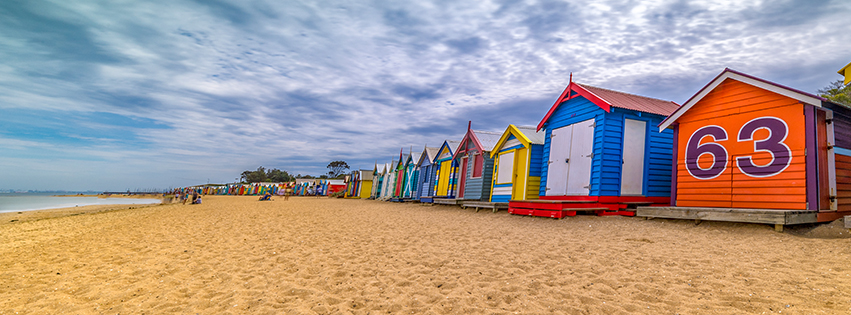
Popular tourist destination – Dendy Street, Brighton.
Dendy Street, Brighton Vic.
Rickett’s Point, Beaumaris
Nepenthes – Pitcher Plant
A trap for the unwary Cockroach – Venus Fly Trap
Walking on the Edge

Long Exposure Photography

Long Exposure Photography Using a 10 stop Neutral Density Filter

Kimmeridge Bay, England
30 seconds

If the following steps are followed carefully, newcomers to this style of photography will quickly achieve impressive results. Deviation from the procedure will quickly render unexpected and usually undesirable effects and lead to frustration.

The principle to remember is that we are trying to extend the period of time that the shutter needs to remain open by placing a dark filter in front of the lens, and thus recording motion in the image as blur. During the exposure, it is paramount that there is no movement of the camera or light leakage into the camera via an ill-fitting filter or through the camera’s eyepiece.

Of course, we need movement of some elements of the image, usually water or clouds, or a combination of both, as well as static parts of the image such as structures or other immovable objects such as rocks.

Preliminary set-up

  1. Adjust your camera to its lowest ISO setting. This may be 100 or in some cases 50
  2. Make sure “auto ISO” is turned off if this is a setting you sometimes use and forget.
  3. Set your camera to Aperture Priority and a small aperture (big number) say f16 or smaller.
  4. Set your lens to Auto-Focus
  5. Mount the camera on a tripod
  6. Compose the shot and pre-focus
  7. Take a test shot and make a note of the shutter speed.

Now you are ready to progress to the second part of the process.

  1. Calculate the exposure that will be required once the 10-stop filter is attached.  Remember you have to double the time in step 7 above, 10 times. For example, 1/30th second becomes 30 whole seconds. The doubling goes like this starting with your base of 1/30th sec: 1/15th, 1/8th, 1/4th, 1/2, 1 sec, 2 sec, 4 sec, 8 sec, 16 sec, 32 sec. There are phone apps and calculation charts for this that make it easy to do the maths.
  2. If the new exposure is less than 30 seconds, you may remain in aperture priority, otherwise, follow the next step.
  3. Put the camera’s mode dial into manual mode. Aperture priority will only work for 30 seconds or shorter exposures, and you may end up wanting more.
  4. In Manual mode, dial in your desired aperture and shutter speed in seconds up to 30. Longer than 30 seconds requires the BULB setting and a cable or remote release and a watch or some other timing device.
  5. Switch the lens to Manual Focus being careful not to disturb the focus setting in step 6 above.
  6. Switch off image stabilisation if you have it.
  7. Carefully attach the 10 stop filter making sure not to push hard enough on the lens to cause the zoom setting to move or the focus ring to move.
  8. Cover or shield the eyepiece to prevent light from entering and affecting the exposure.
  9. Take the shot and check the image either on the review screen or look at the histogram.

Looking at the following examples, I think you will agree that once you master the technique for long exposure photography, it will open up a whole new dimension to your images.

Jurassic Coast, England
15 seconds
Shelley Beach, Portsea Vic.
30 seconds
Dendy St. Brighton Vic.
90 seconds
Mystic – Cape Schanck Vic.
179 seconds
Buachaille Etive Mor – Scotland
25 seconds
Loch an Eilein Castle Ruins – Scotland
3 seconds
SS Speke Shipwreck – Phillip Island Vic.
2 seconds

A Step Back in Time

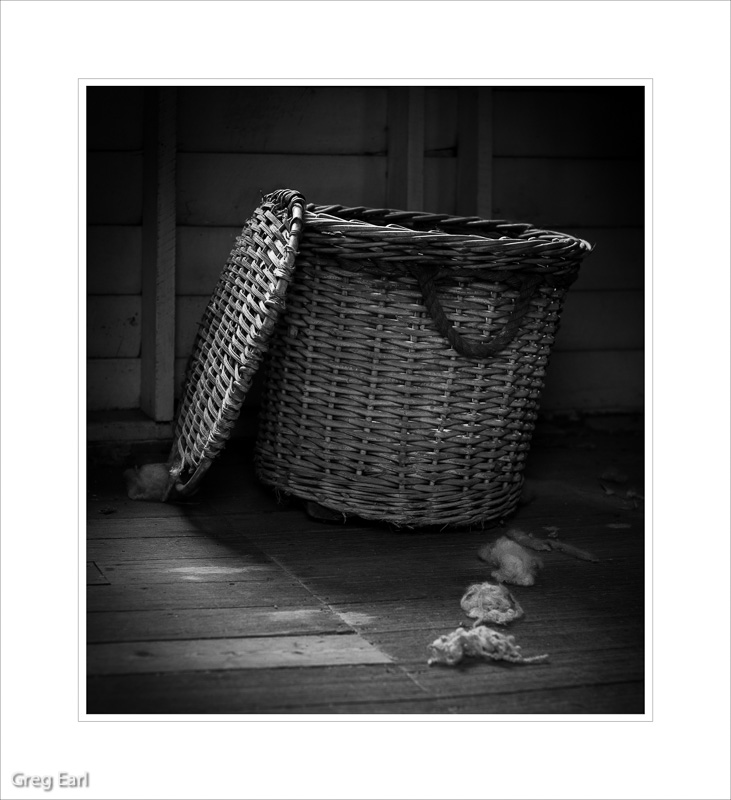
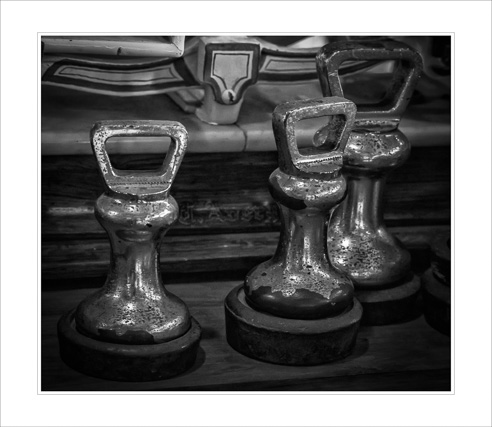
A visit to Coal Creek Community Park & Museum created great opportunities for photography.

Coal Creek is a small recreated town in the South Gippsland area of Victoria, Australia, now essentially a suburb of Korumburra. Black coal was discovered in the area in 1872, and the region subsequently developed an important coal mining industry.

Old buildings crammed with relics from a past era authentically displayed complete with cobwebs and dust added to the atmosphere.

Rather than capture the wider scenes of the views of the buildings and surrounds, my mission was to hone in on the smaller detail using just the one lens, (105mm f1.4), which in itself created quite a challenge in the confined spaces. The use of the shallow depth of field and the lovely indirect lighting produced some pleasing results on the day.


Shearer’s wool basket

Grocery shop scale weights

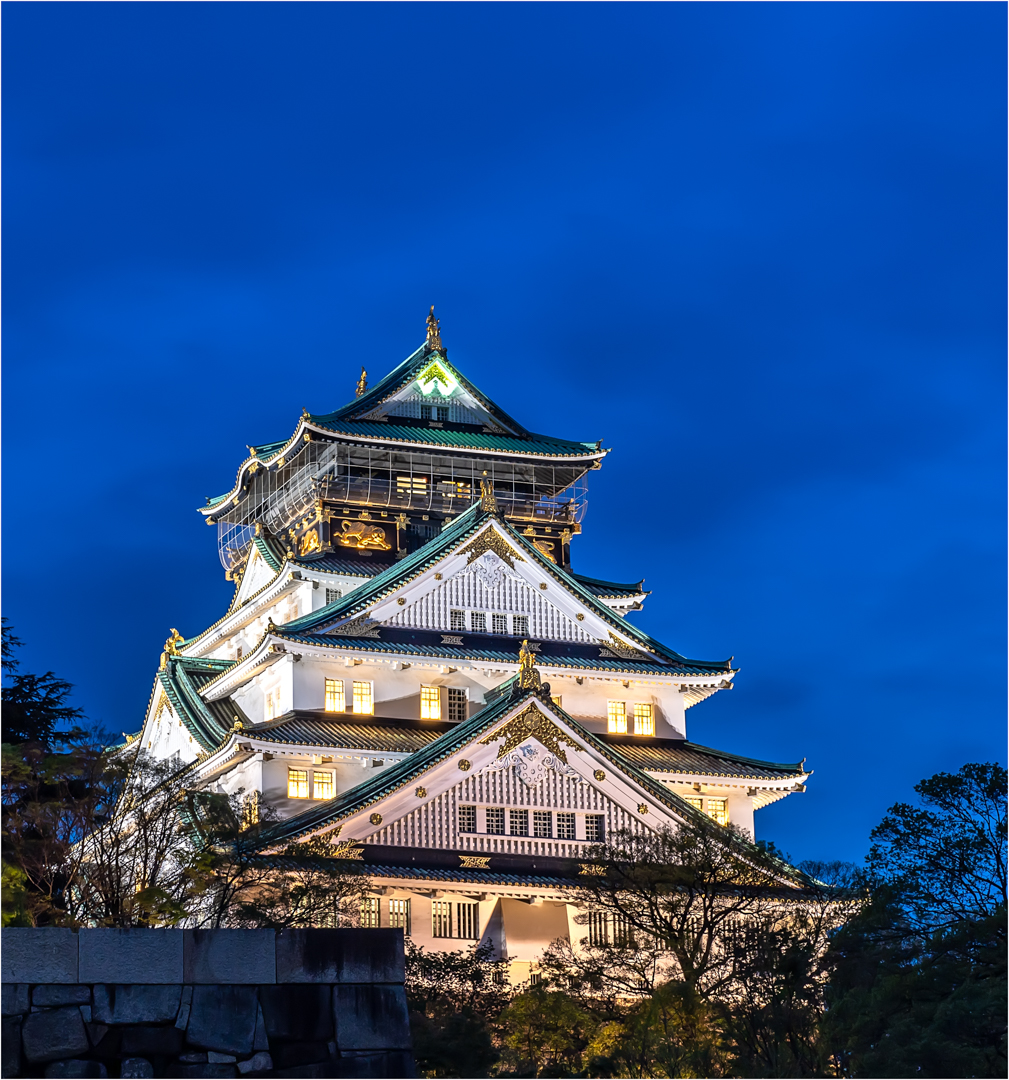
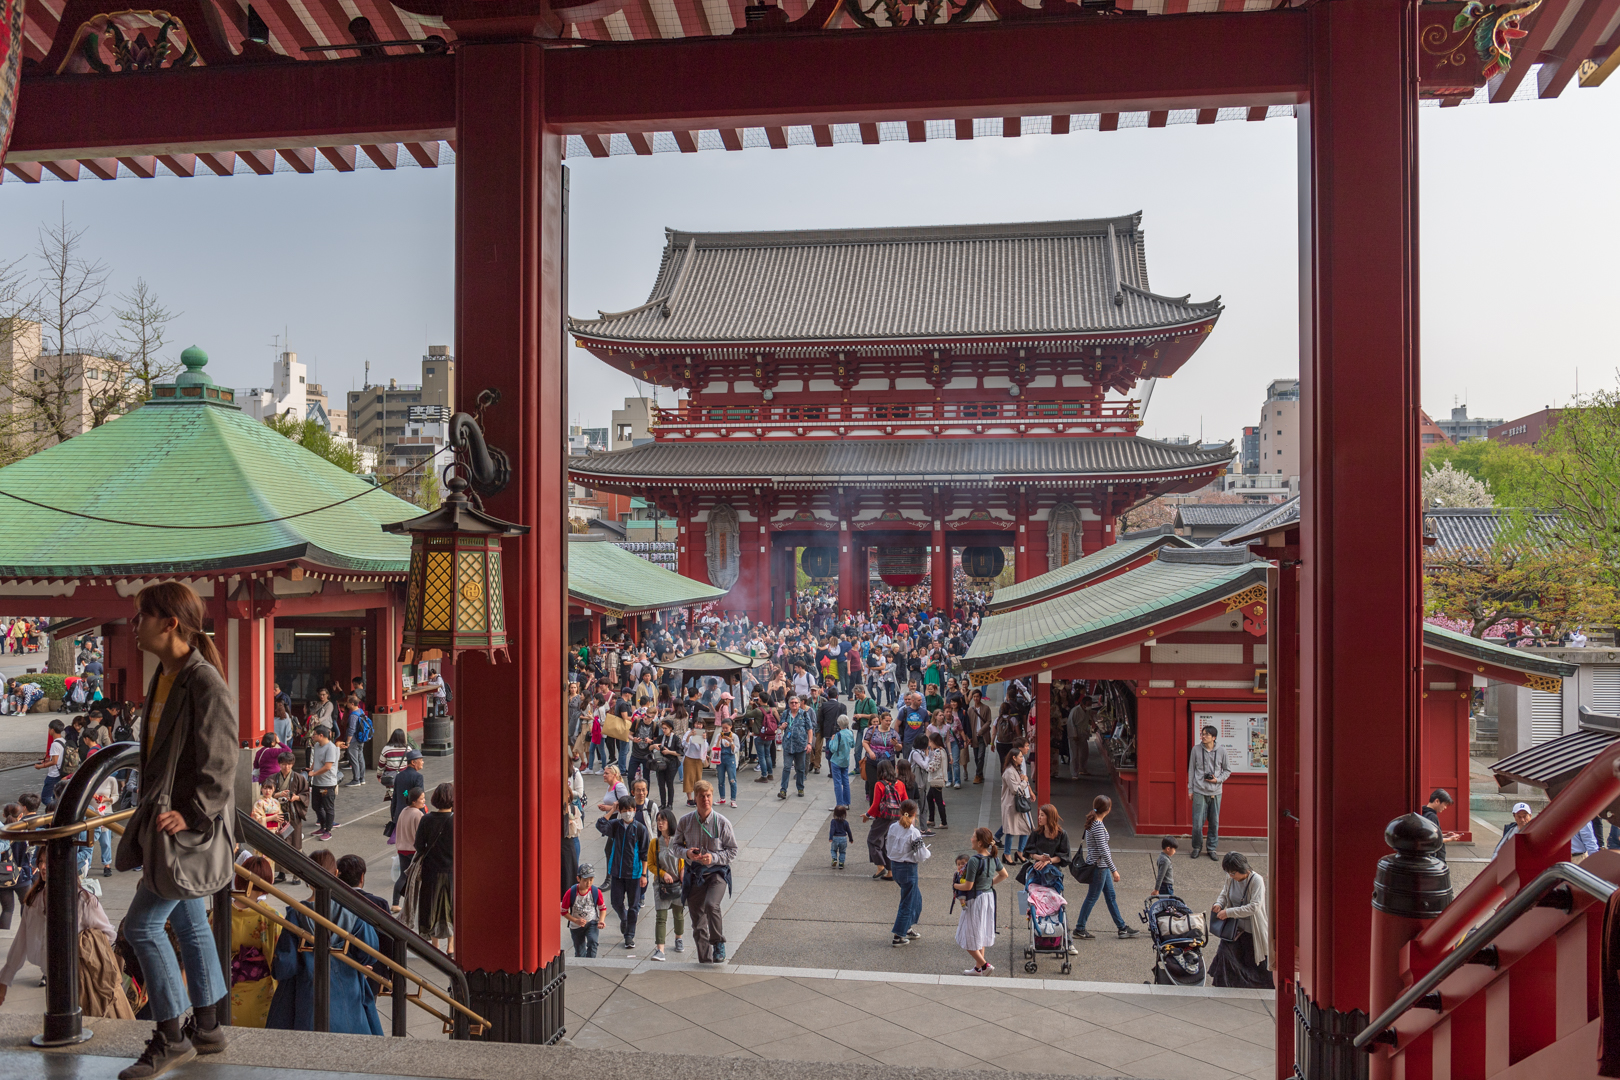
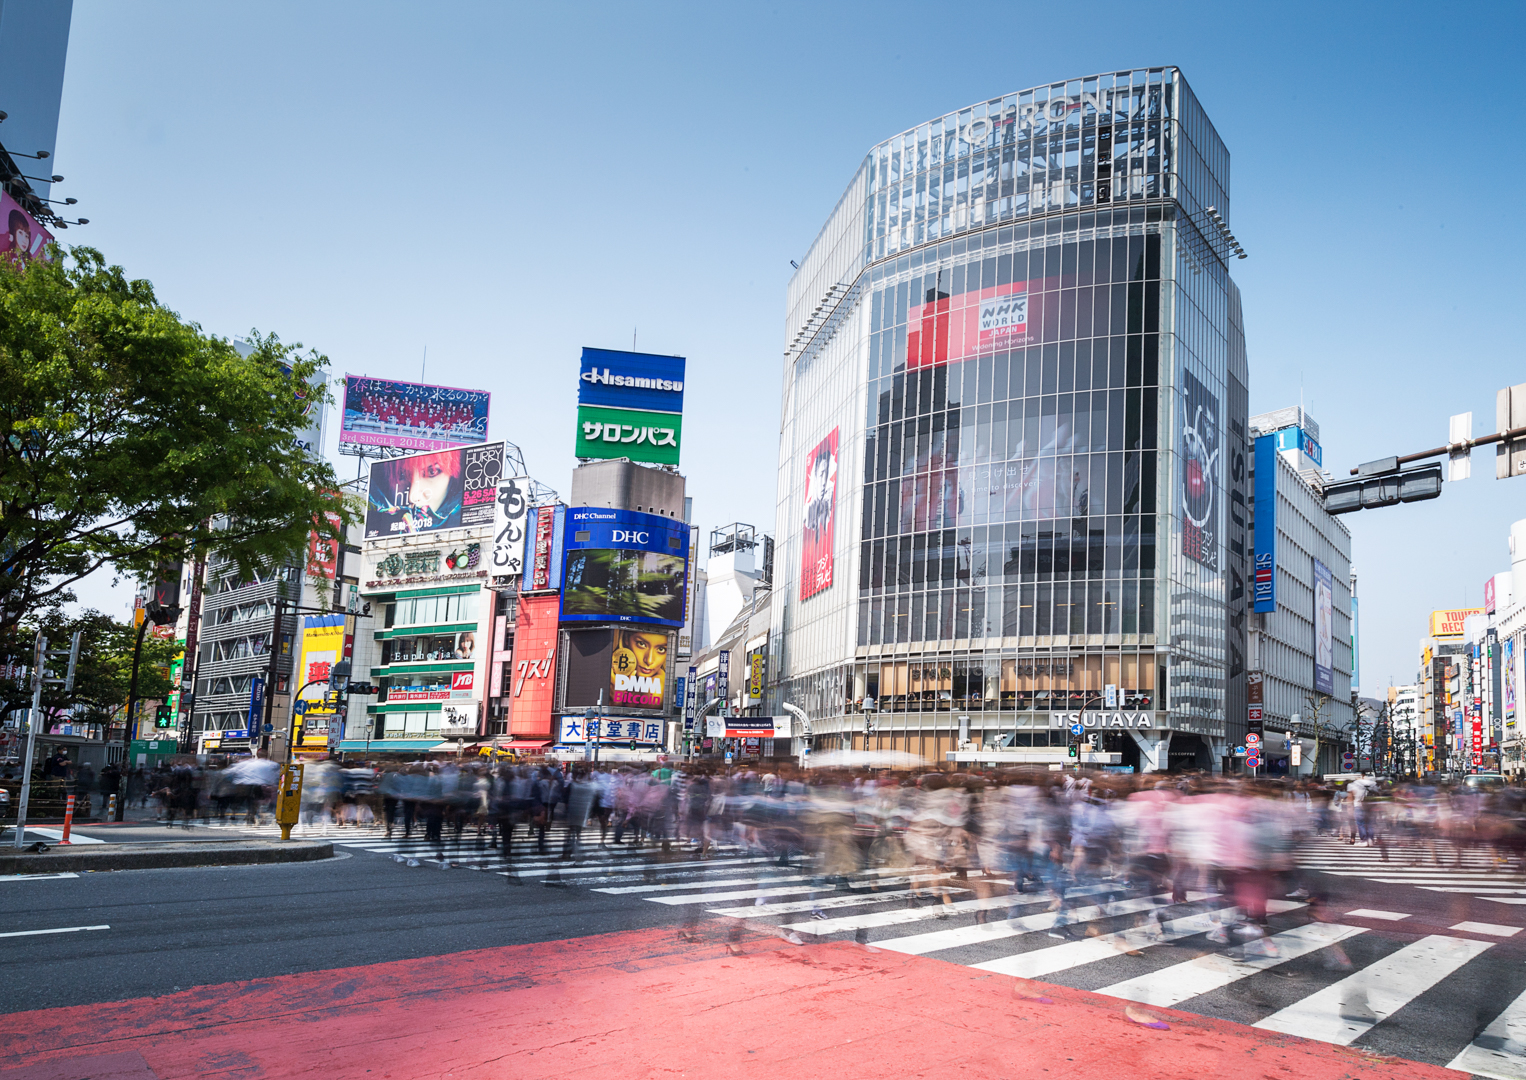
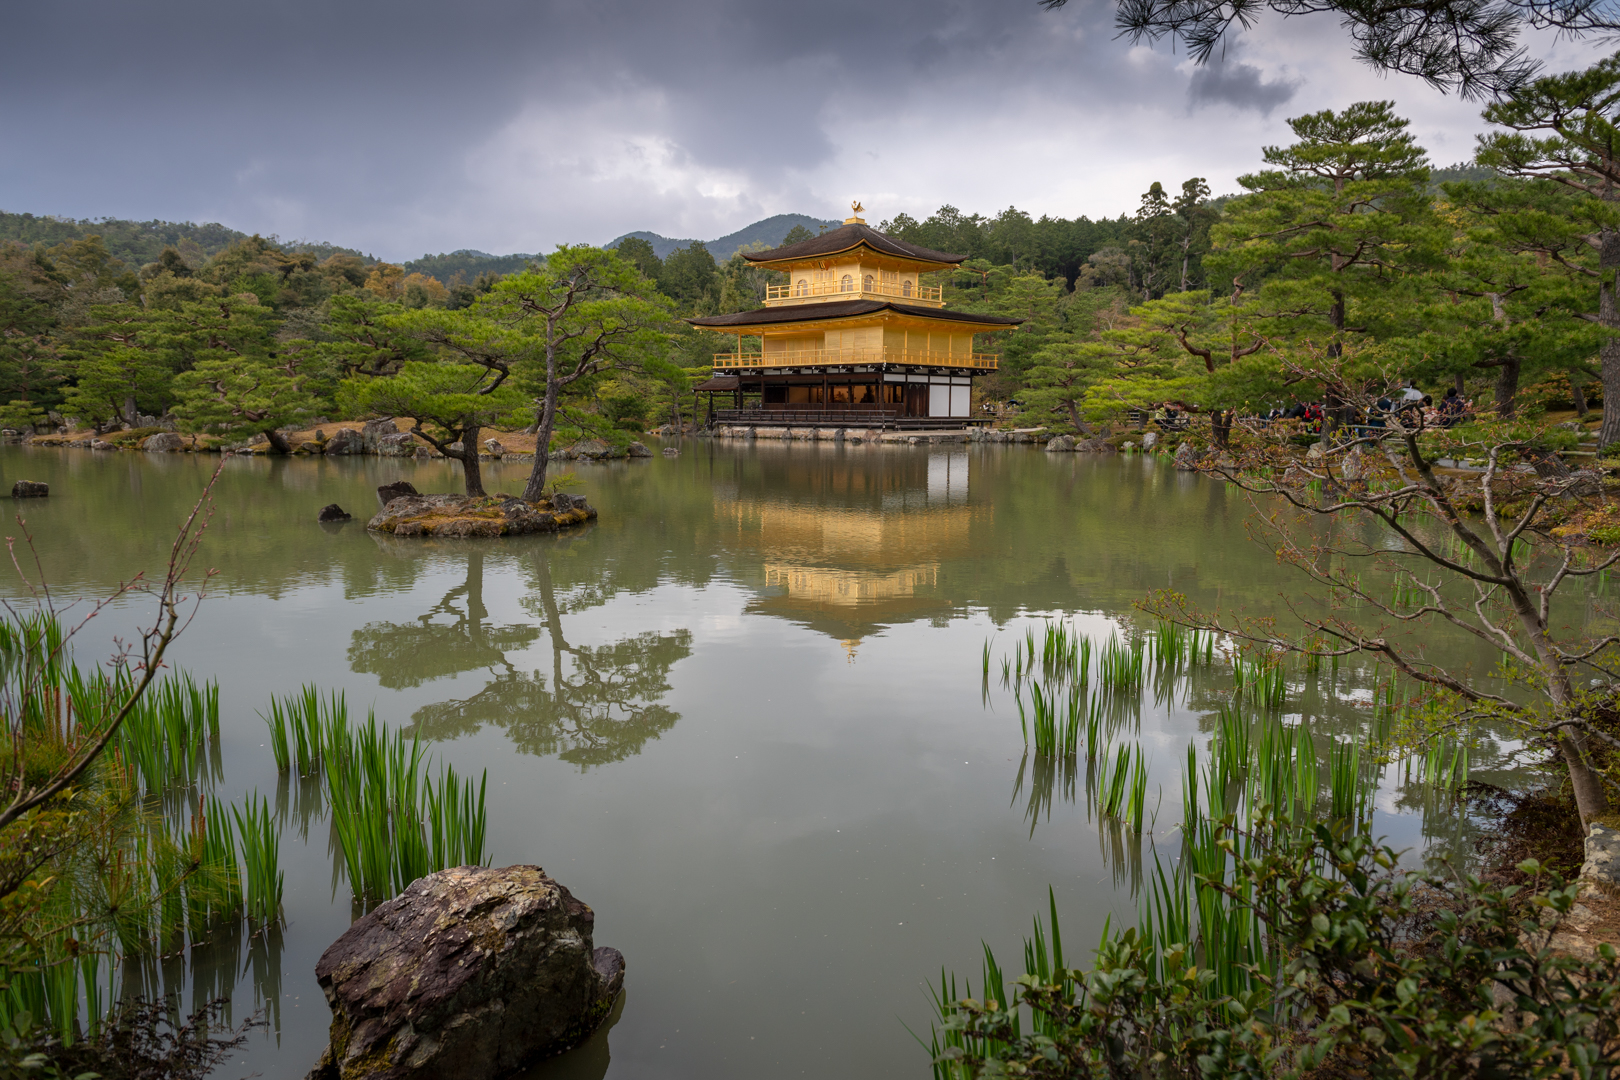
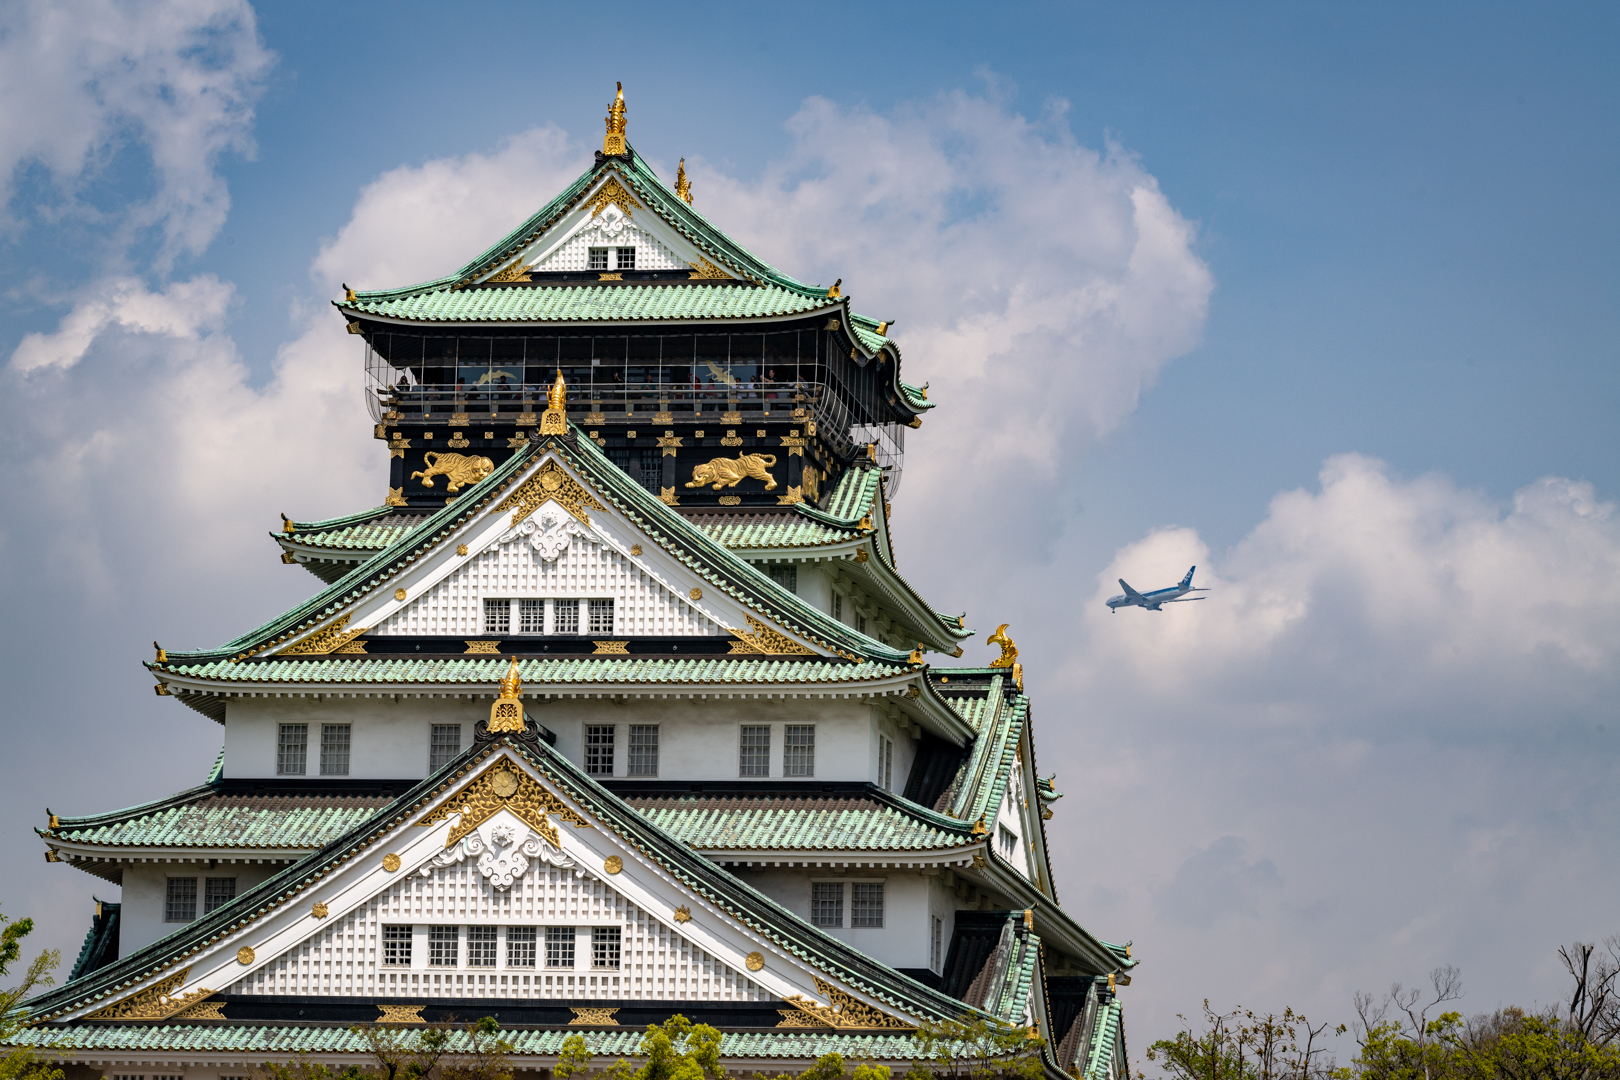
A Snapshot of Japan Part 4 – The Tourist Spots

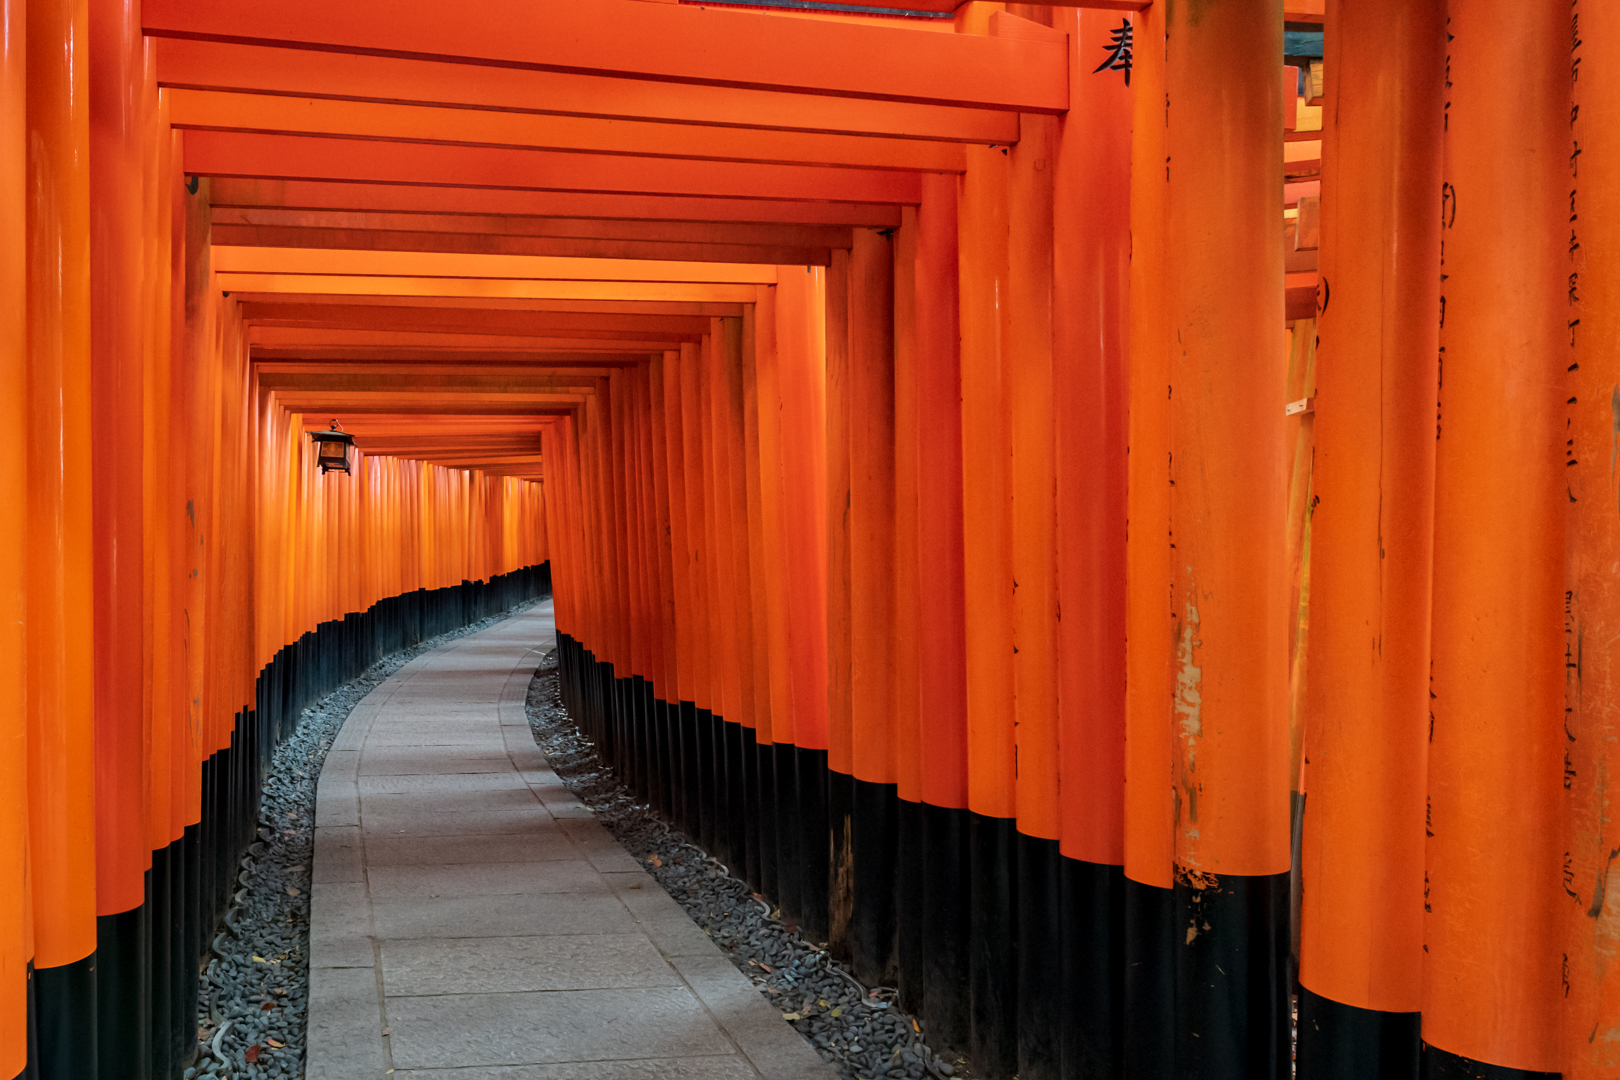
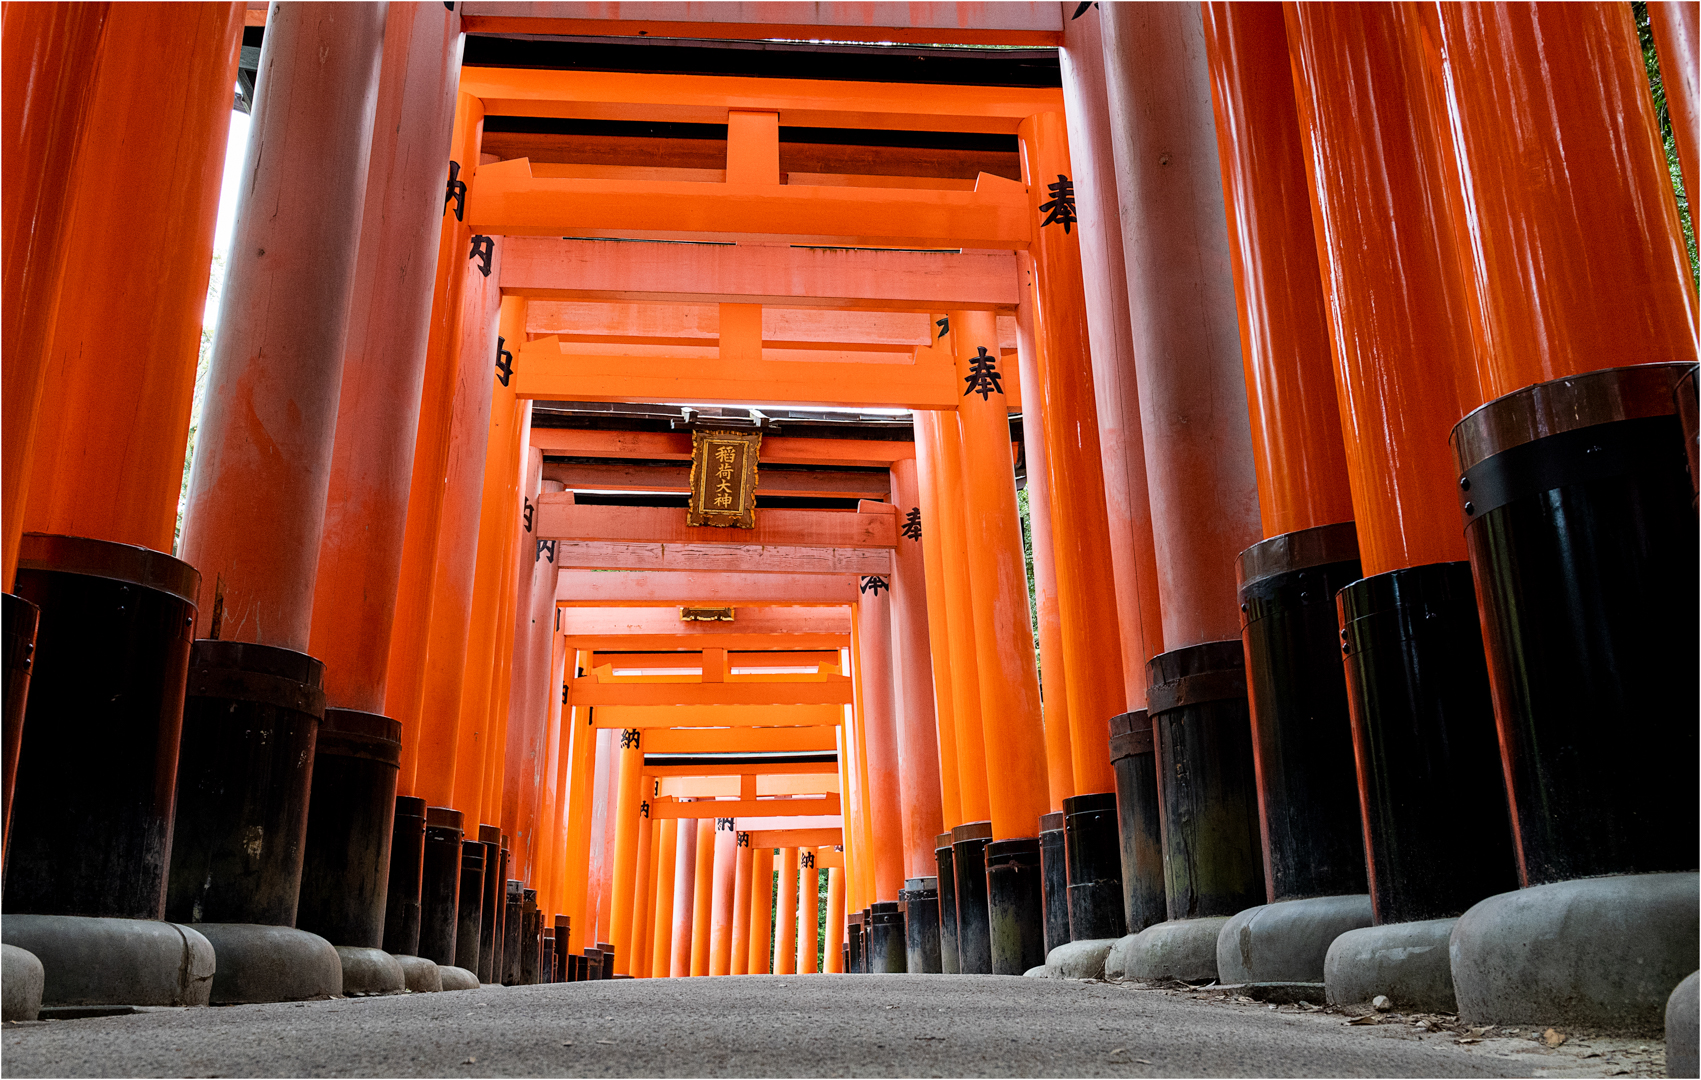
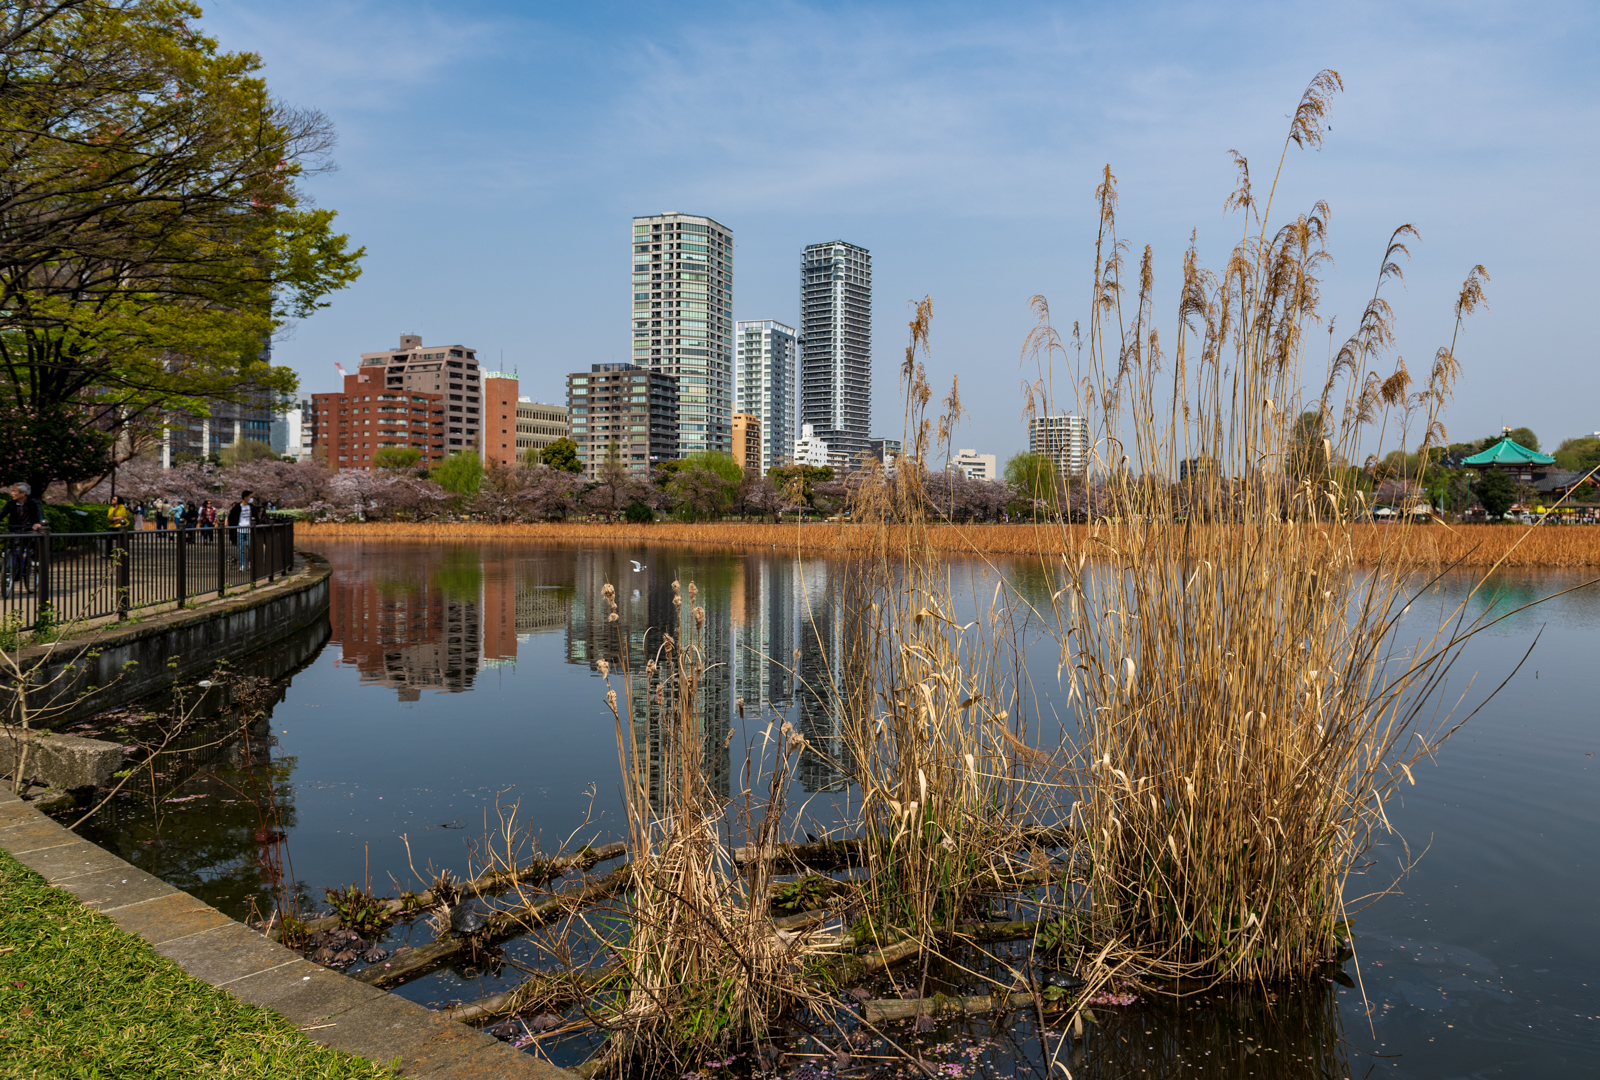
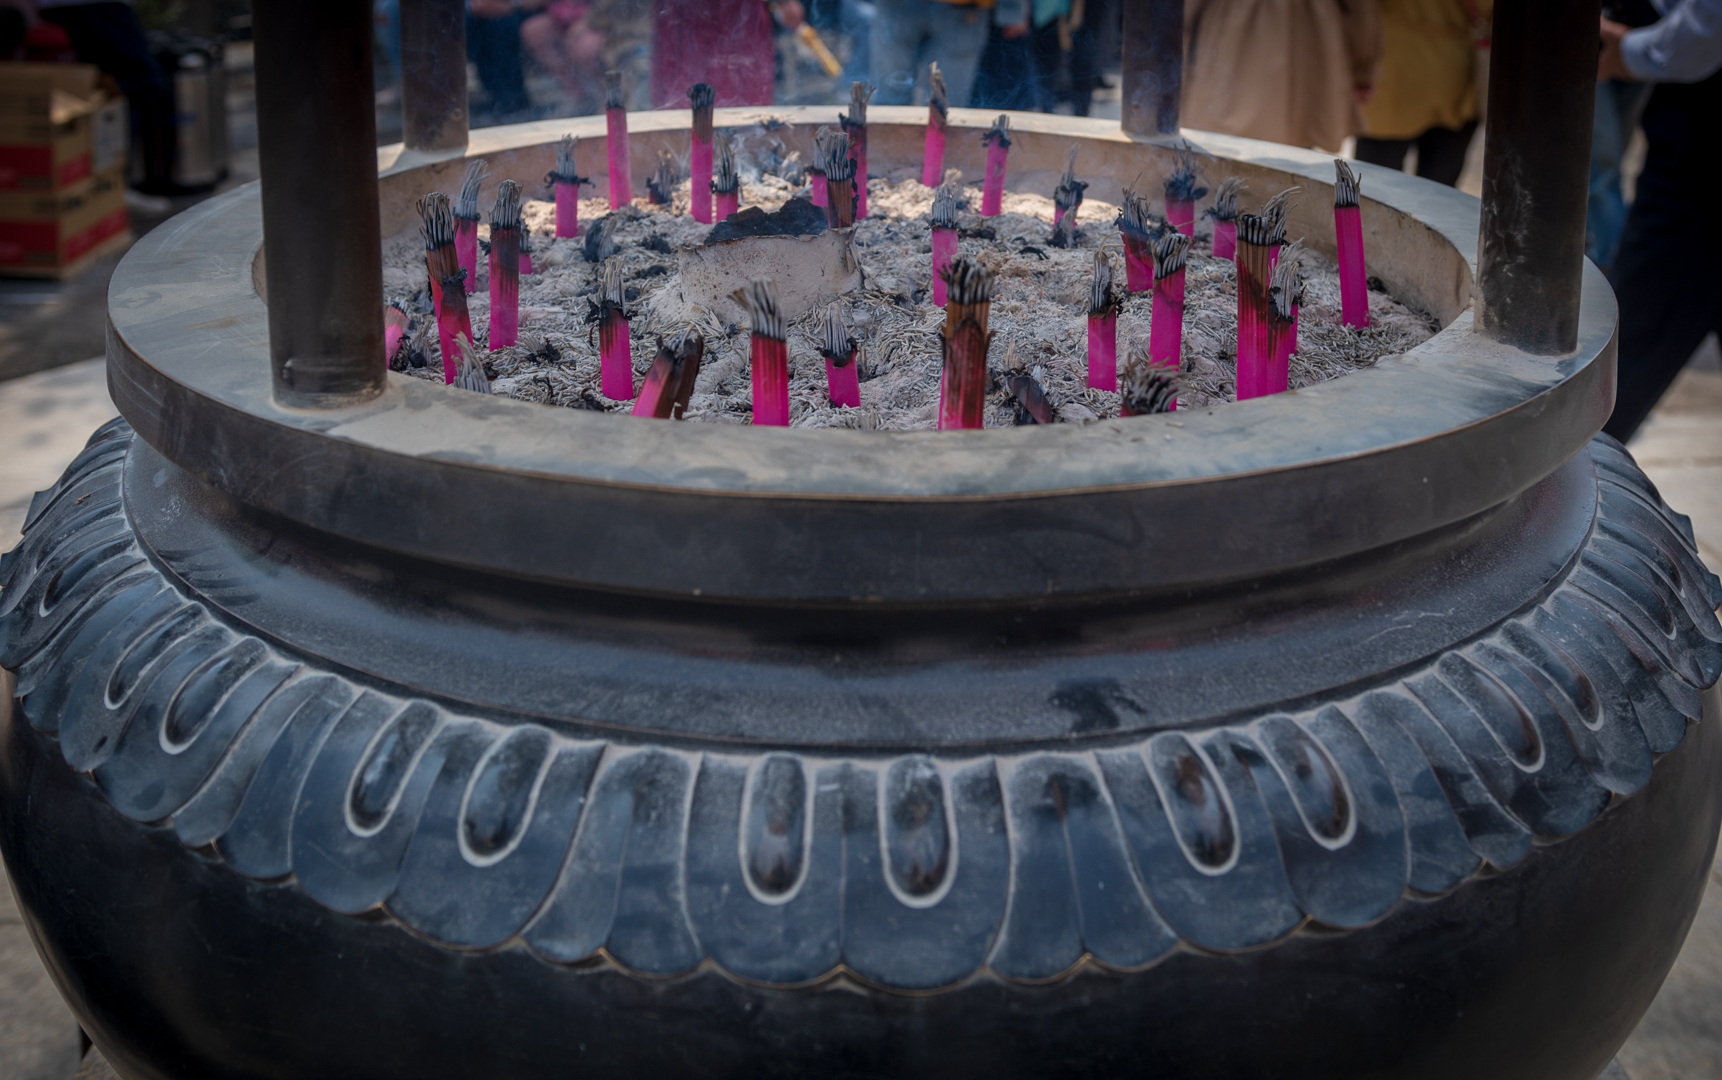
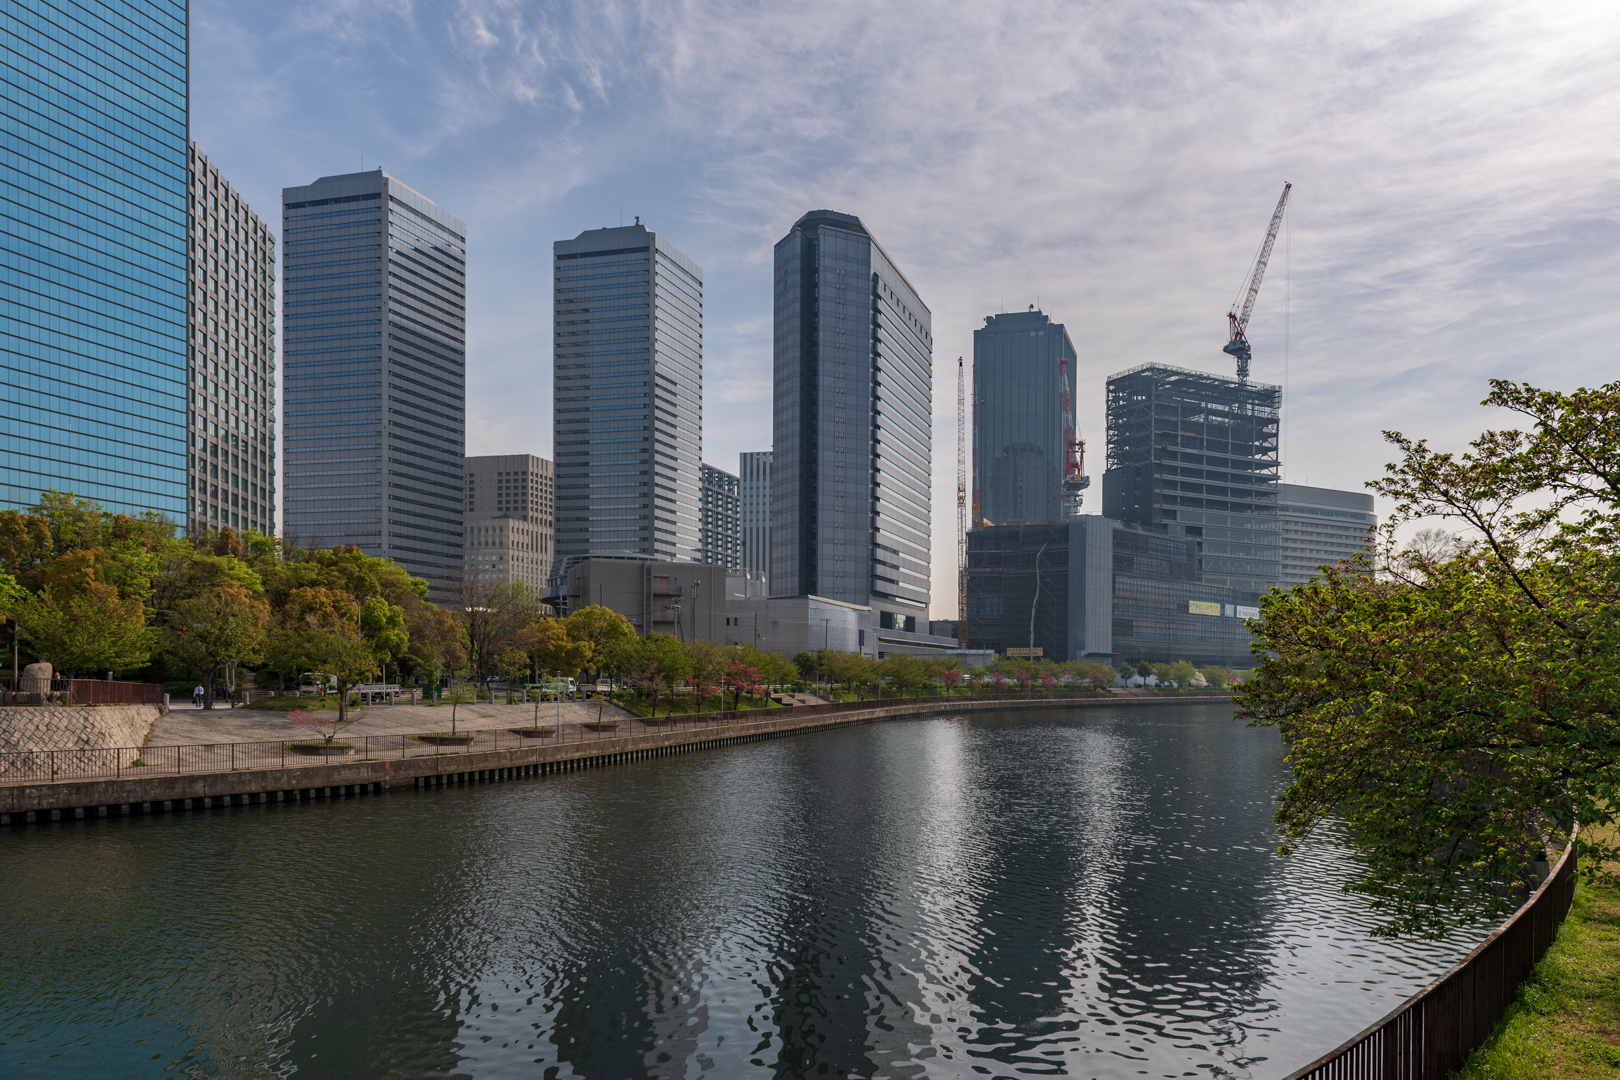
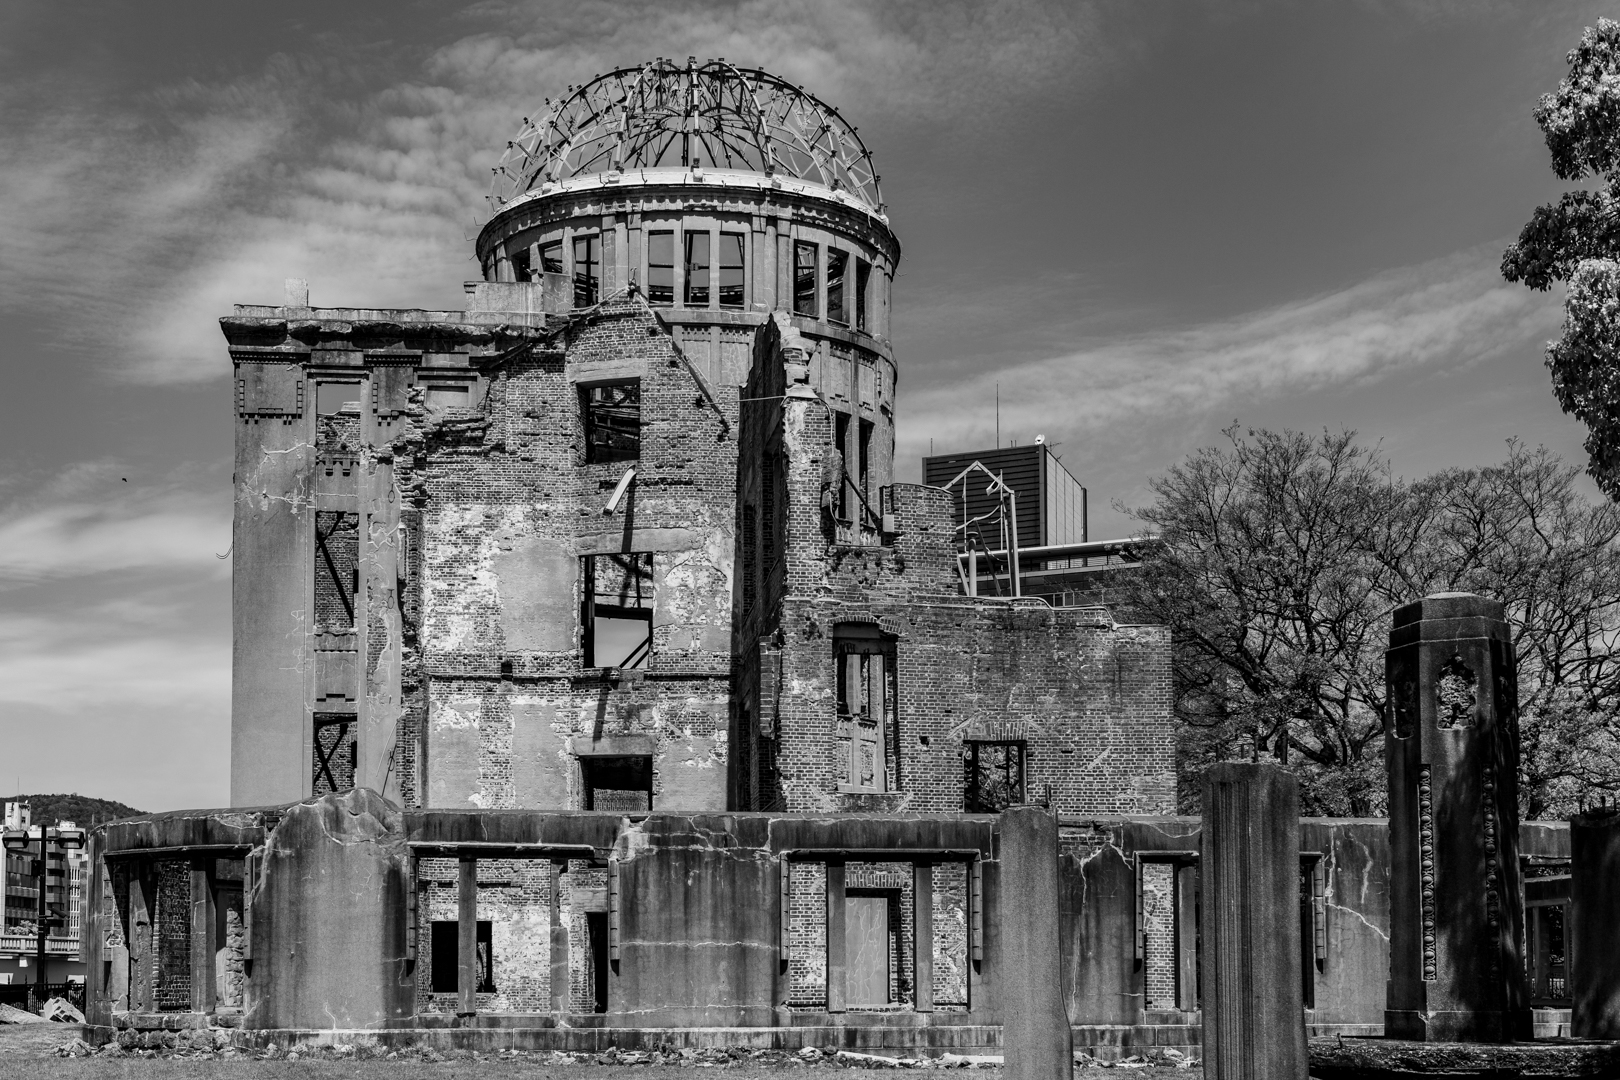
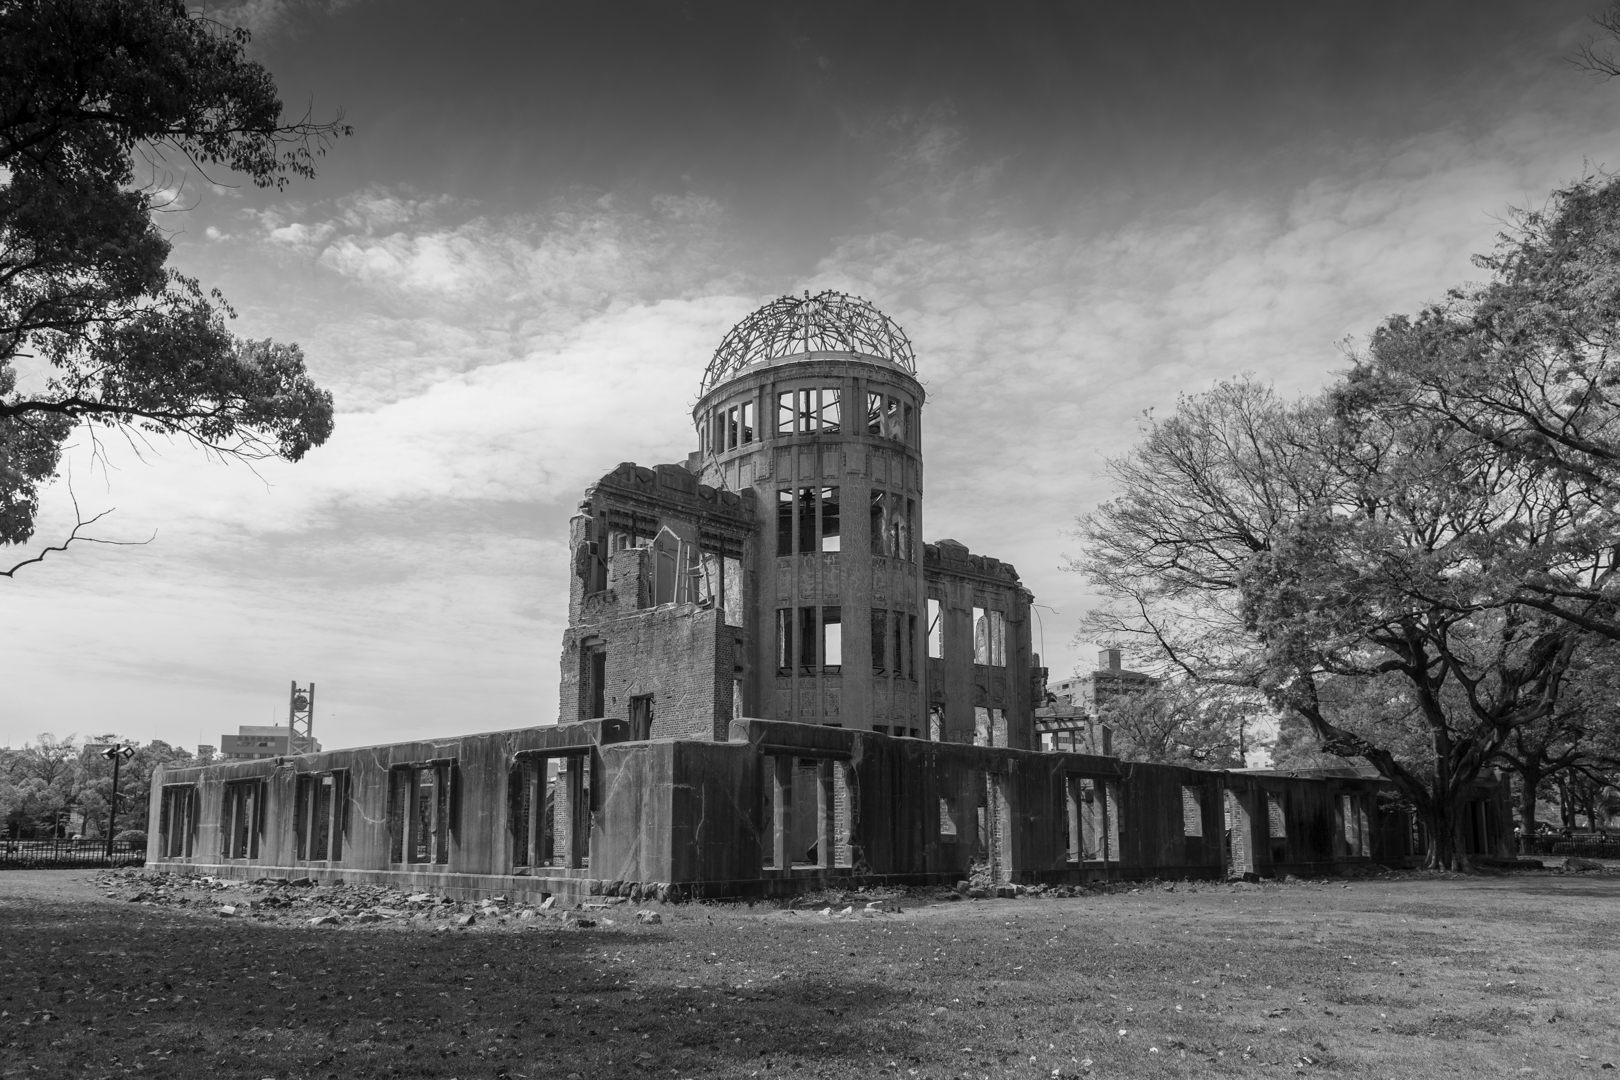
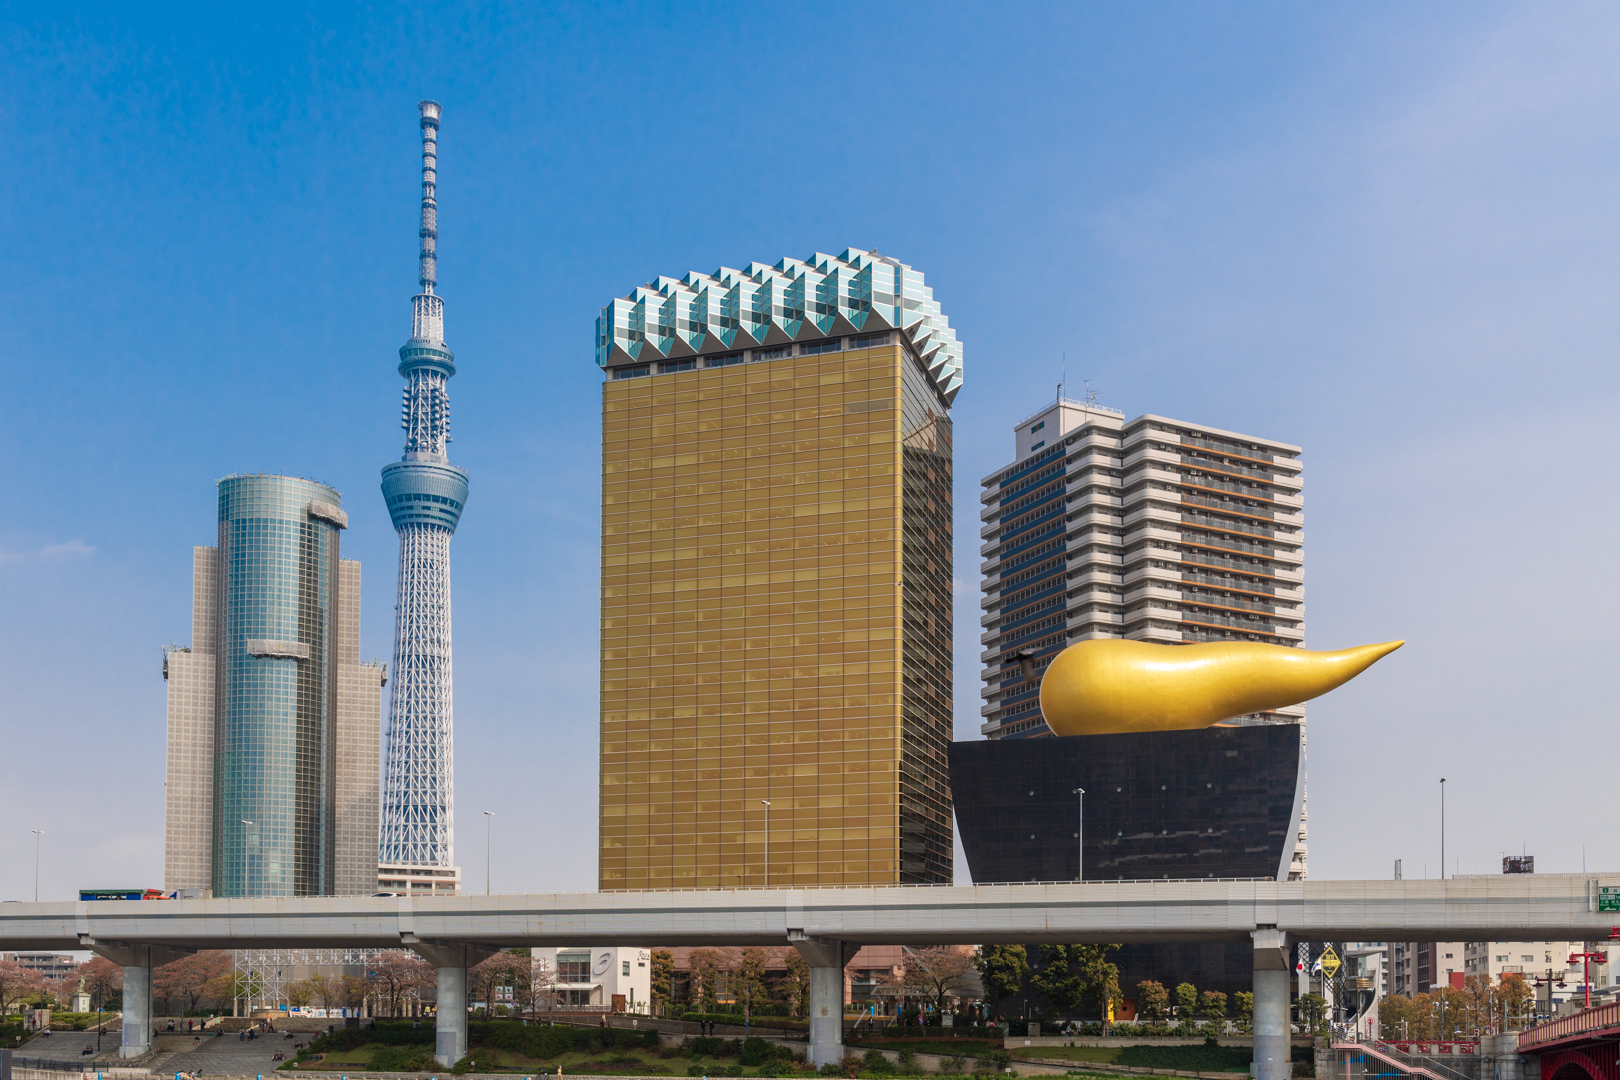
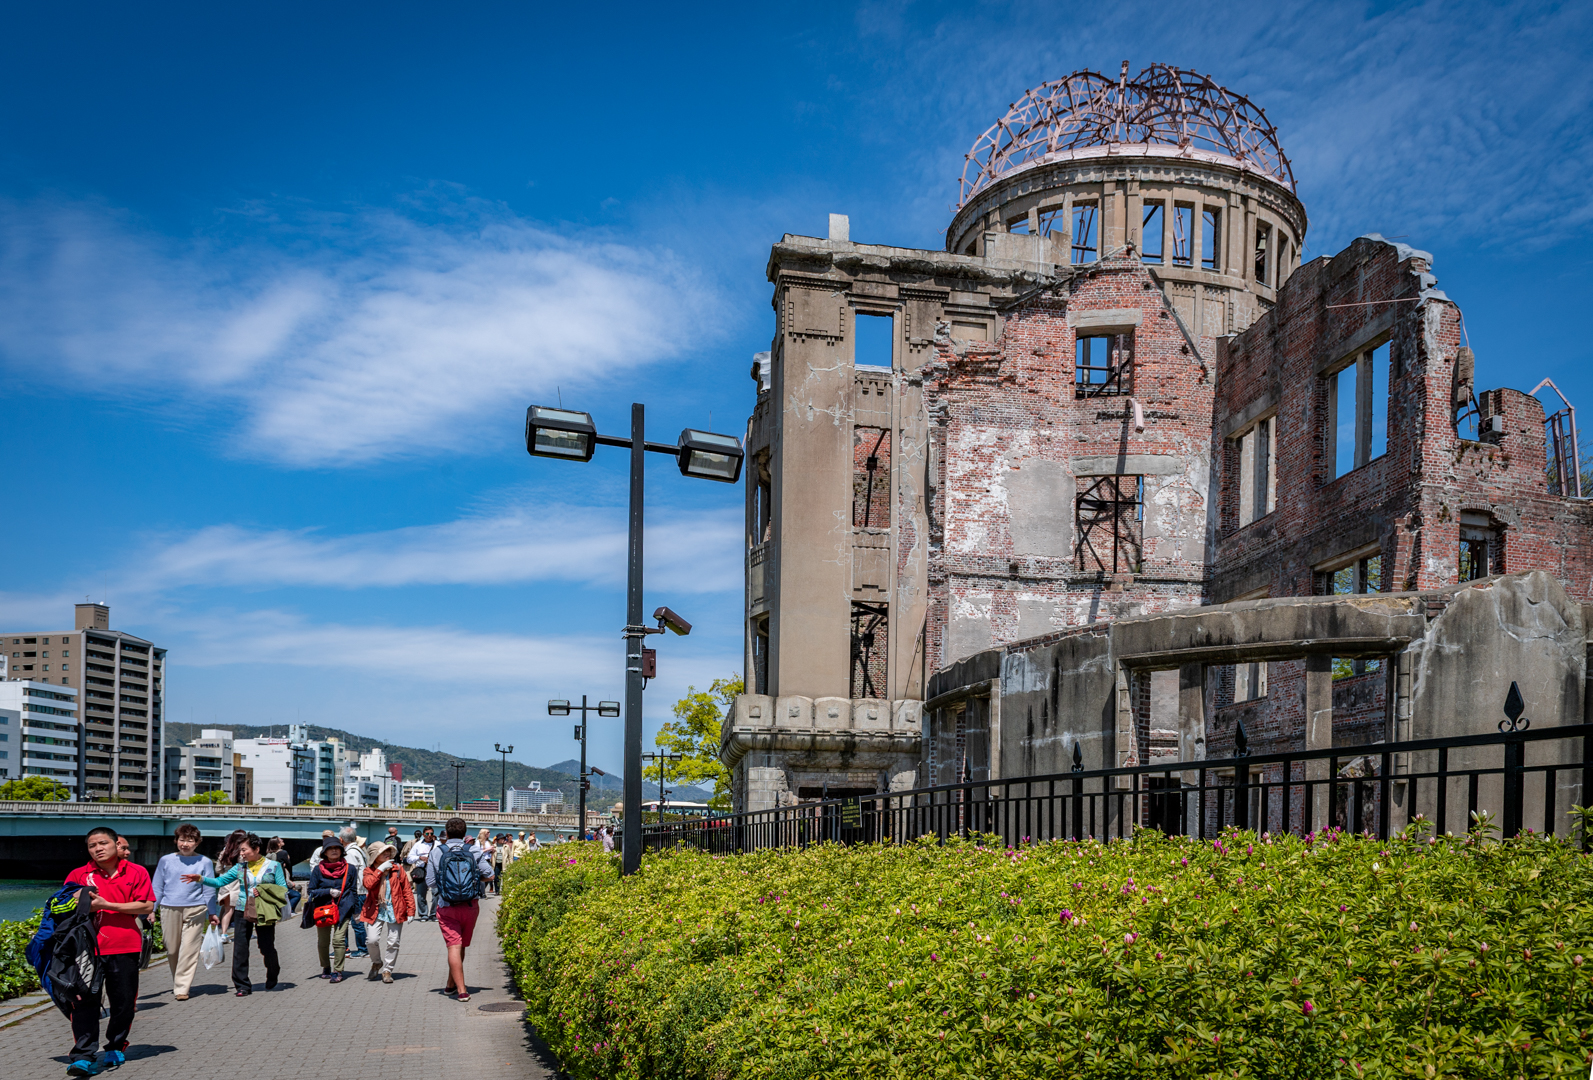
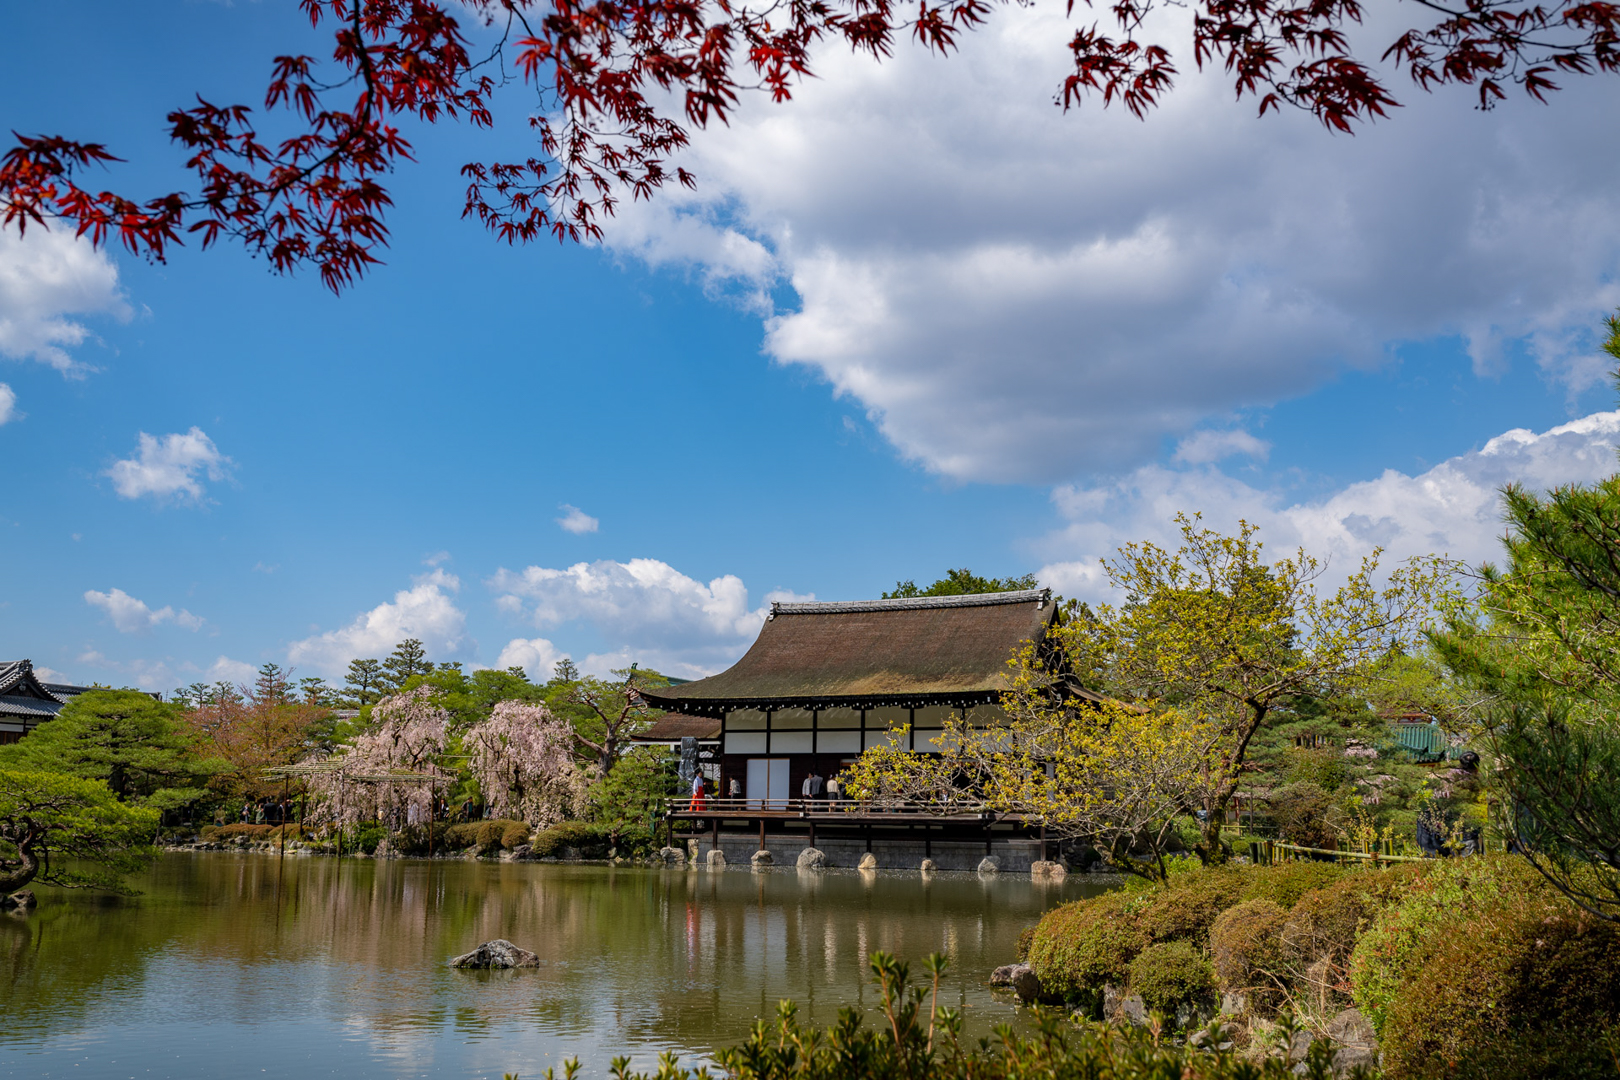
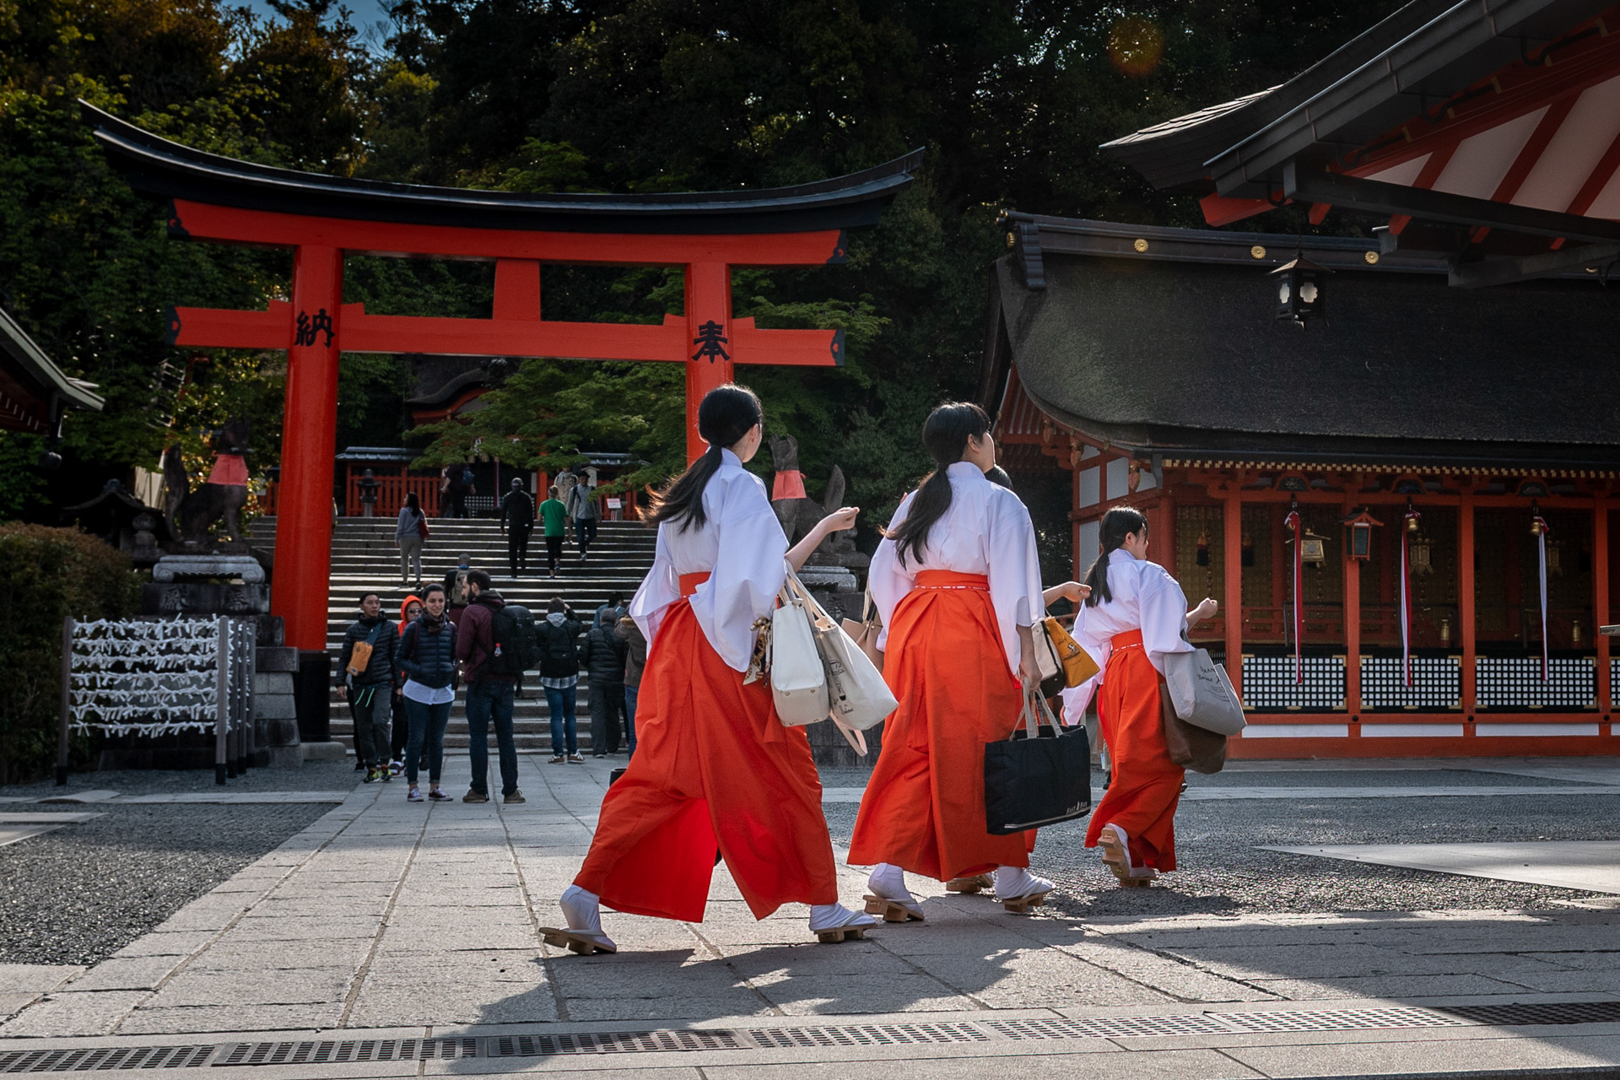
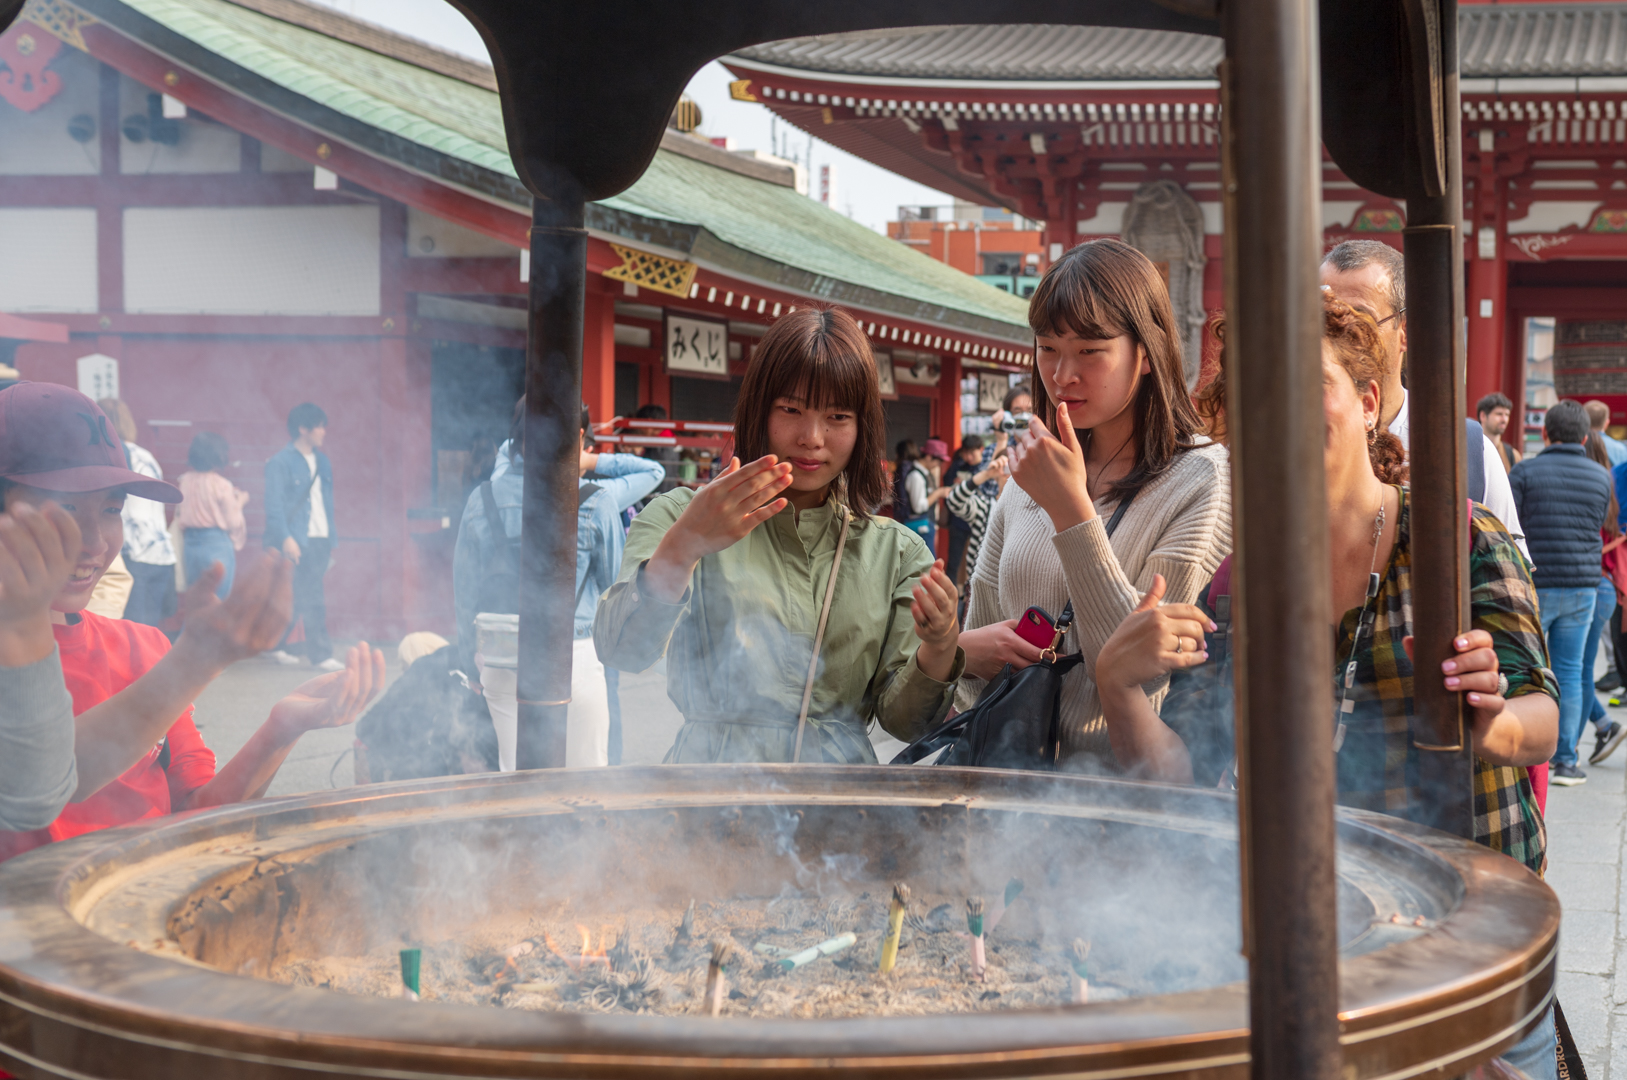
Of course, when you venture to a faraway land with camera in hand, the first thoughts are to visit the main attractions and get the proverbial “record shots”. You know what I mean, the touristy shots, and Japan is full of them. As I mentioned in Part 1 of the series, the busloads of tourists start arriving by 9.00am so it’s a matter of getting to a popular location early if you want people free photographs.

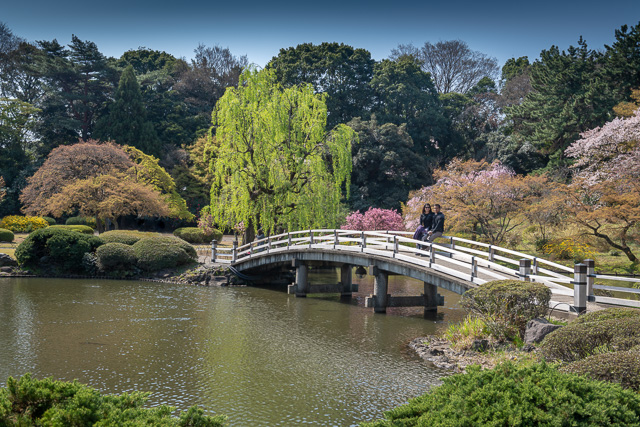
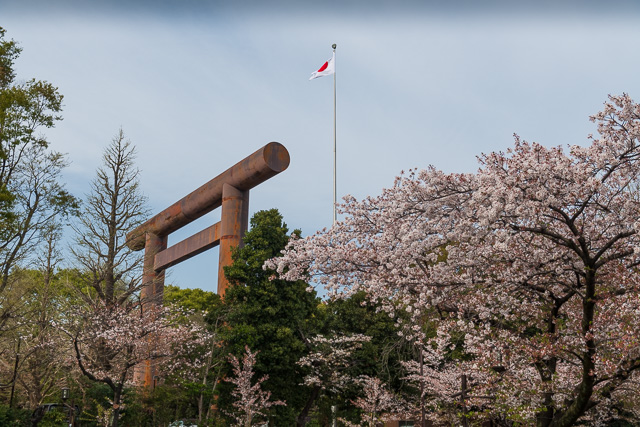
Here are few of the iconic locations that we visited where we managed to get a half decent shot, many of them you may recognise from travel brochures and the like.

I hope you have enjoyed the 4 part series as much as I have enjoyed putting together a handful of the 3,000 photographs taken during our visit to this fascinating land. We only touched on a few locations, mostly in the major cities, and a visit to the northern regions and more rural locations would create a totally different impression.

_5GE7896-13

_5GE7922-48_5GE7451-12_5GE7407-9_5GE8614-41_5GE6556-32_5GE8597 Osaka-Jo-52_5GE8530-1_5GE6546-27_5GE6551-29_5GE6717-39_5GE7675-44_5GE8513-39_5GE5904-5_5GE6449-4_5GE6452-11_5GE6480-15_5GE8407-32_5GE8646-10_5GE8682-45_5GE6368-1_5GE6532-2_5GE8365-1-3_5GE6367-1_5GE5923-Edit-1_5GE8644-3Edit-7791-2

A Snapshot of Japan Part 3 – The Food Stalls

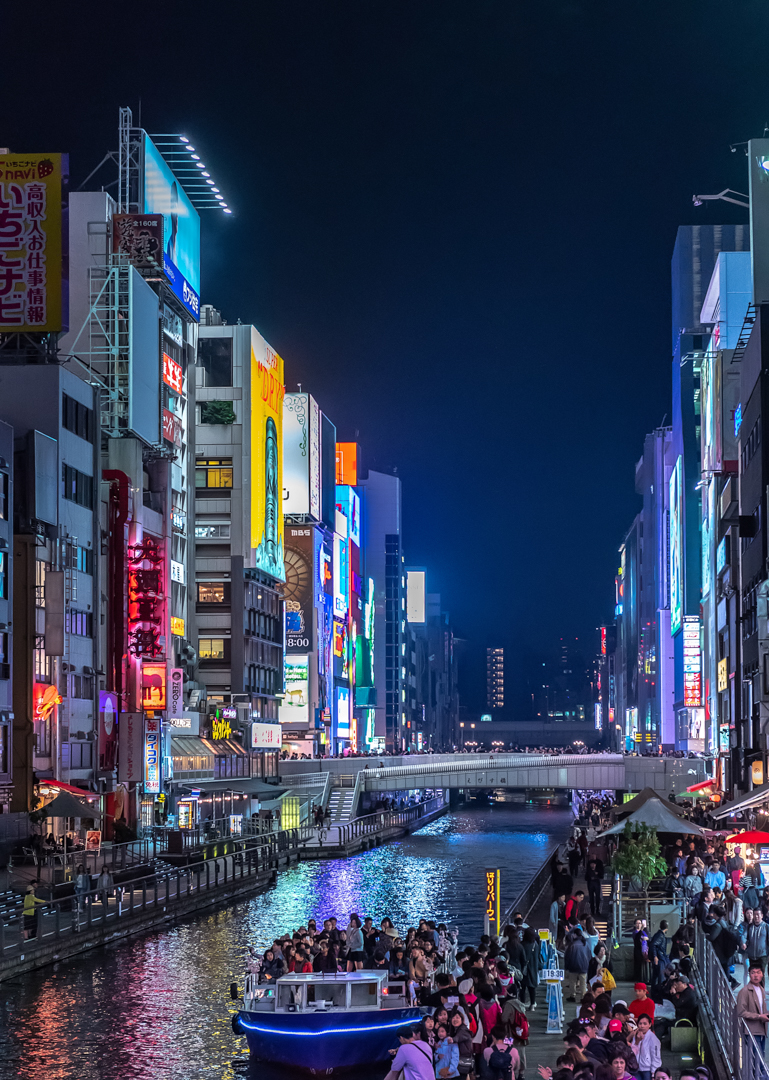
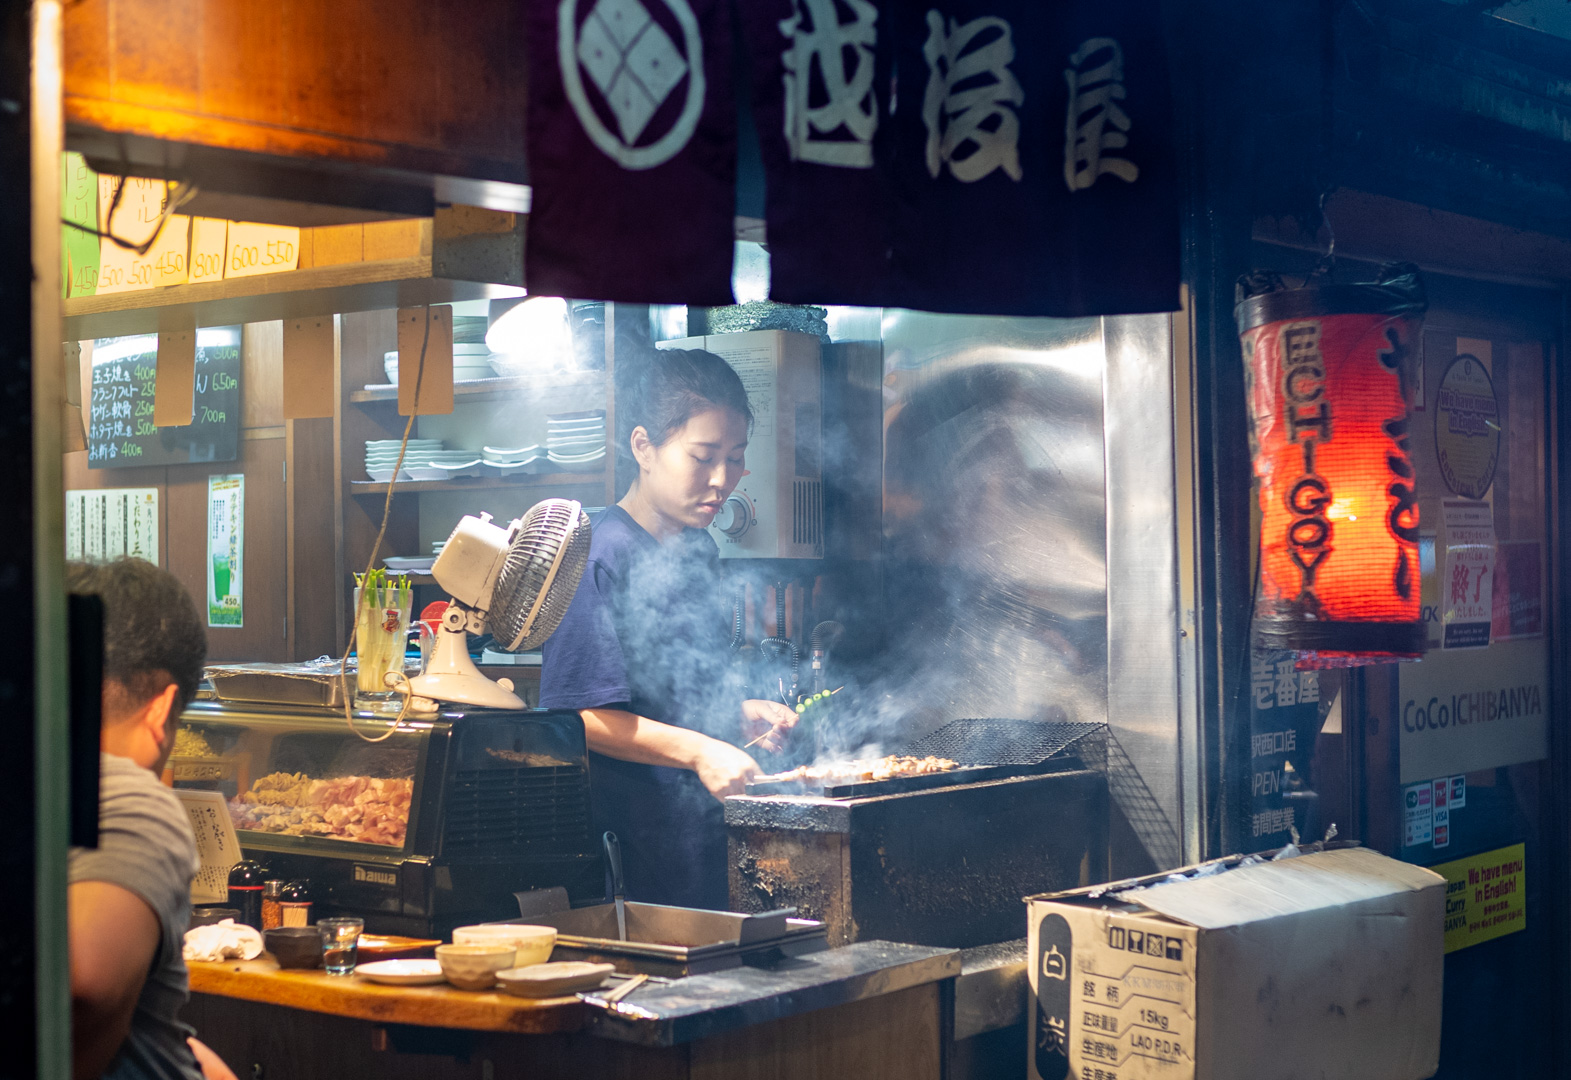
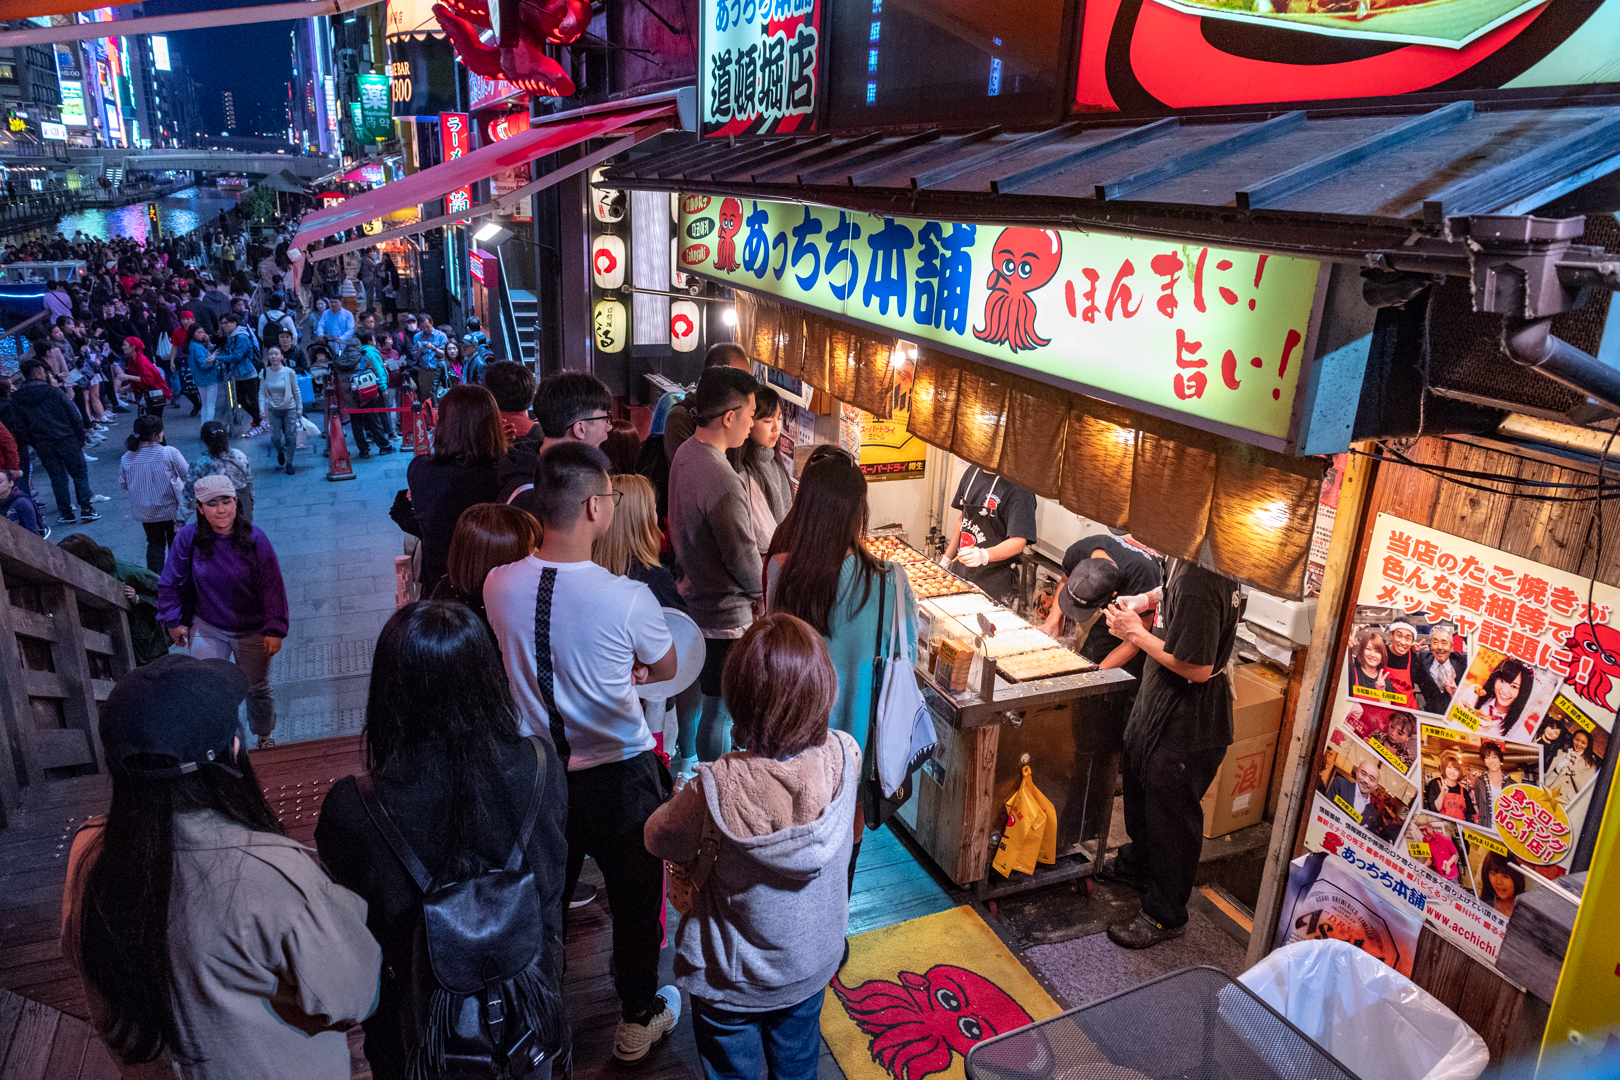
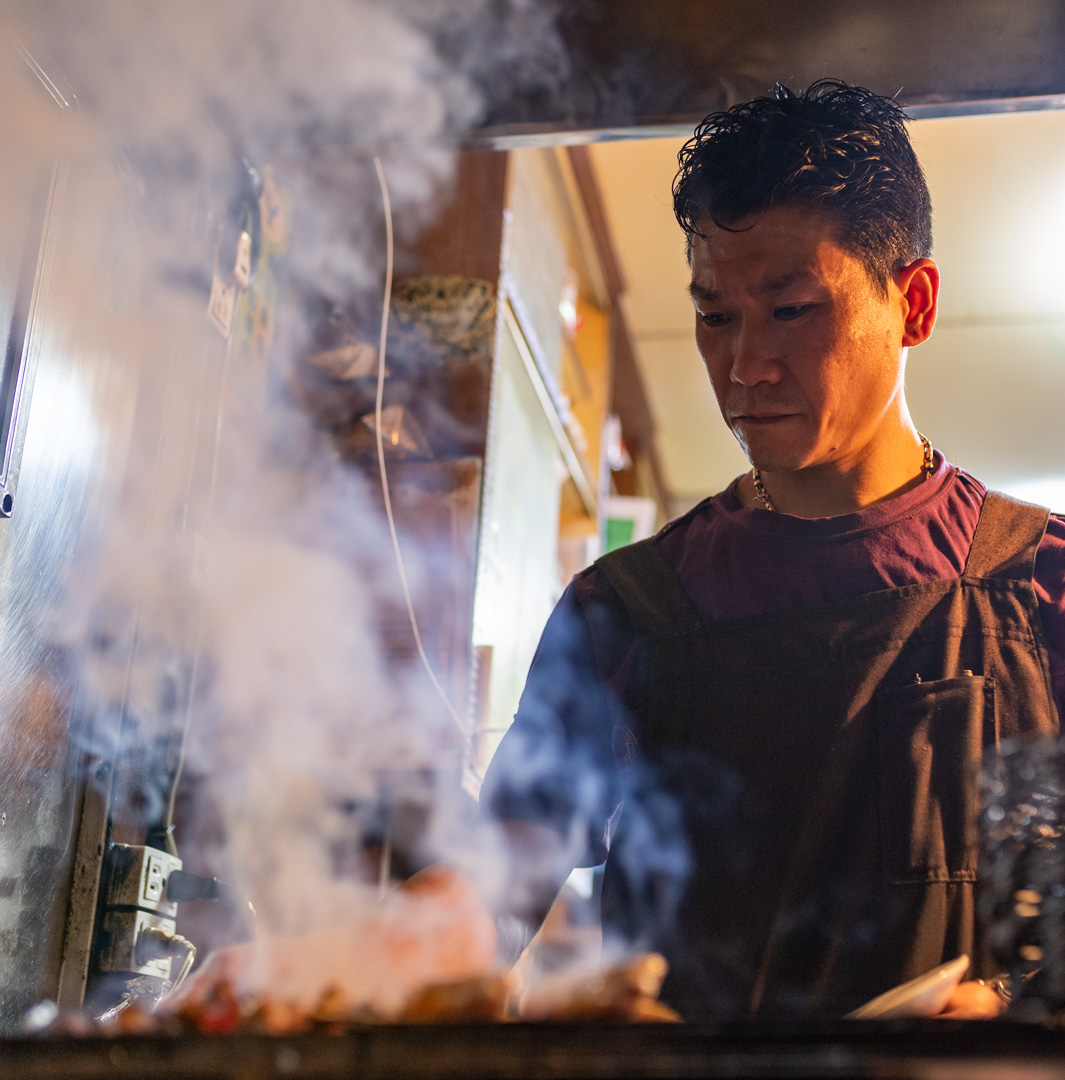
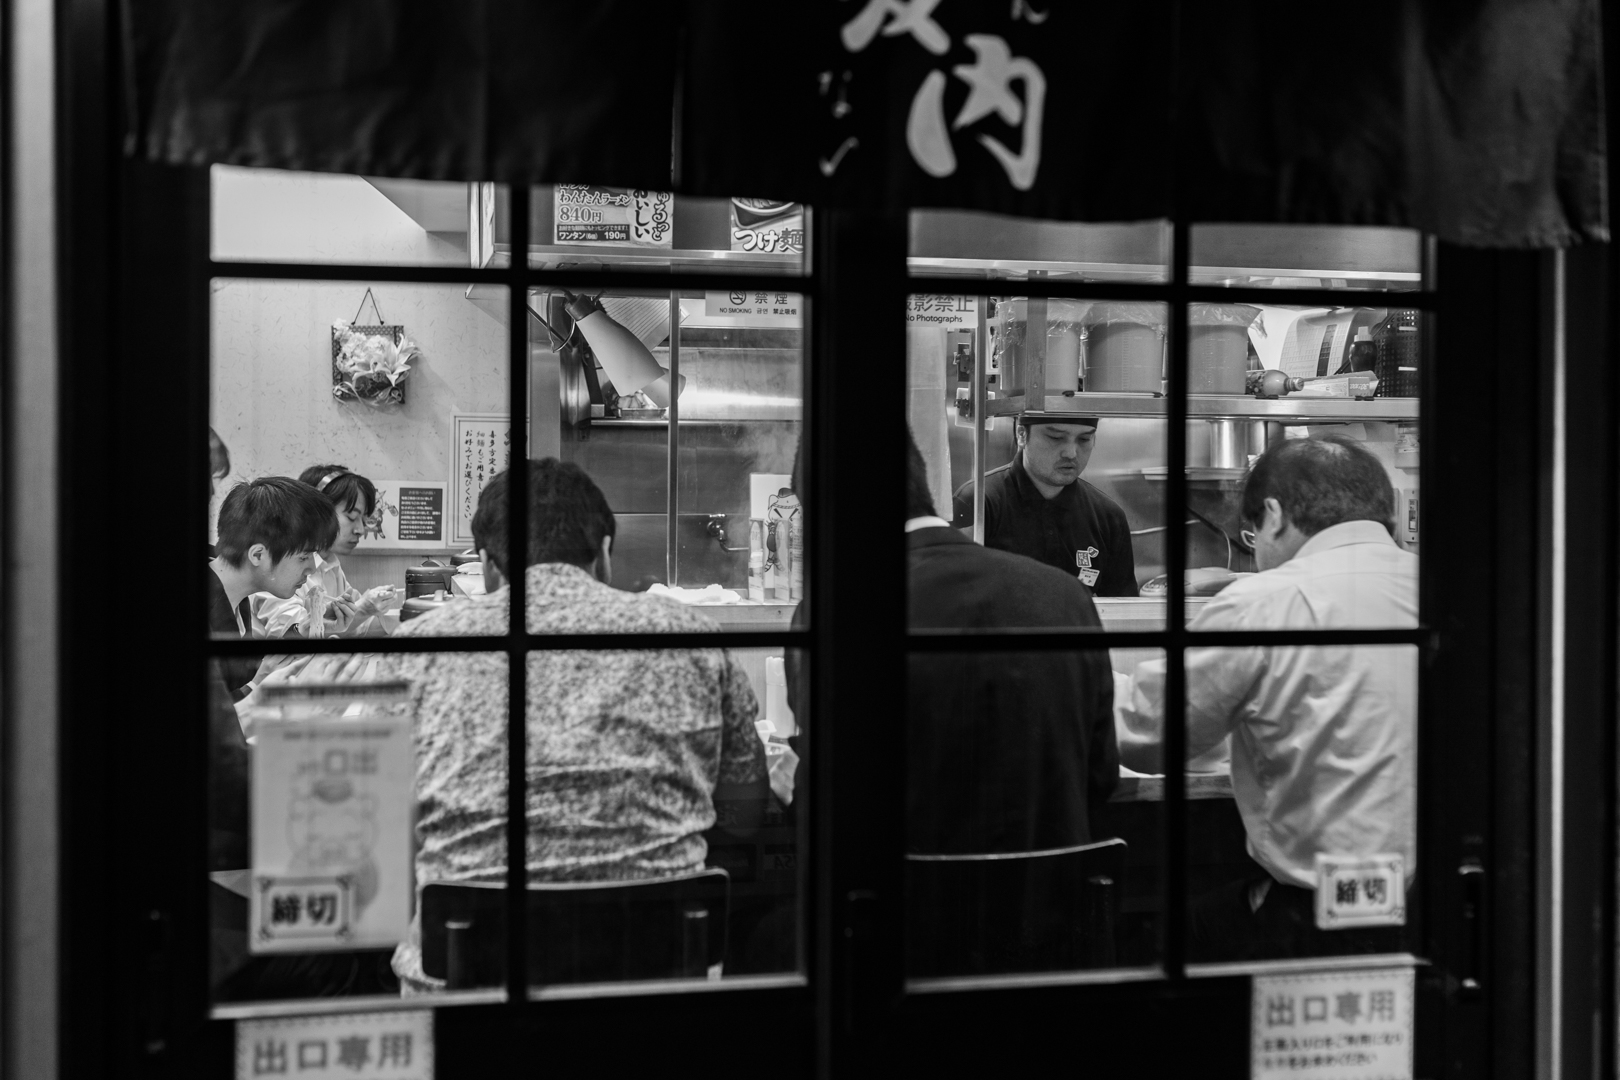
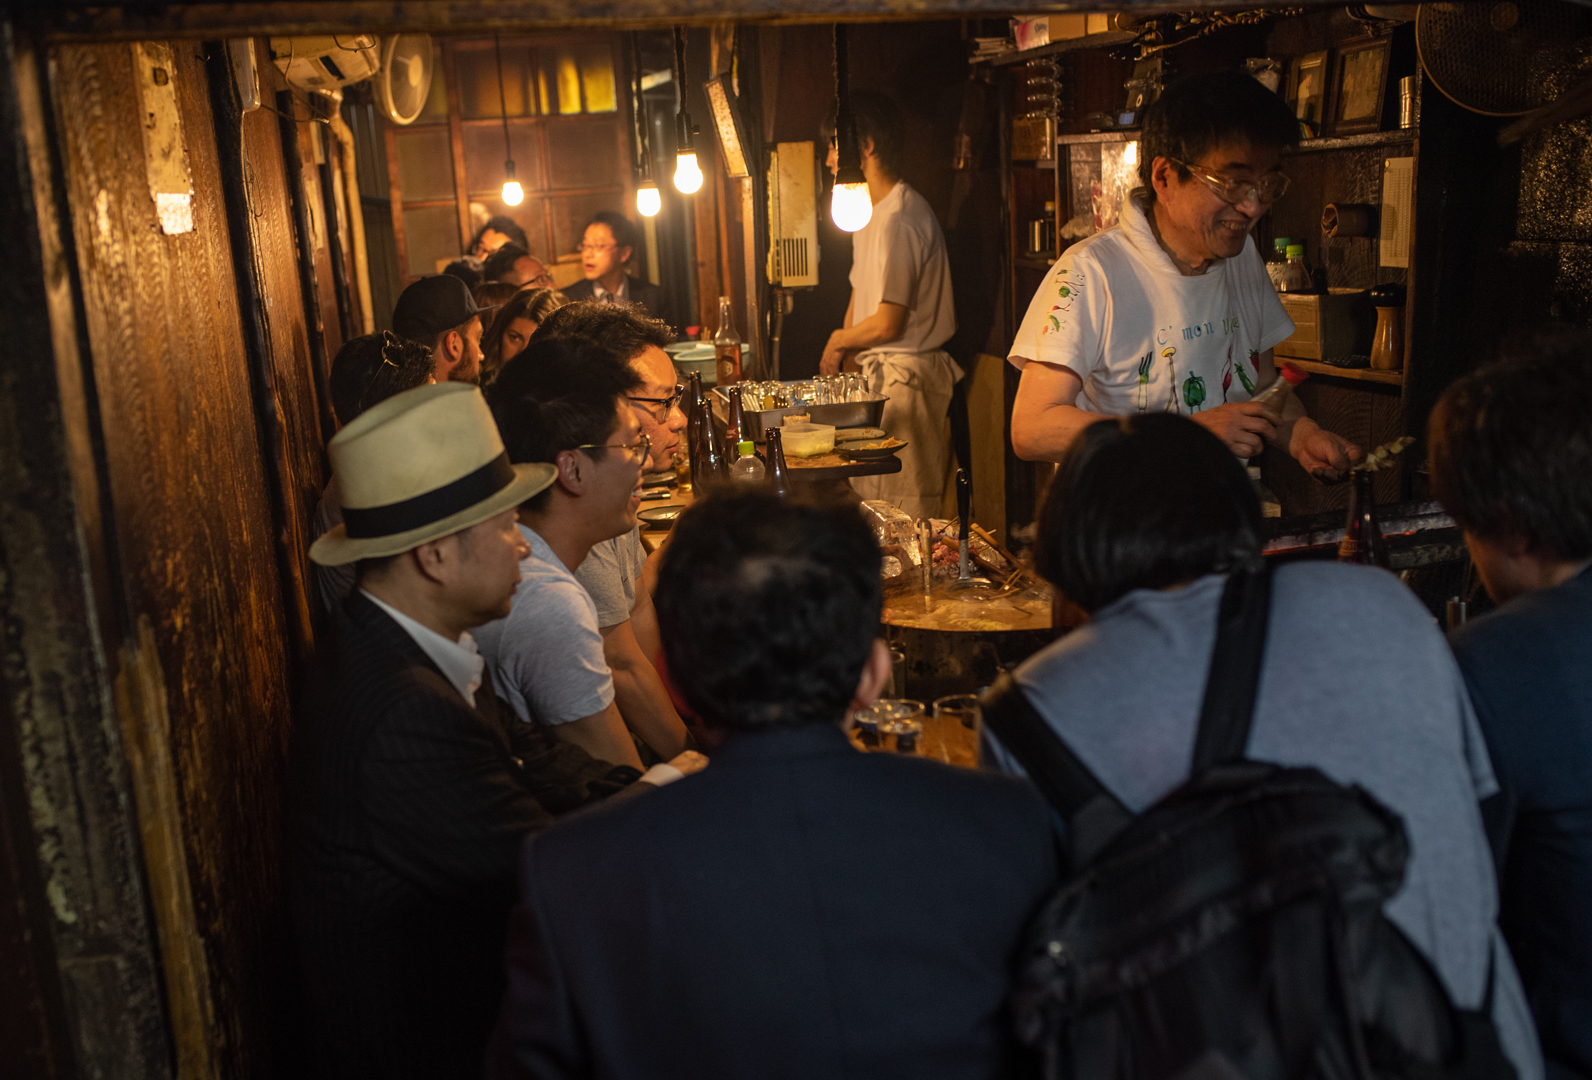
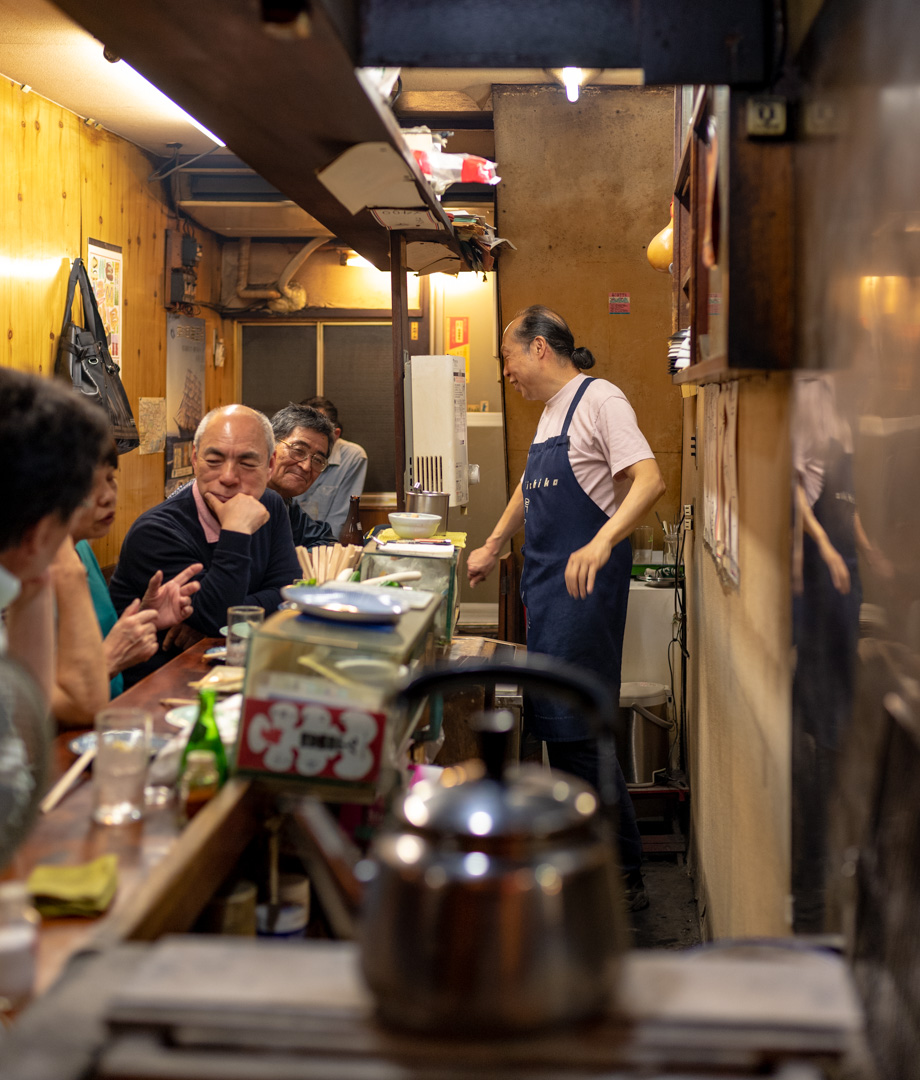
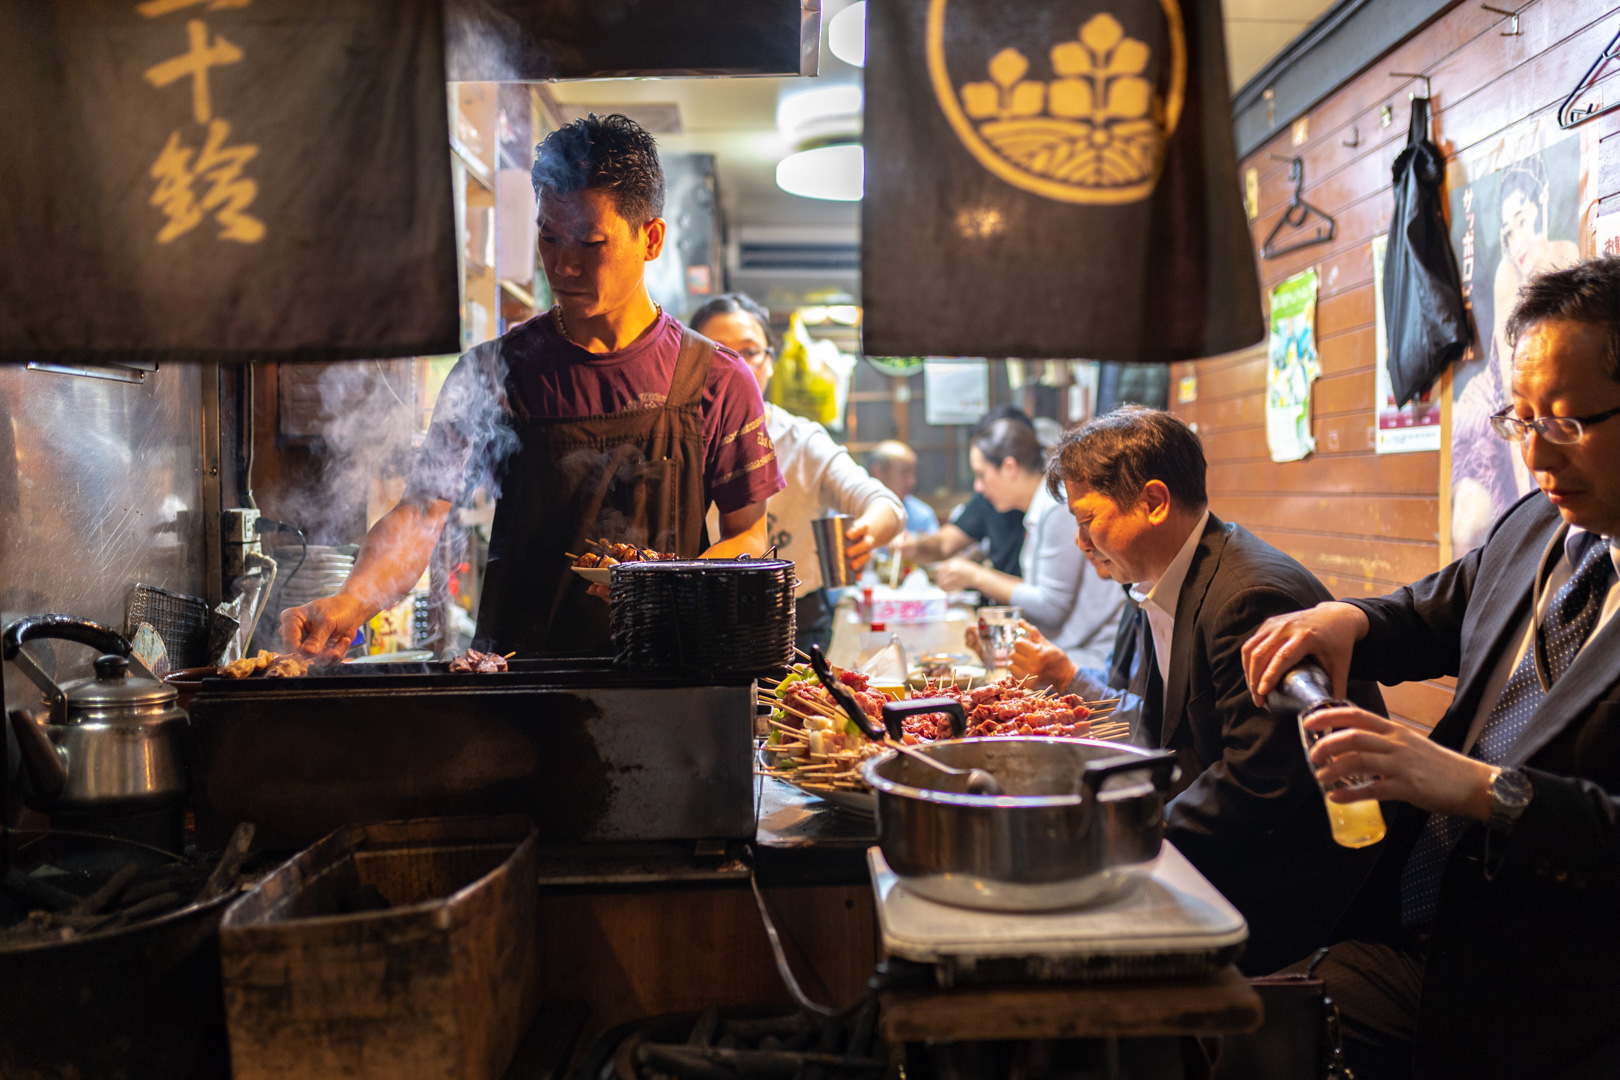
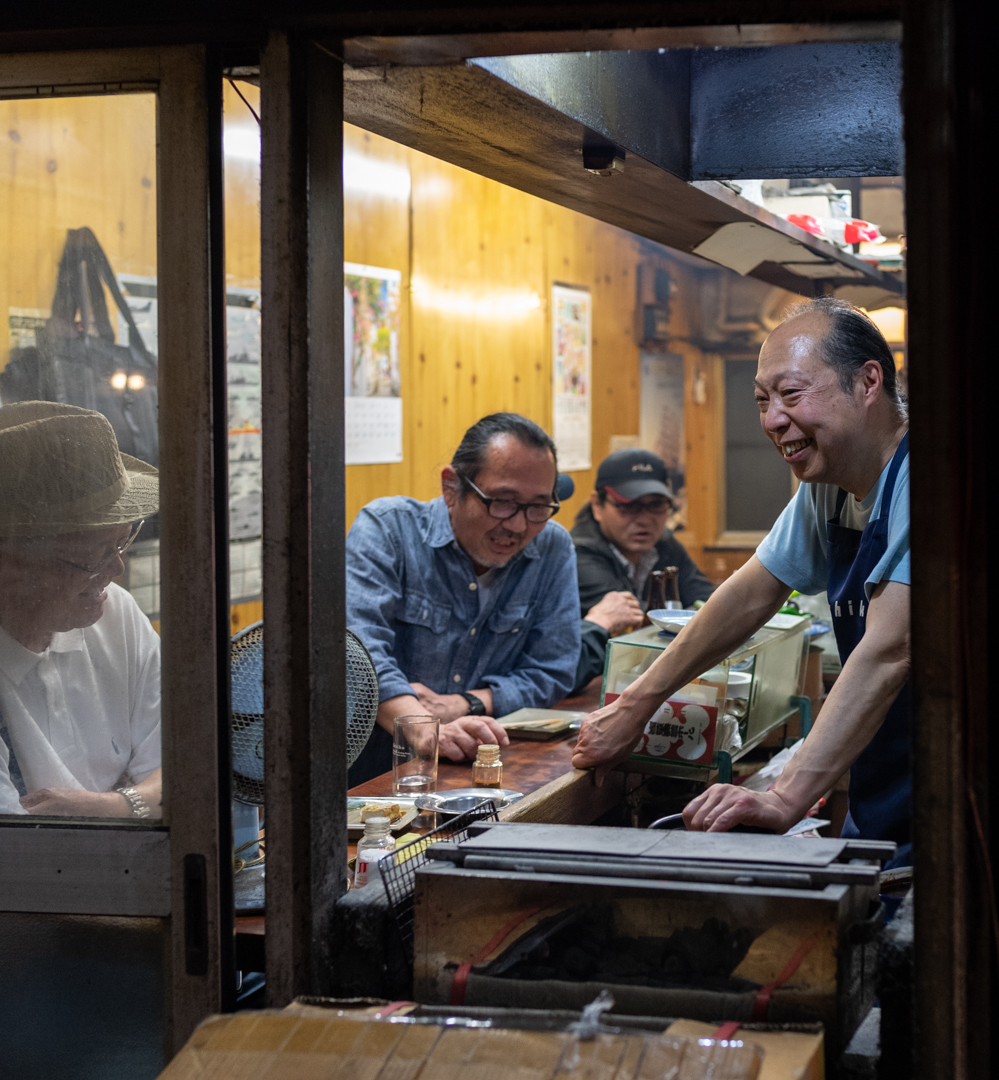
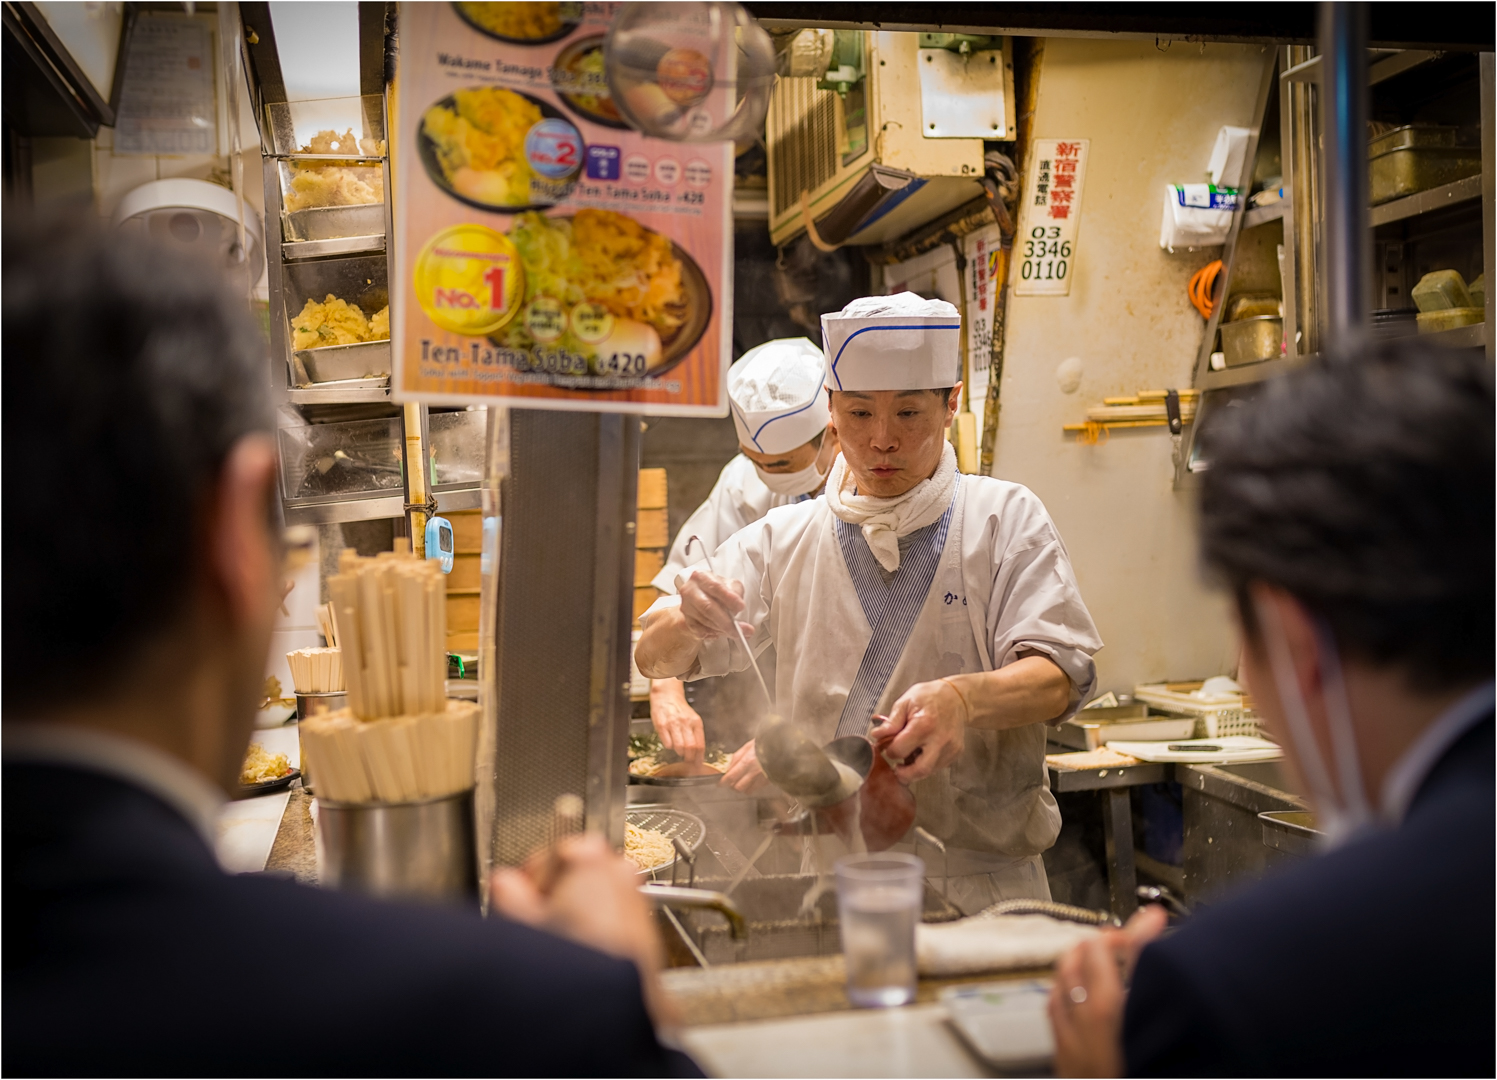
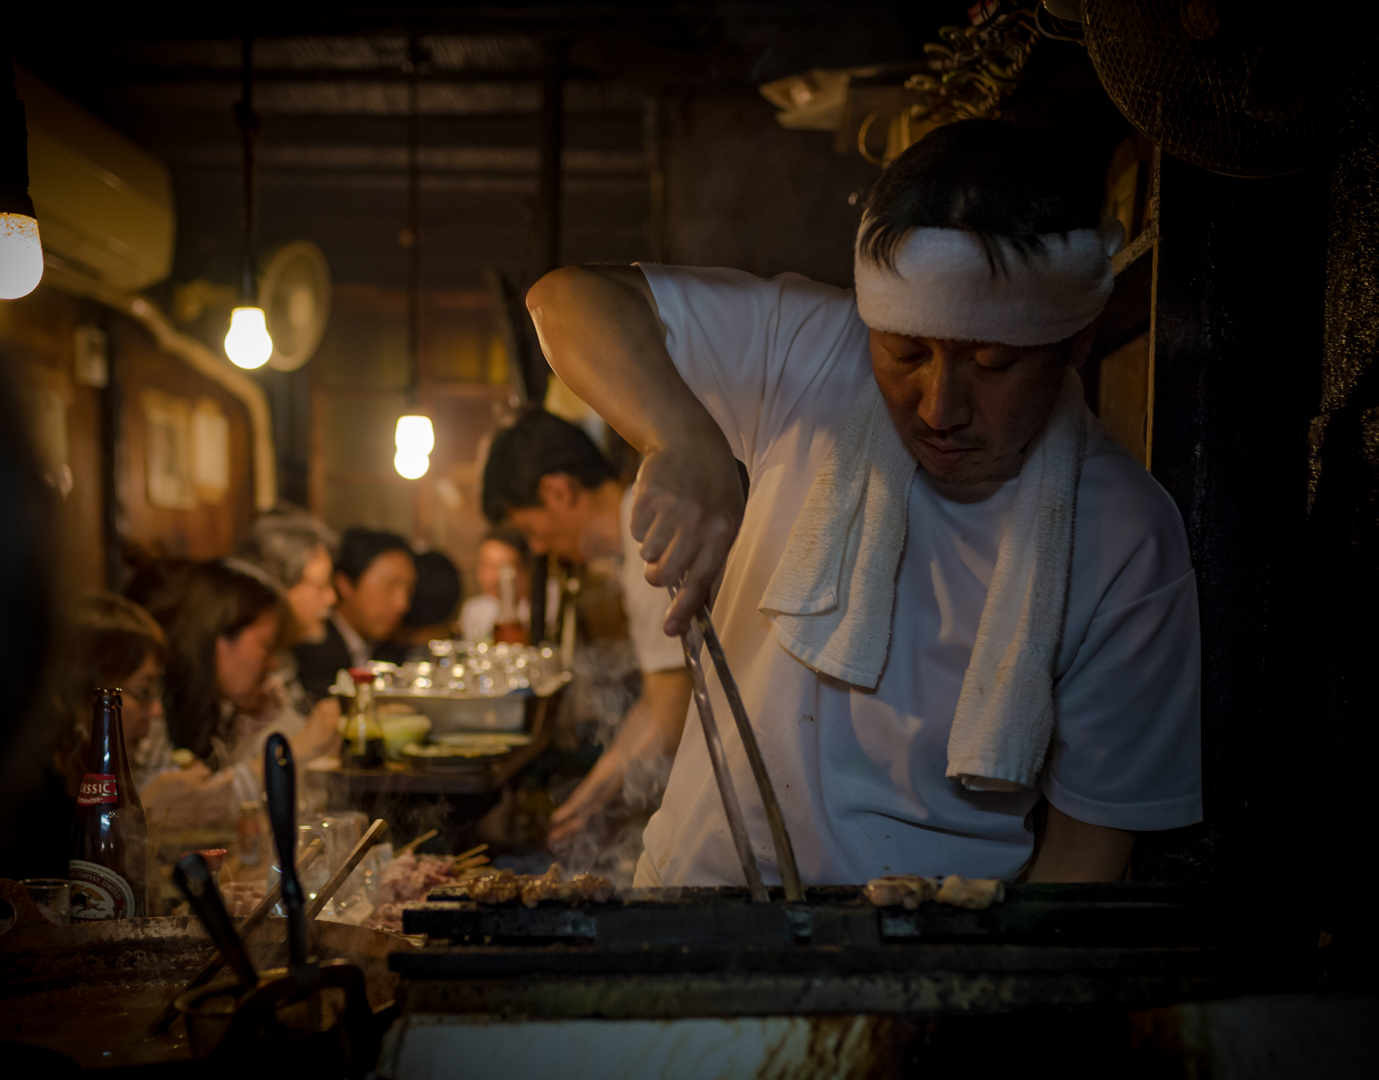
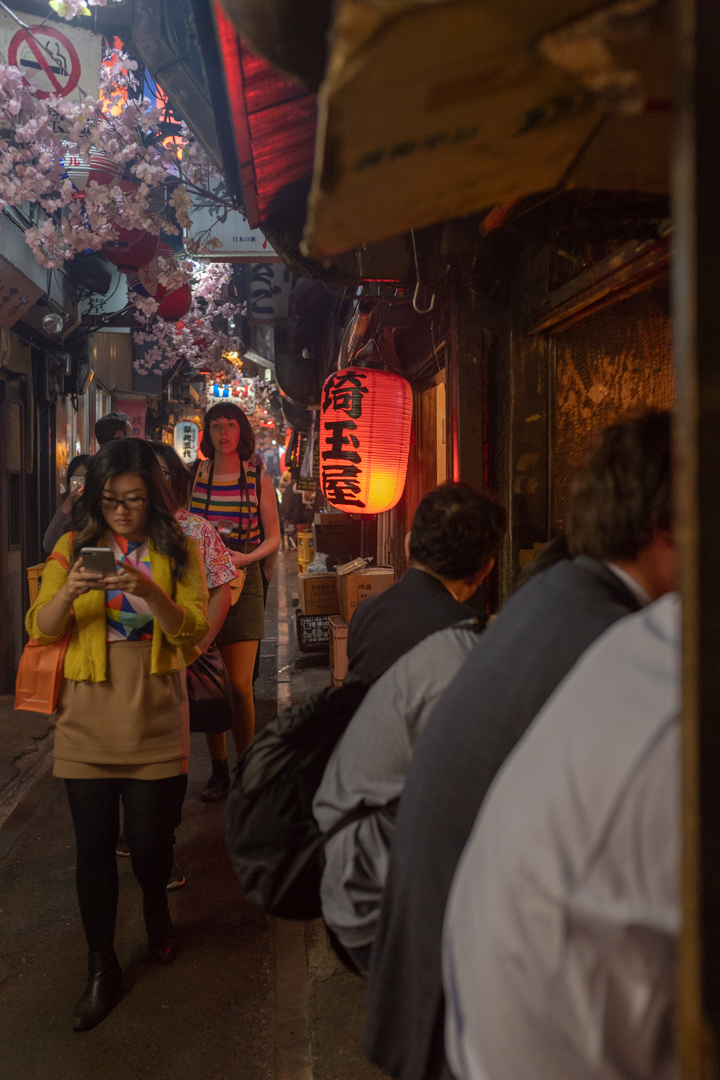
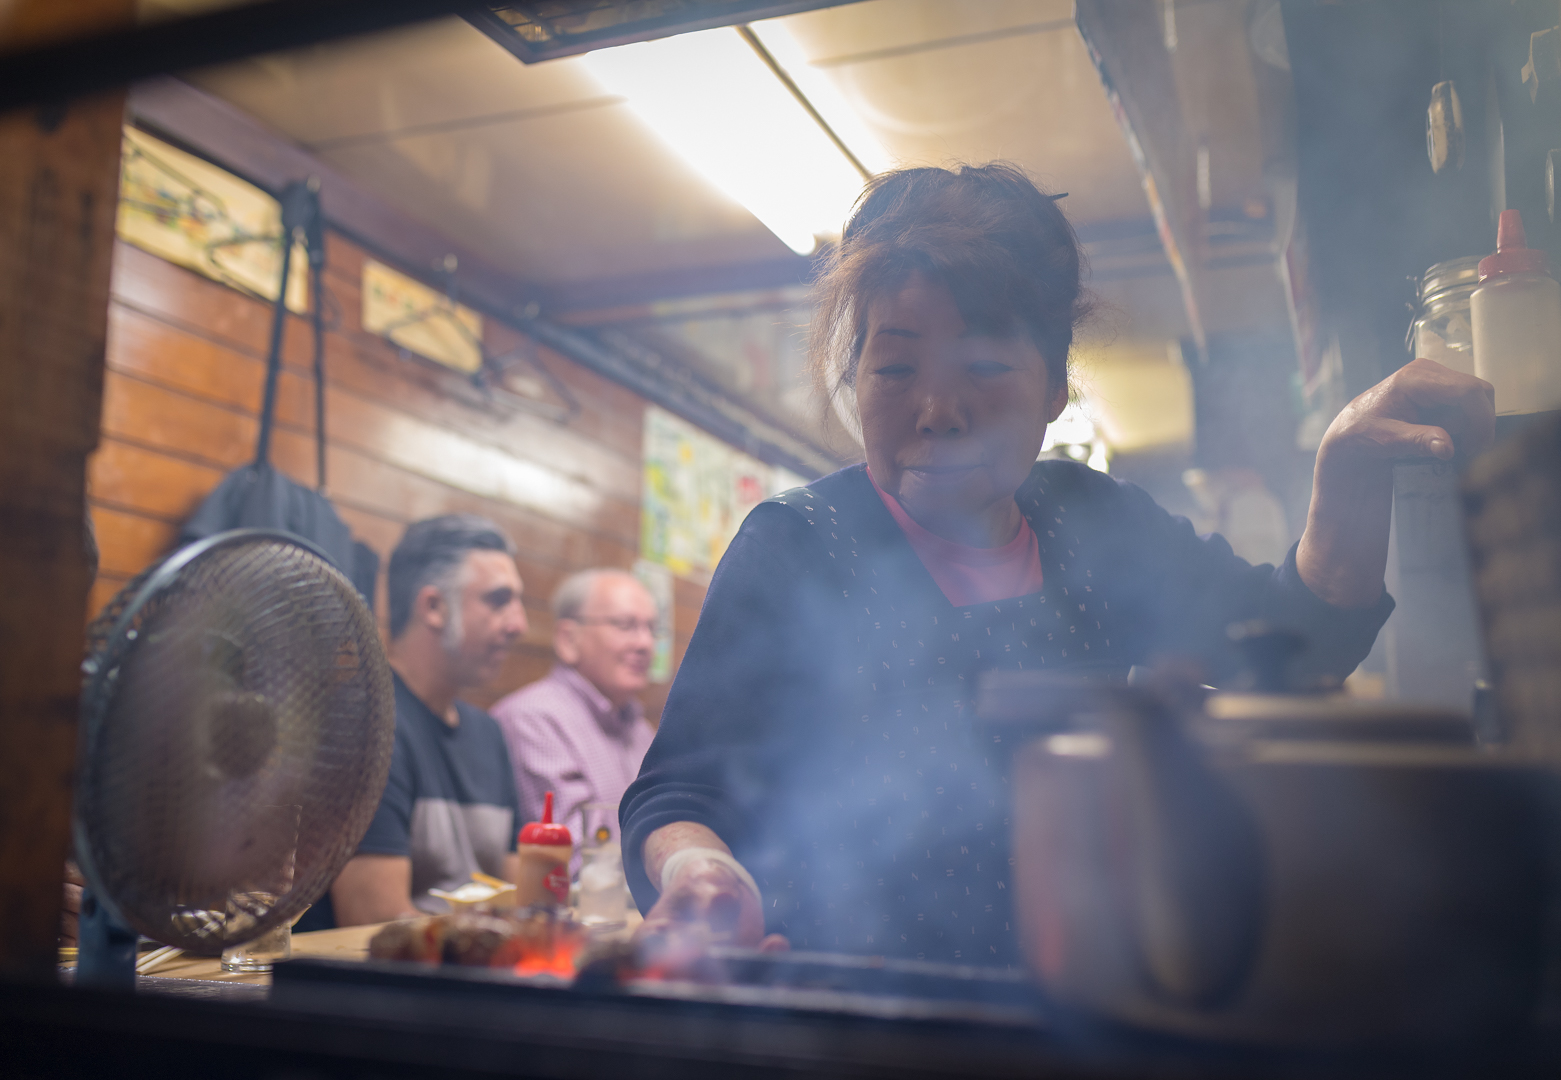
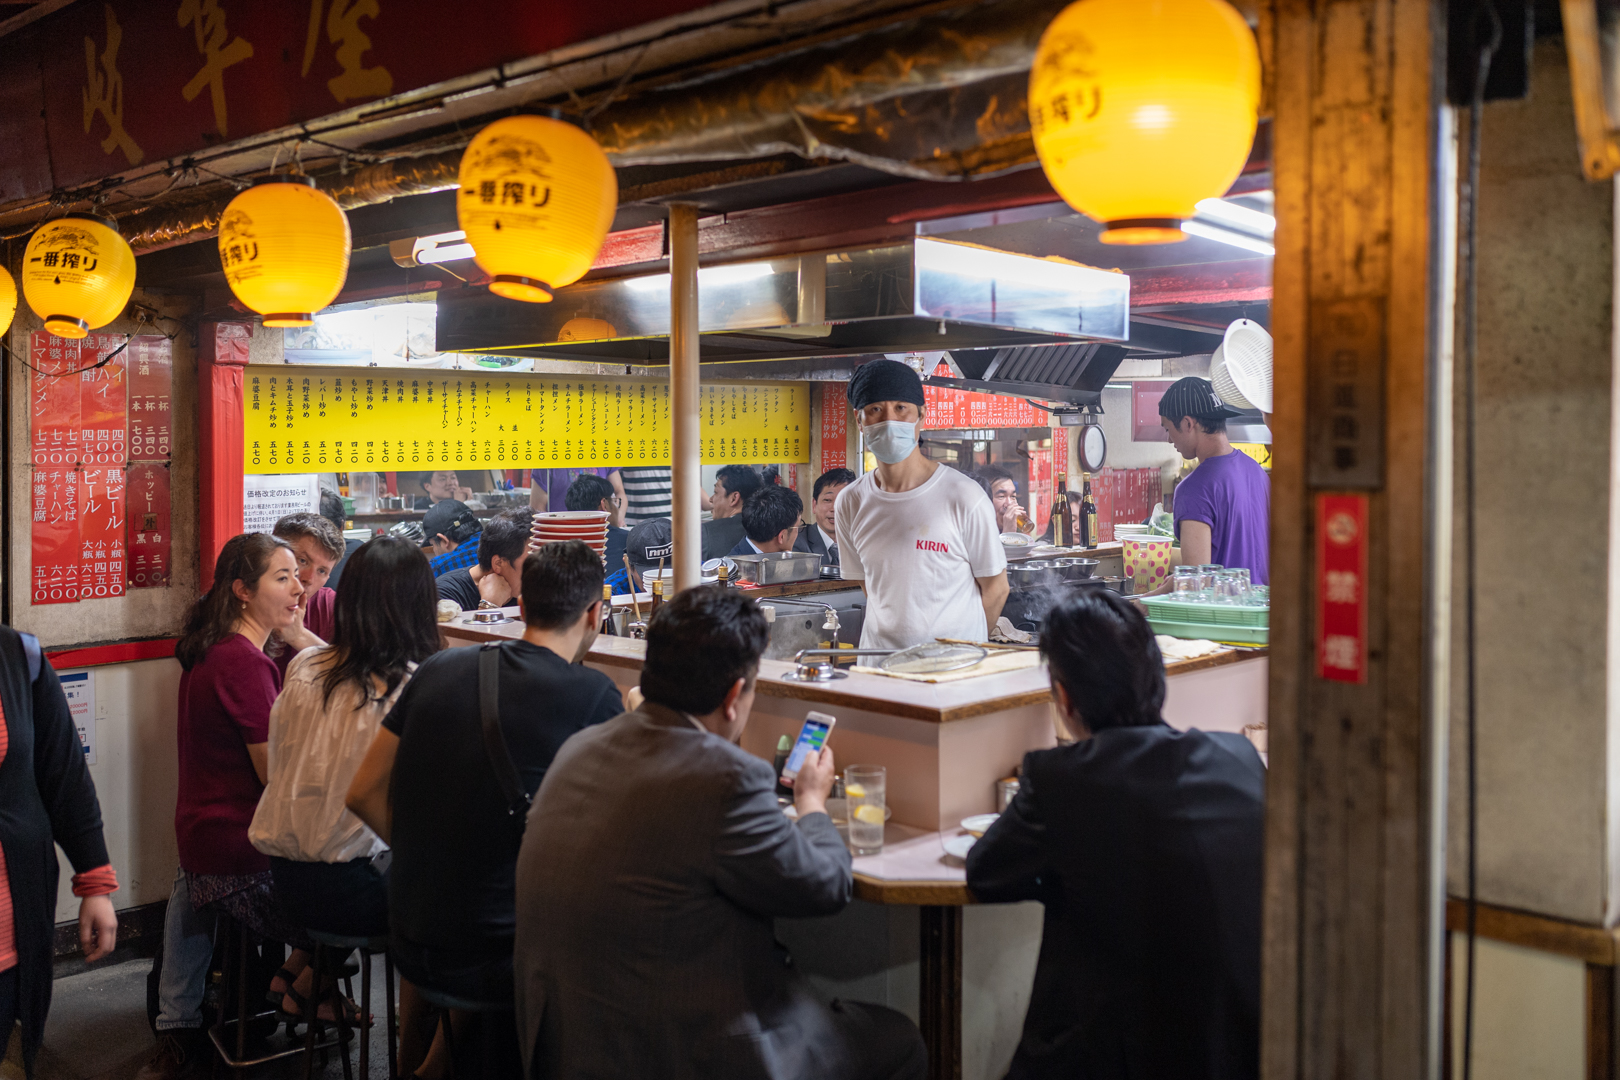
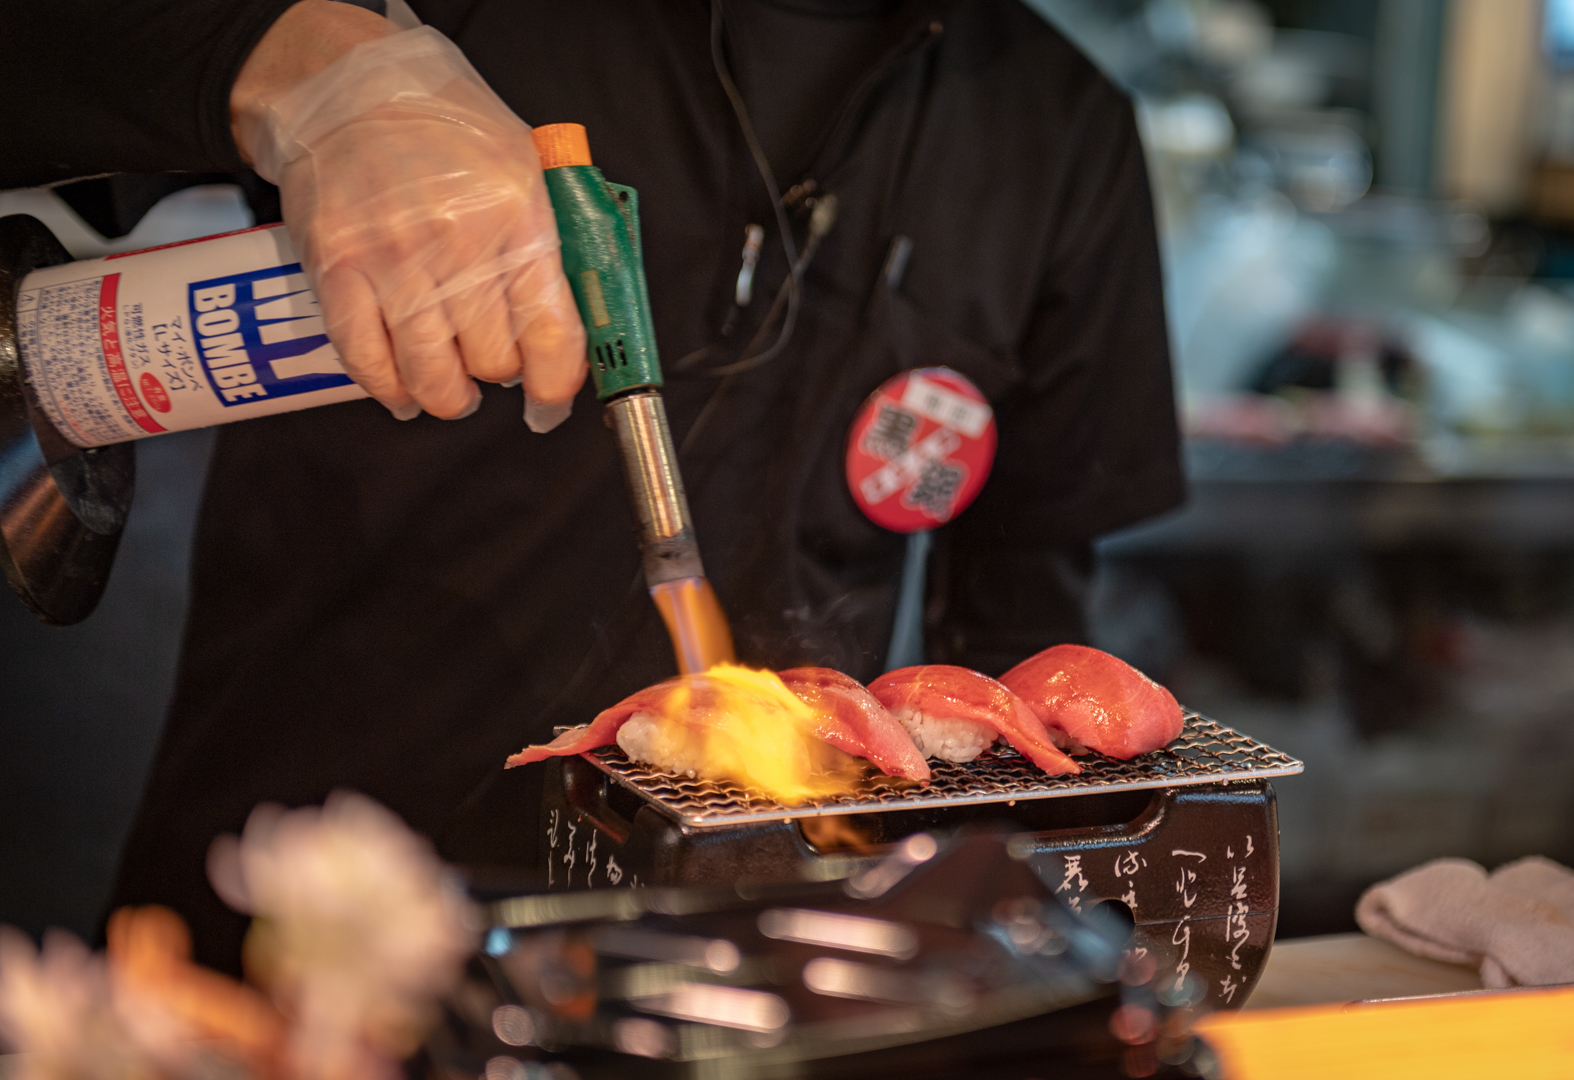
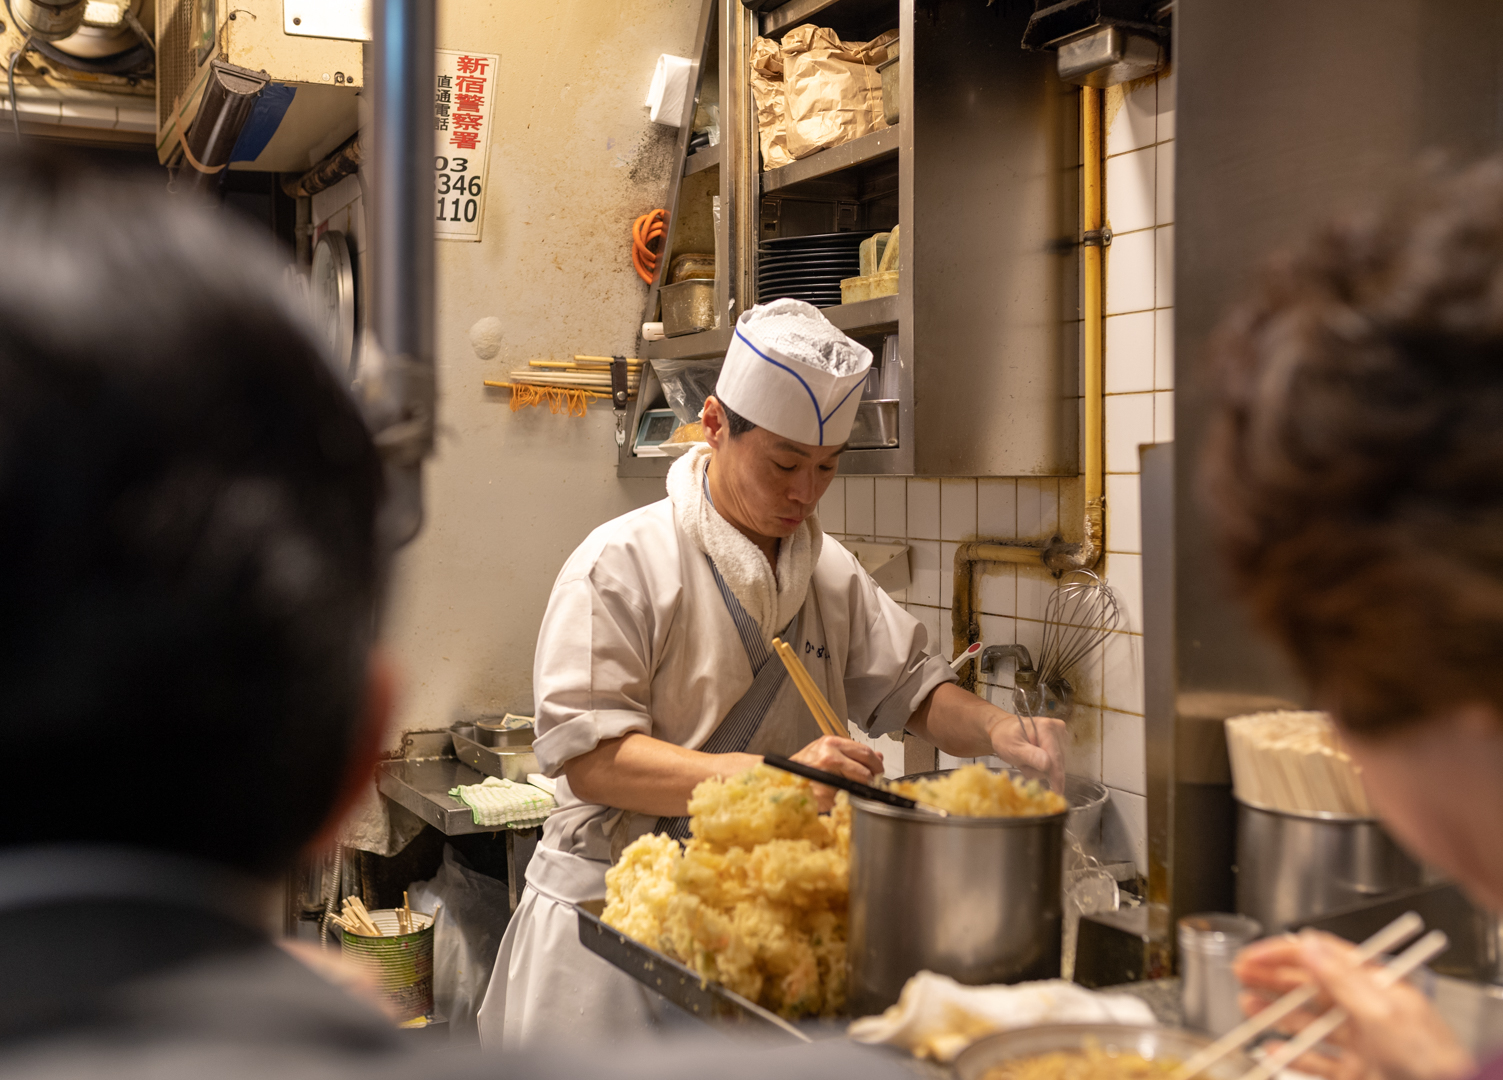
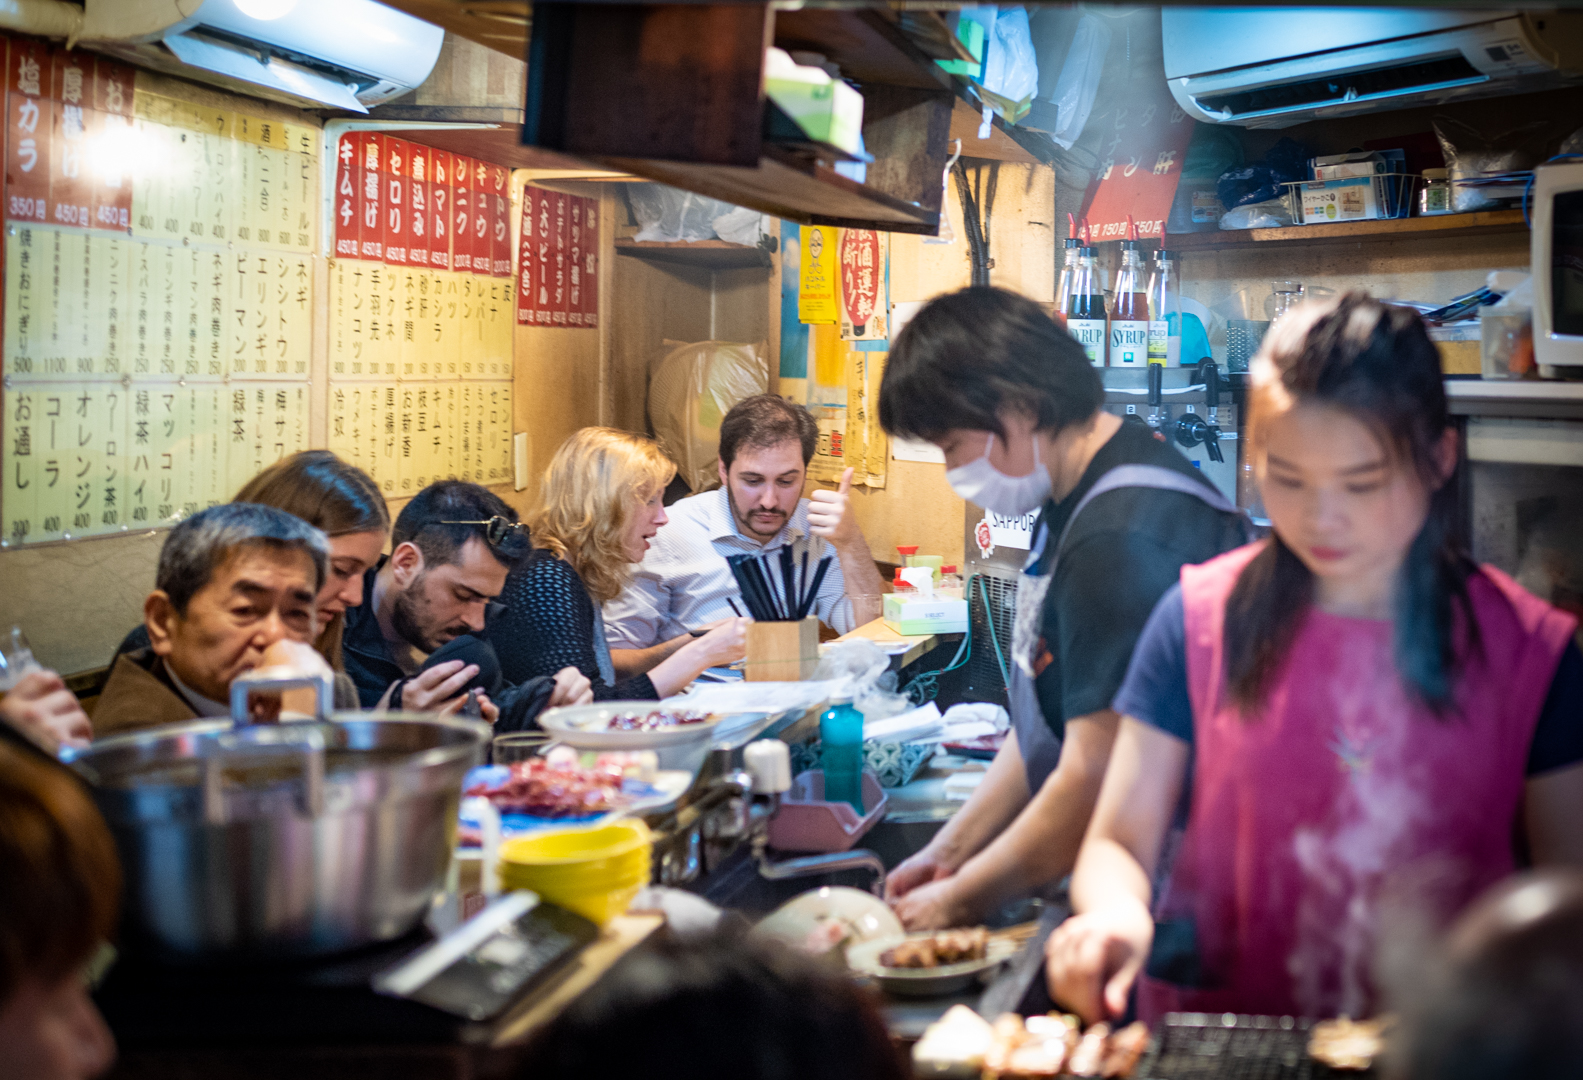
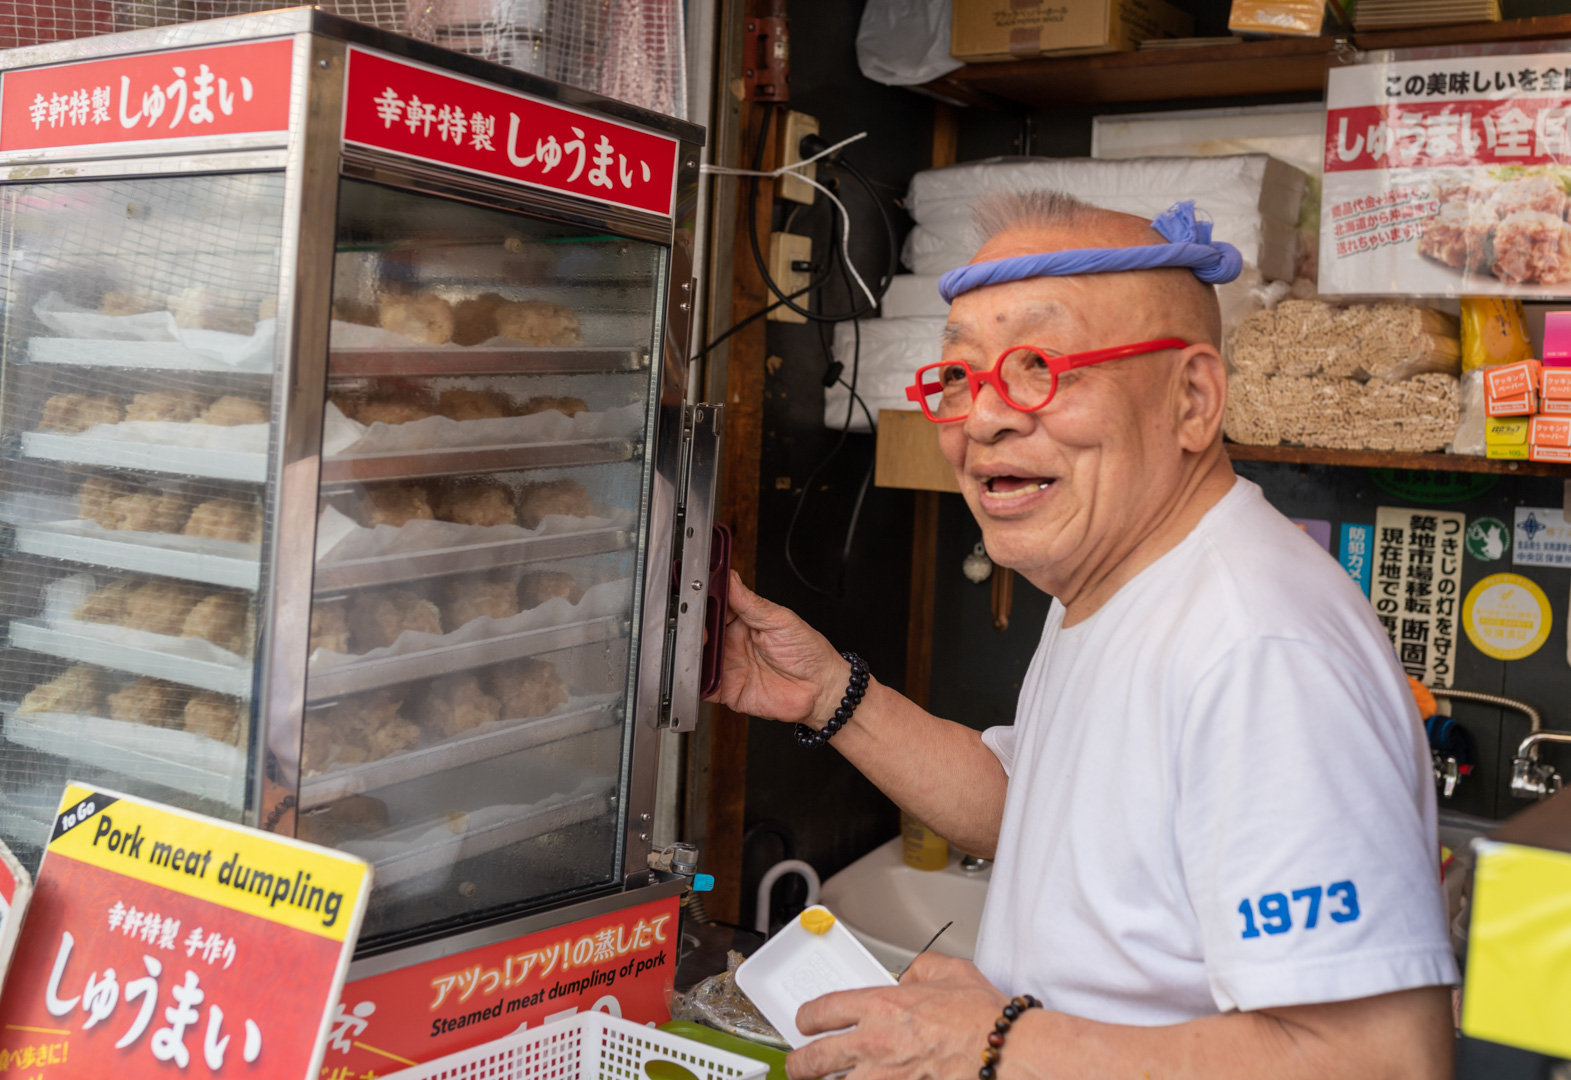
One of the attractions for heading to Japan other than to see the cherry blossom in full bloom was to visit the small bars and eateries to photograph the subduedly light mood and atmosphere of the environment.

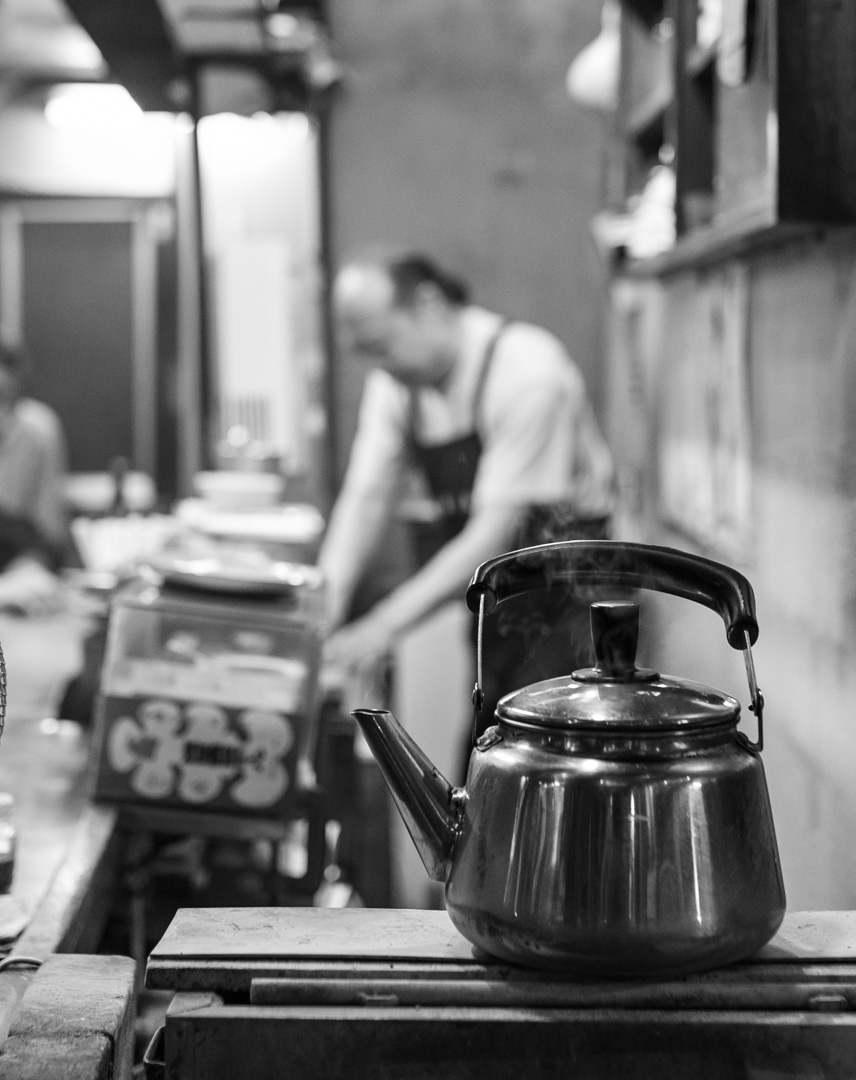
I wasn’t disappointed! The alleyways were filled with small establishments packed with people, both locals and tourists alike. In the months before the trip, I had images in my head that I just wanted to capture. I knew what they were and what I wanted to achieve long before arriving. I even purchased the lens for the job, a 35mm f1.4 that would perform well in low light and give me the desired shallow depth of field. For the non-photographers reading this, it meant I wanted the subject sharp and the background out of focus but sufficiently recognisable to place the subject into context. I think I achieved that on a few occasions.

The food, well what can I say other than it’s out of this world, or at least the part of the world I’m used to living in. Small morsels of tasty meat and poultry seared over hot coals and dipped into some of the tastiest of sauces I’ve ever come across. One I shall never forget though was the small round tomatoes wrapped in bacon, cooked over coals and served piping hot three to a skewer. The burst of the combination of sweet tomato juices and salty bacon as you bit into them was unbelievable.

_5GE6818-12_5GE8367-22_5GE6828-14_5GE6865-5_5GE6868-7_5GE6800-11_5GE6826-13_5GE6799-10_5GE6866-6_5GE6809-41_5GE6801-3-40_5GE6858-4_5GE6847-42_5GE6853-3_5GE8386-28_5GE6854-1_5GE6790-1


A Snapshot of Japan Part 2 – The People

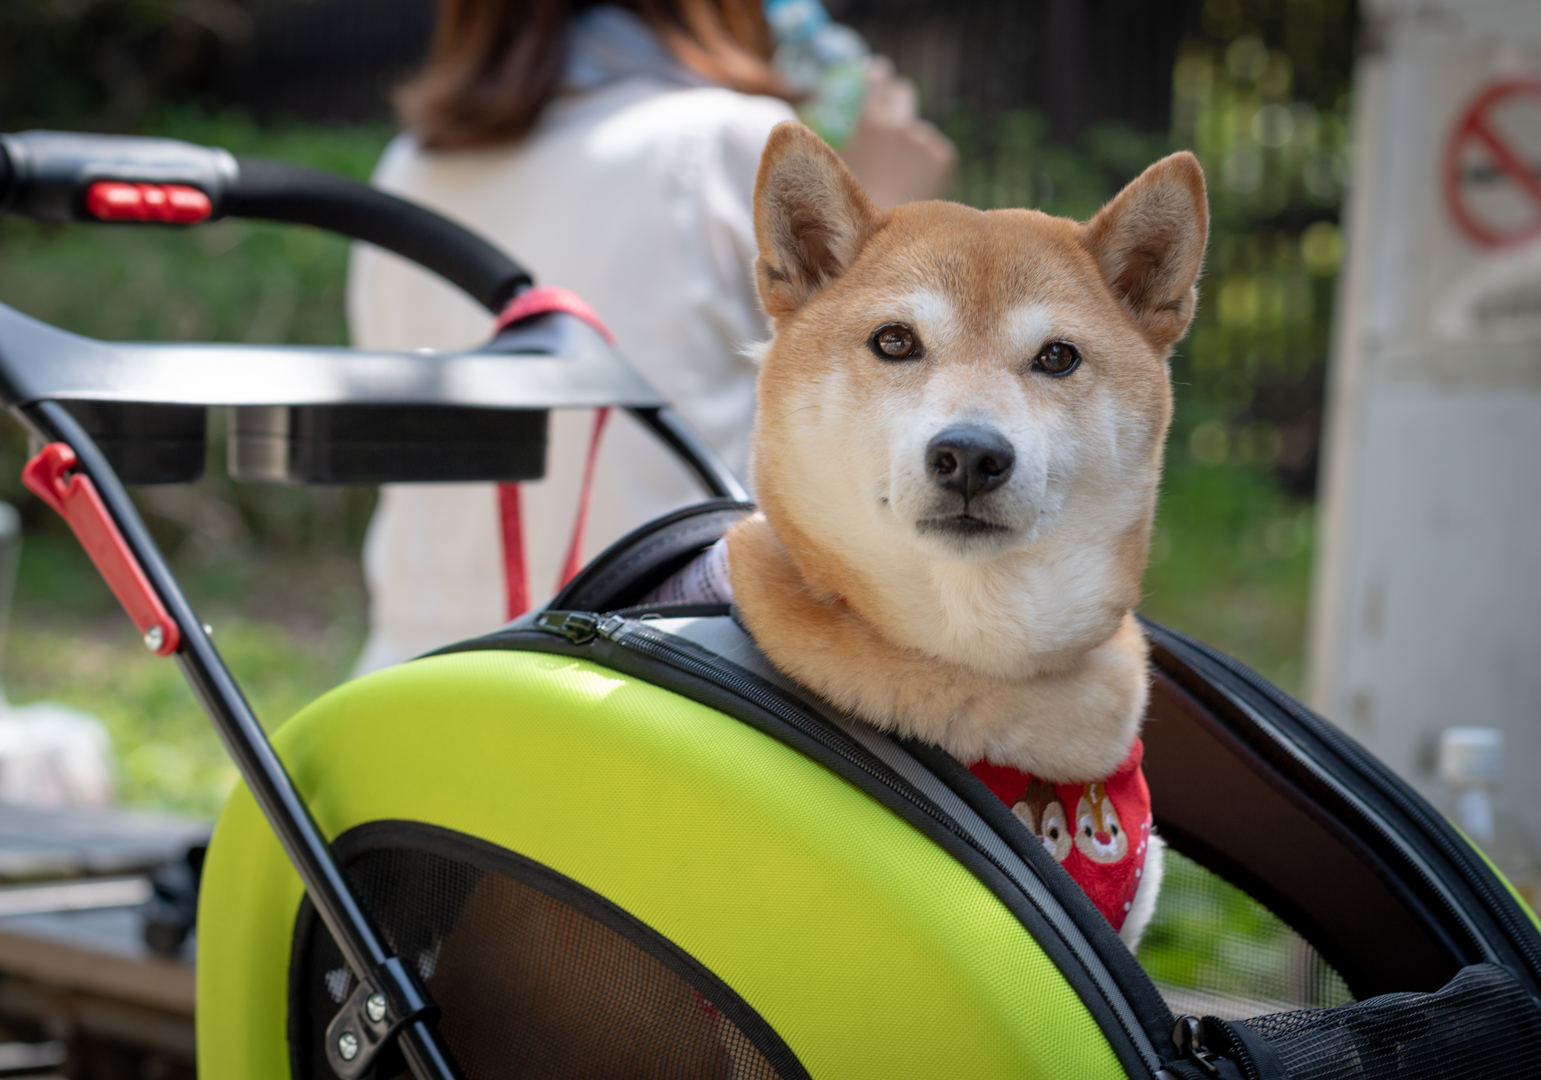
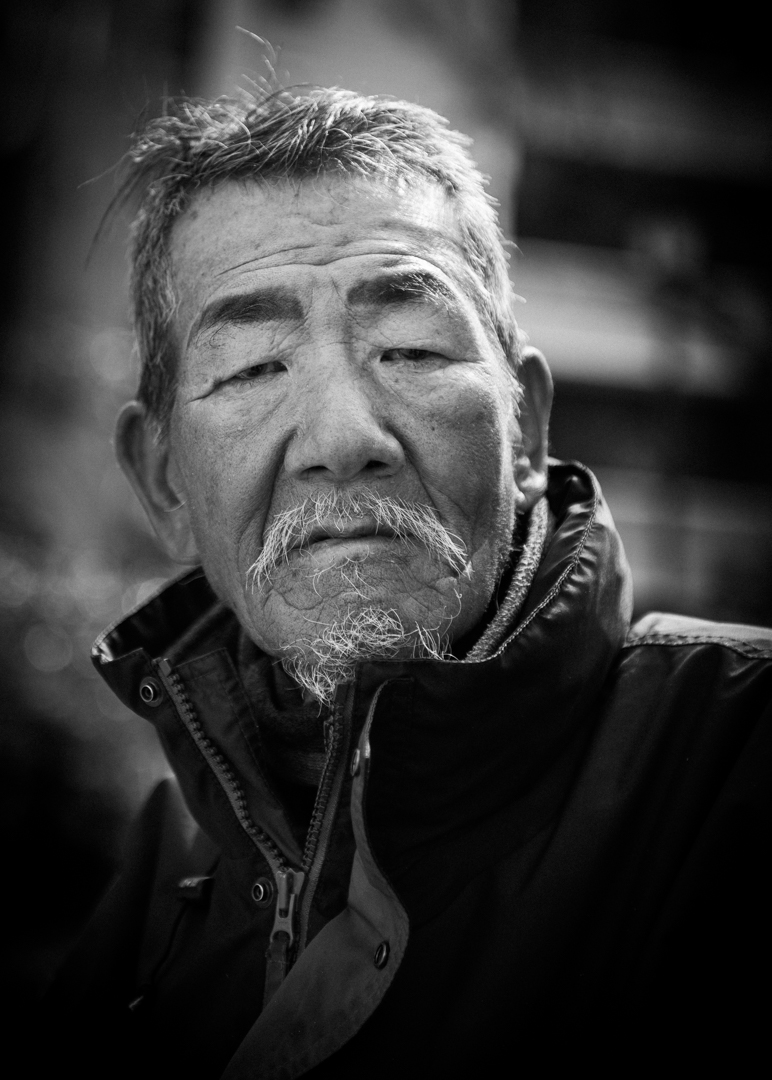
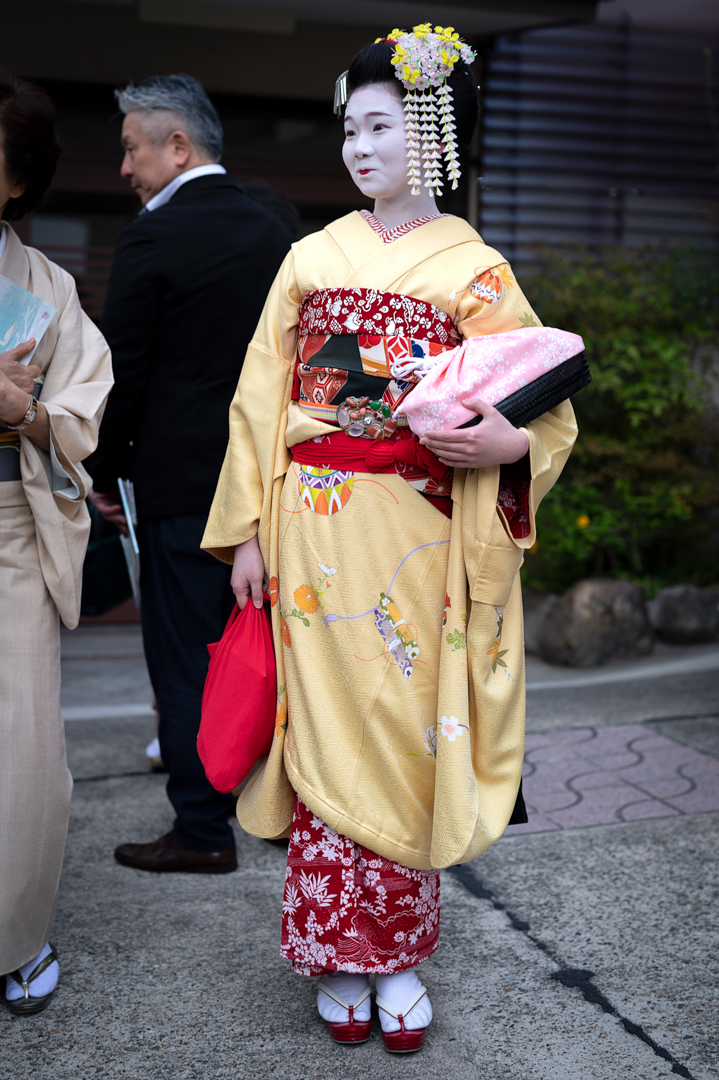
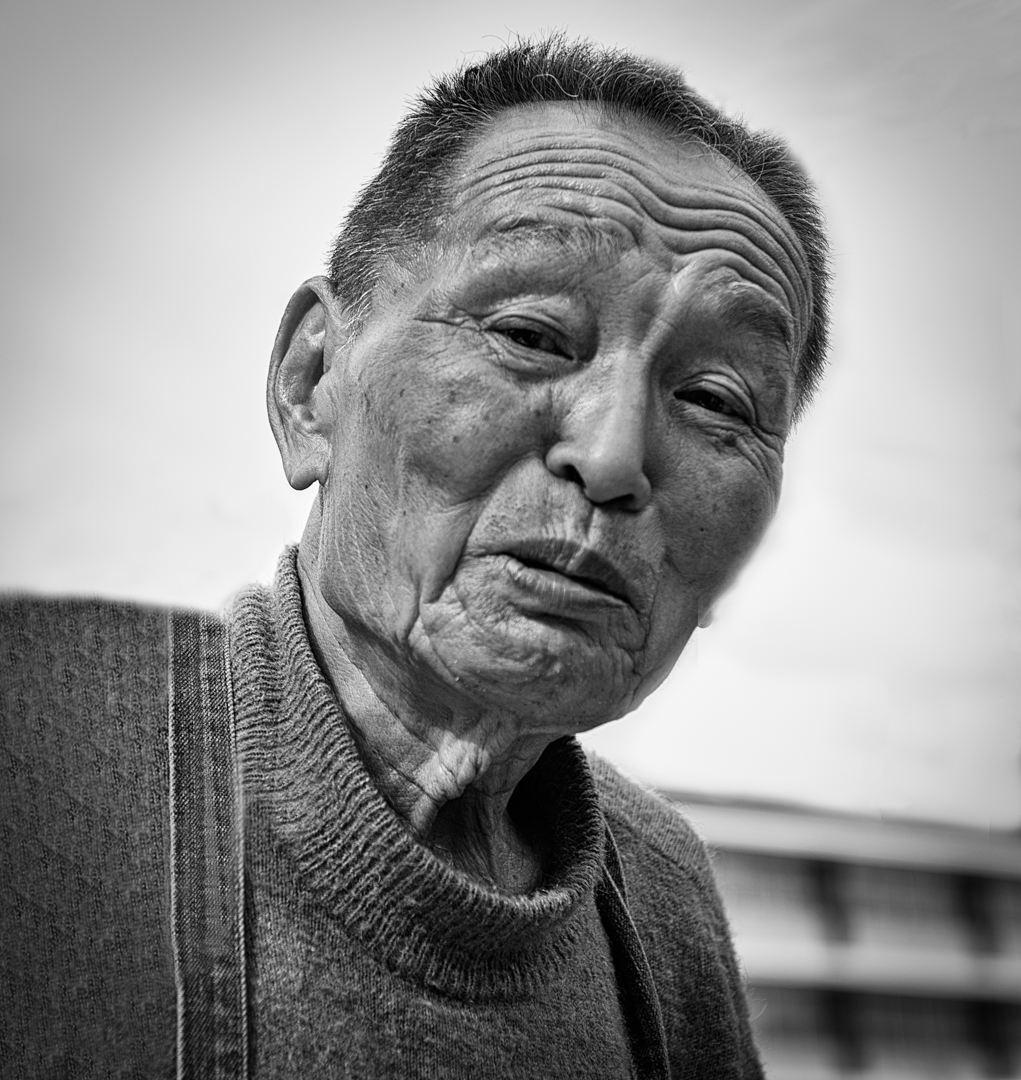
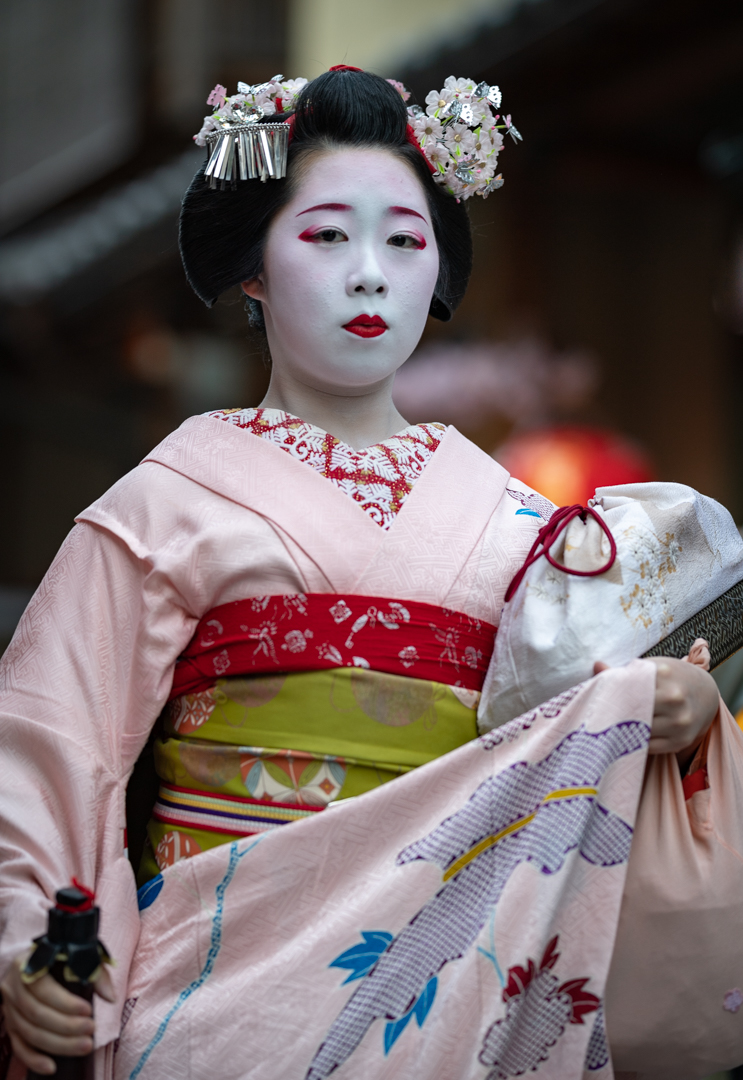
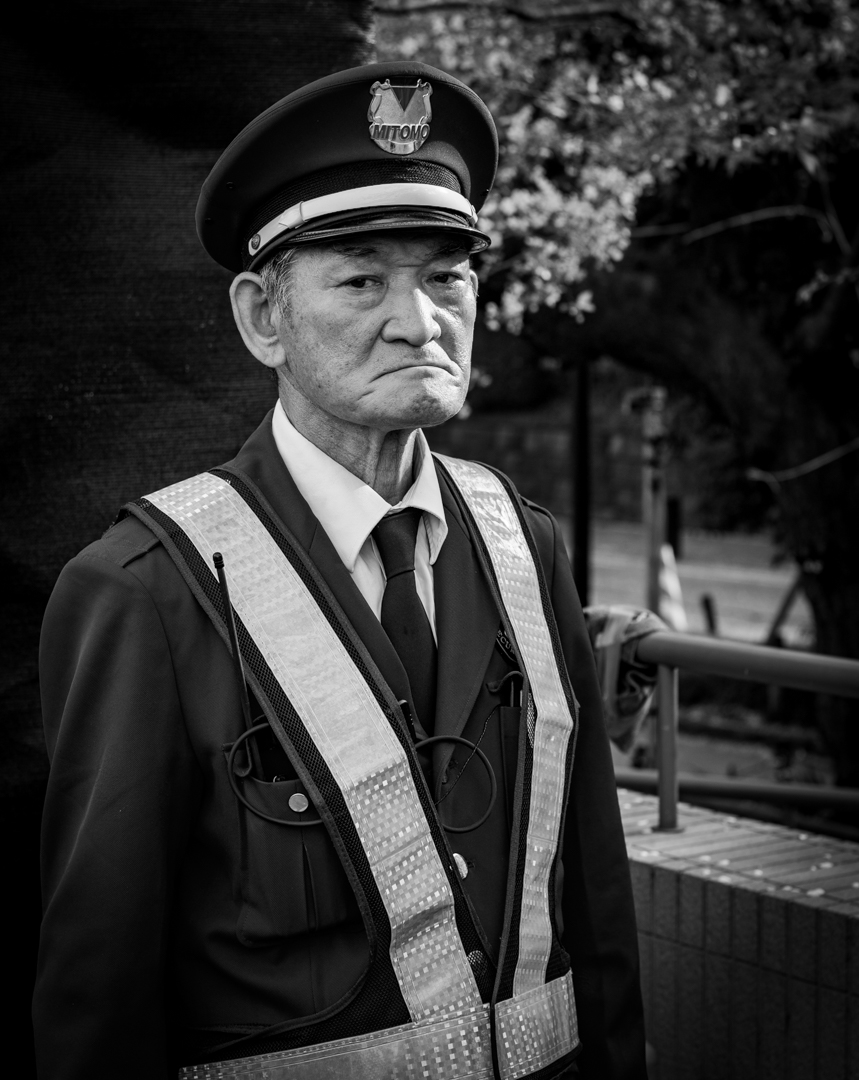
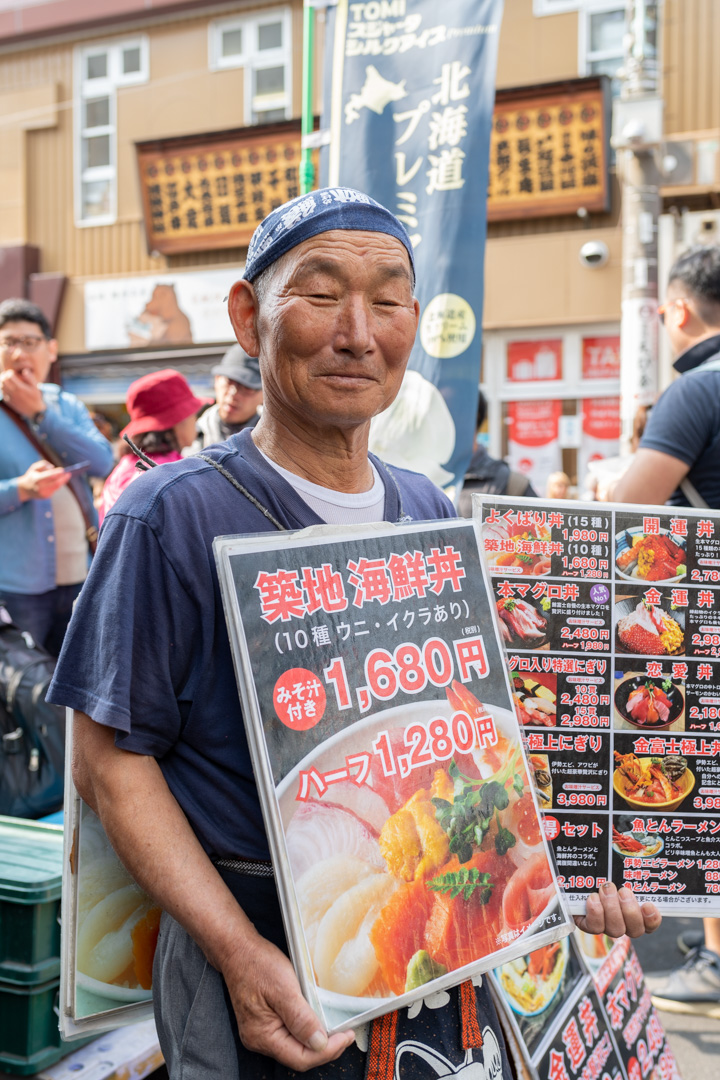
When you arrive in Japan the first thing that strikes you is that there are lots of people, and I really mean lots. Most are local residents, but then there are also the busloads of tour groups who arrive at the popular locations in their masses. When faced with the dilemma of photographing interesting scenes in crowded locations the solution is to include the people and make them the subject.

Here are a few shots of people going about their daily routine that were taken in Tokyo, Kyoto and Osaka.

_5GE6448-8_5GE7850-45Edit-7889-47

_5GE6373-Edit-3_5GE8203-20_5GE8039 crop Noise-49_5GE6472-13_5GE6671-8_5GE8173-19_5GE6631-3_5GE6419-6_5GE6639-7_5GE8222-50_5GE8046-17

A Snapshot of Japan Part 1 – The Cherry Blossom

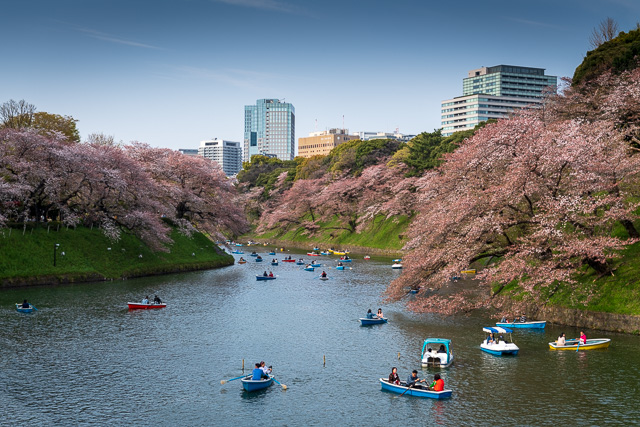
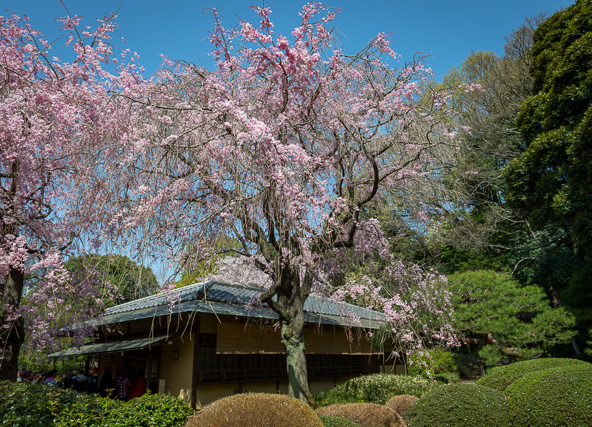
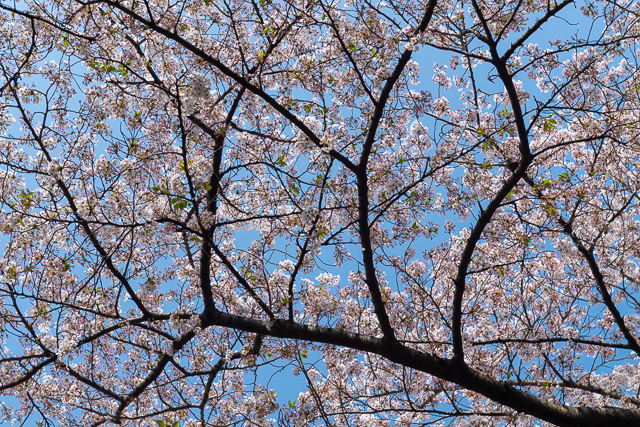
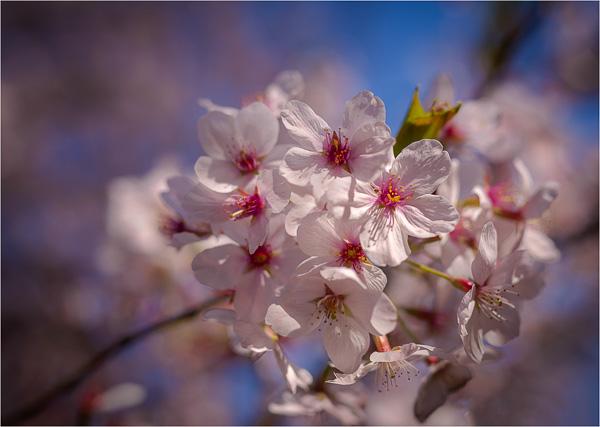
The association of Springtime and Japan always brings the thought of cherry blossom to mind and what better way is there to capture this special event than with a camera in hand.

Join me in this first part of a series of articles covering my visit to the cities of Tokyo, Kyoto and Osaka as we explore the wonders of these ancient cities, their people and modern-day lifestyle.

Each year, the cherry blossom, or sakura as referred to by the locals, only lasts at its peak for around one week, so timing for photography purposes is critical if you are to capture the full beauty of the pink and white blooms at their best.

_5GE6422-2

_5GE6129

The cherry blossom means more than just beautiful trees to the people of Japan as the sakura has ties to Japan’s history, culture and identity, and brings the feelings of hope and renewal of life.

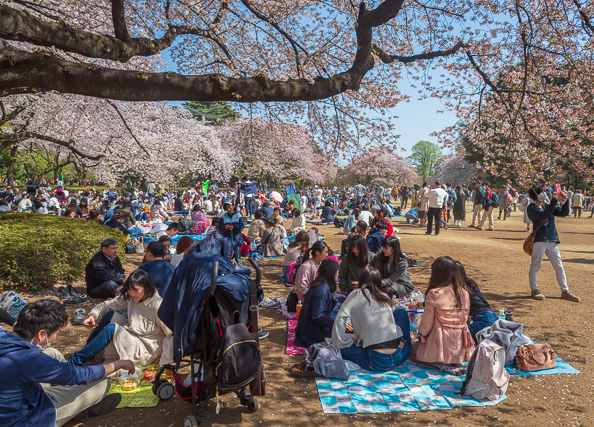
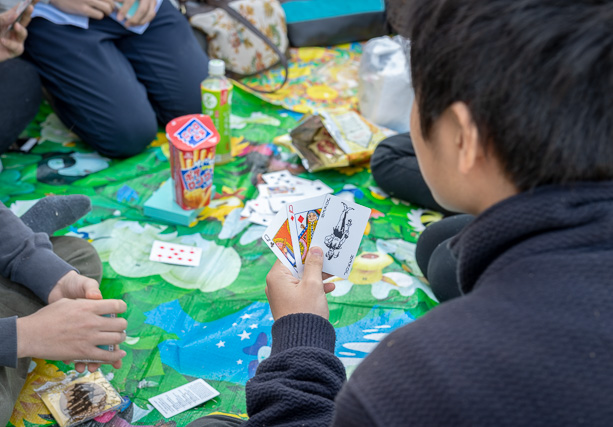
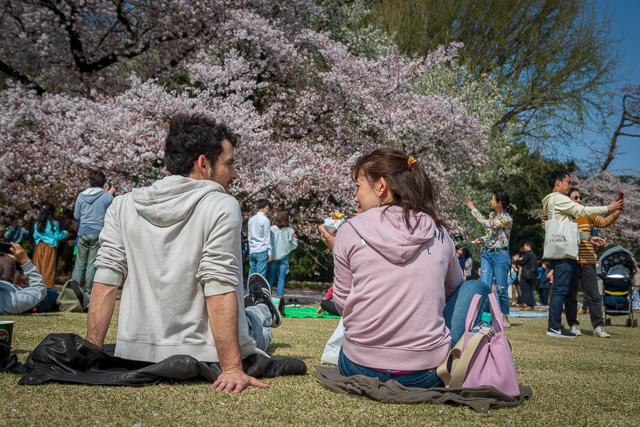
The gatherings of groups of family and friends under the trees for flower watching parties, called hanami, are a very important part of Japanese life and tradition.

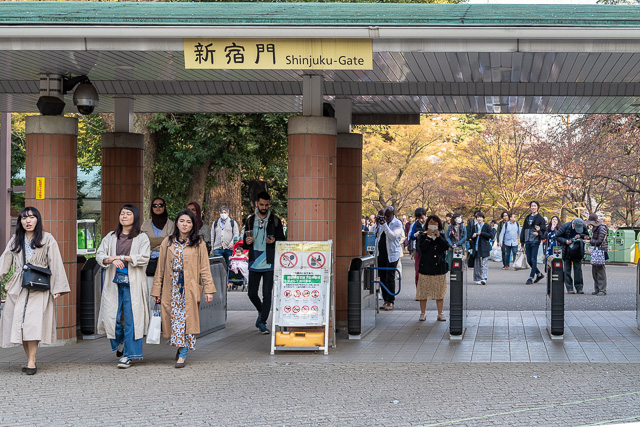
On the particular Saturday that we were there, we were told that 3 million people passed through the gates of the Shinjuku Gyoen National Garden in Tokyo between 9 am and 4 pm. The gardens occupy an area of 58.3ha or around 145 acres, but that’s still a lot of people for just one day.

_5GE6059

image

_5GE6254-2

_5GE5982

_5GE6276

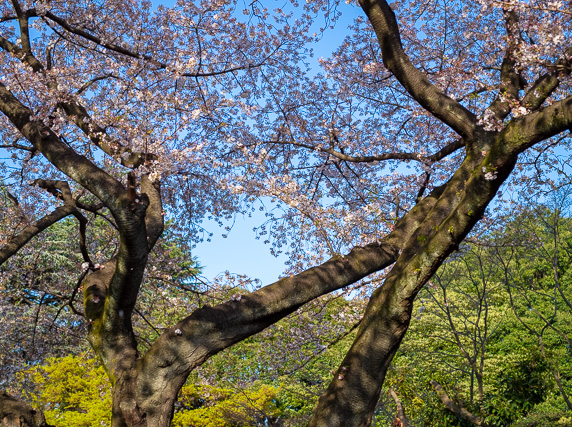
While the trees look spectacular from a distance with all their majesty, there are always photos of the small detail to be had within the bigger scheme of things.

20180330-_5GE6022B_5GE6135-Edit_5GE5954_5GE5932-Edit_5GE5930-Edit

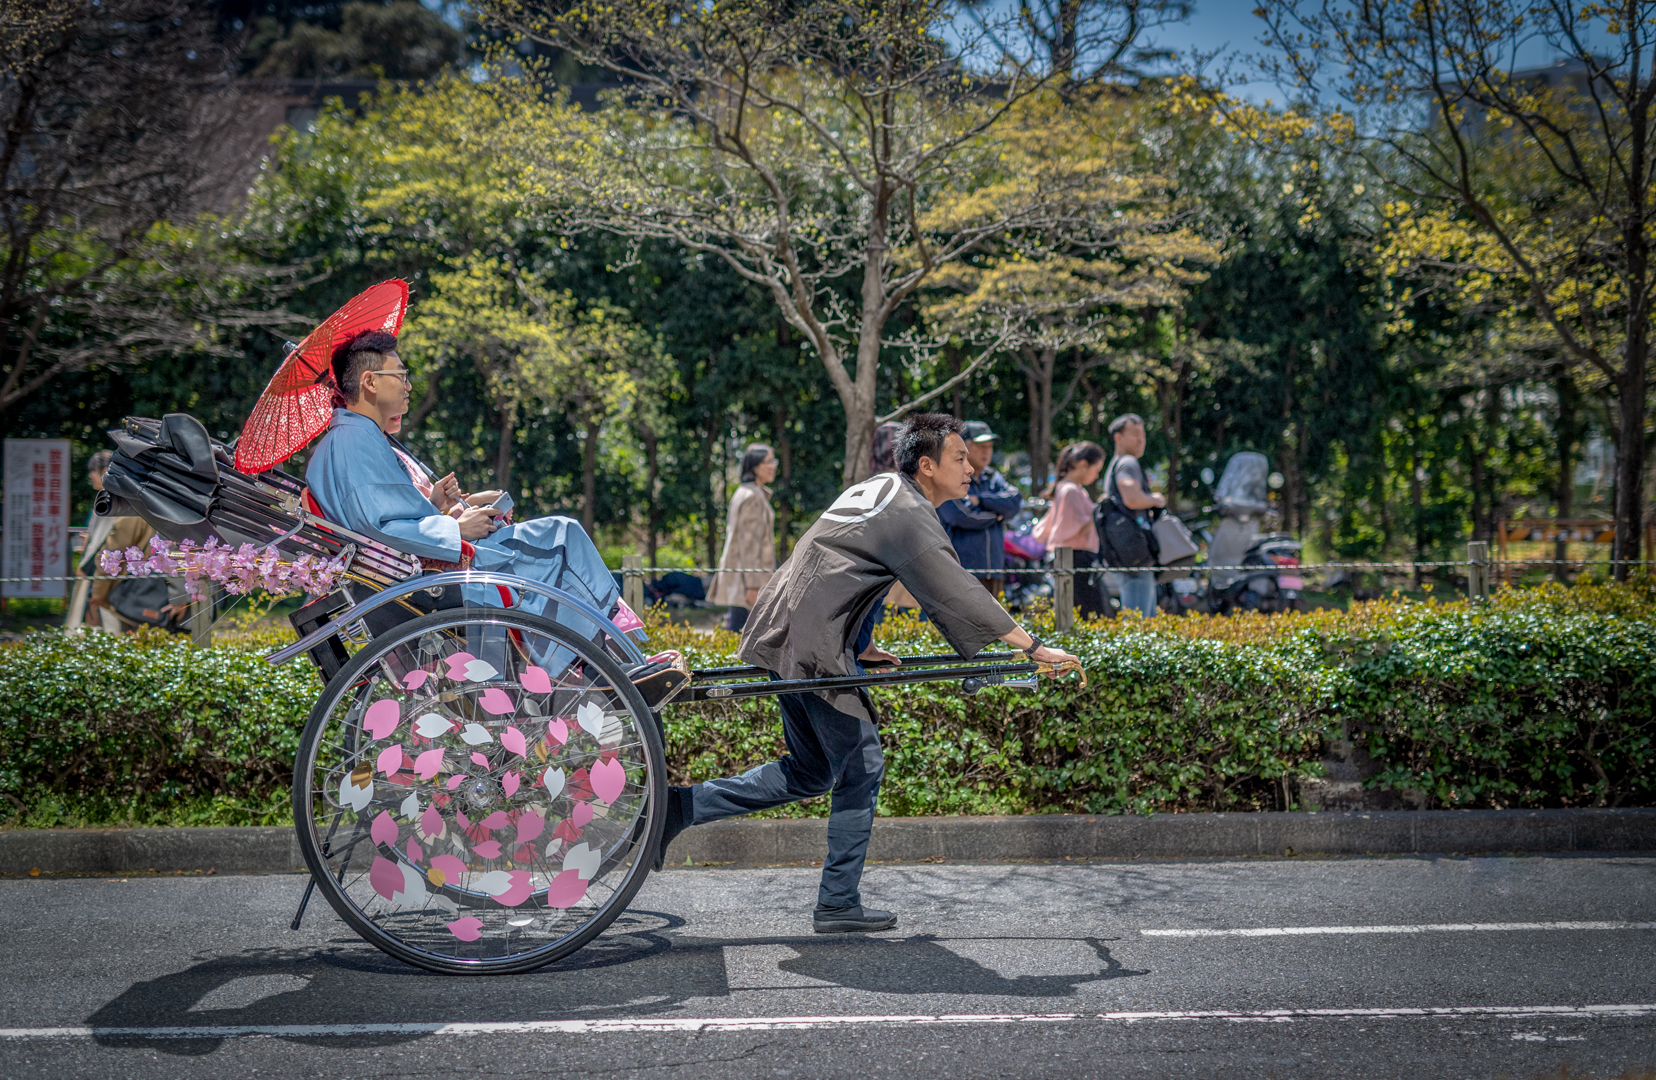
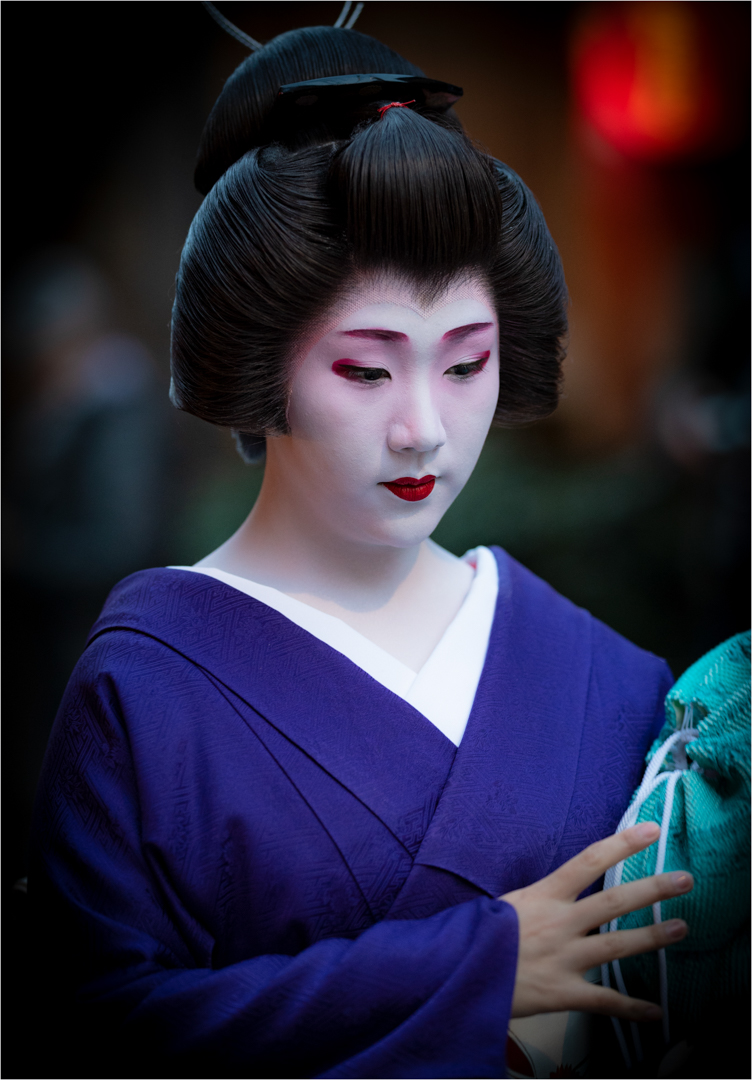
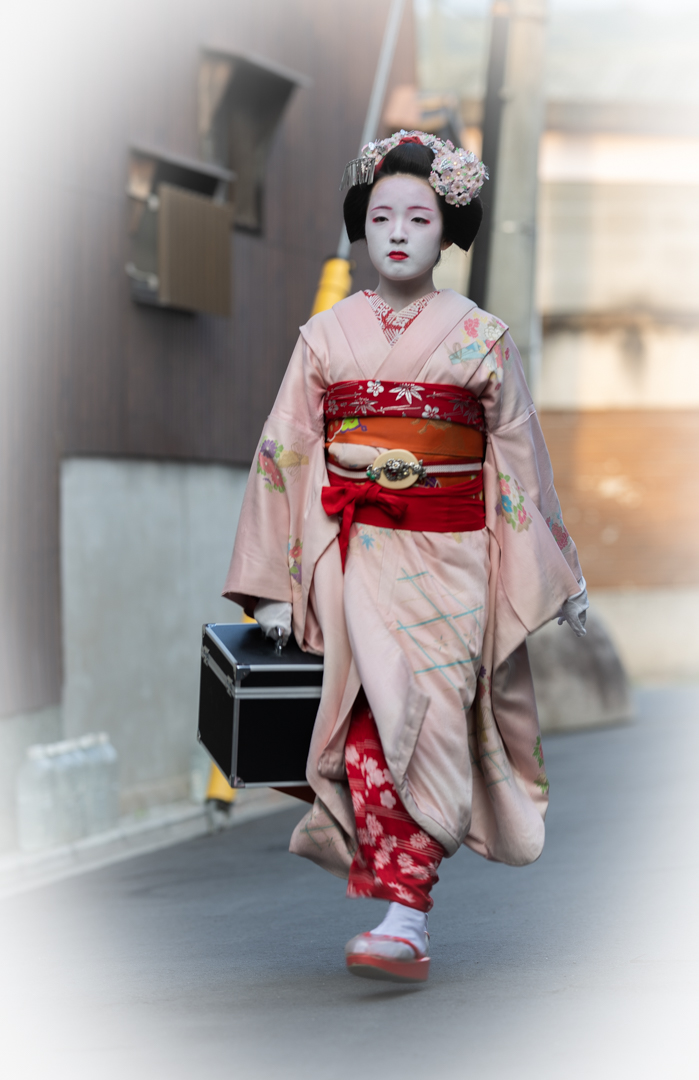
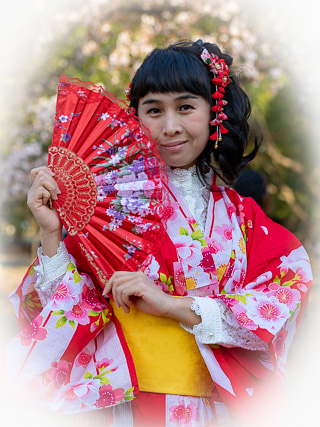
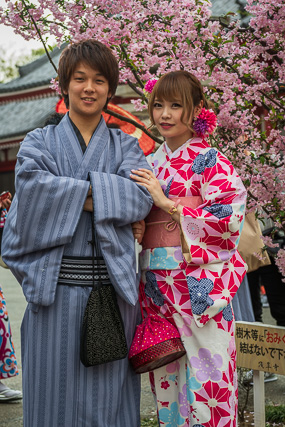
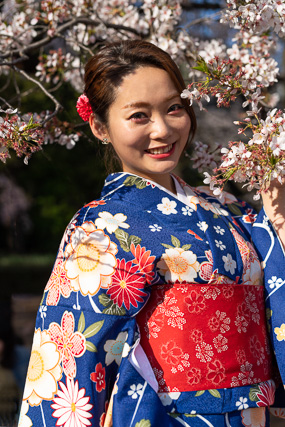
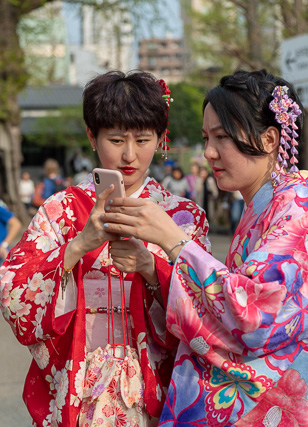
What better place for a photo when dressed in full costume than in front of the cherry blossom

_5GE5966_5GE6553
_5GE5948_5GE6556

_5GE6269_5GE6096-Edit

_5GE5970

_5GE6383

Watch for Part 2 to follow shortly


Impressionism & Abstract Photography – am I out of my mind

Many long years ago as a school student, my art teacher called me aside at the end of the year and informed me that he was going to give me two bonus marks for my final assessment. I think this was for the benefit of both of us, for me it meant a pass and for him, none of the class failed.

We both realised that art was not one of my strongest subjects so we parted our ways, probably pleased to see the last of each other. I moved on to the science subjects of chemistry and physics where everything was real and meaningful and there wasn’t a need to use one’s imagination in order to be creative. I still remember every action had an equal and opposite reaction. Well my reaction was to clap my hands and rid myself of the artistic world in which I was practically a failure.

It was around that same time that I took up photography, a hobby that included the physics of light and the chemistry of film development. I was happy.  Over the last 50 years I’ve slowly come to realise that photography and art go hand in hand to some extent but realism and photo-journalism had been my thing in the past. Everything sharp and accurate, that’s the way the brain worked, until recently. Great cameras, fabulous lenses with incredible optics, all in the quest for the pin sharp image.

Occasionally something would go wrong. The shutter speed was too slow, the lens didn’t focus where I wanted, or the camera moved when it shouldn’t. Those images would be blurred and useless but somehow they had some appeal. Little did I know that the dormant and artistic right side of the brain was showing signs of awakening.

It was only recently that I decided to undertake a course in Impressionist Photography run by one of my Facebook friends, Eva Polak, a New Zealander who specialises in this form of artistic photography. With great enthusiasm, I have discovered a new and refreshing dimension of photography, one that I’m sure will remain with me.

Learning the distinction between abstract and impressionism took a little while but once I got the feel of it, the creative juices began to flow. For me that’s a big achievement when I think back to my school days and that drawing stick figures was about the limit of my artistic ability.

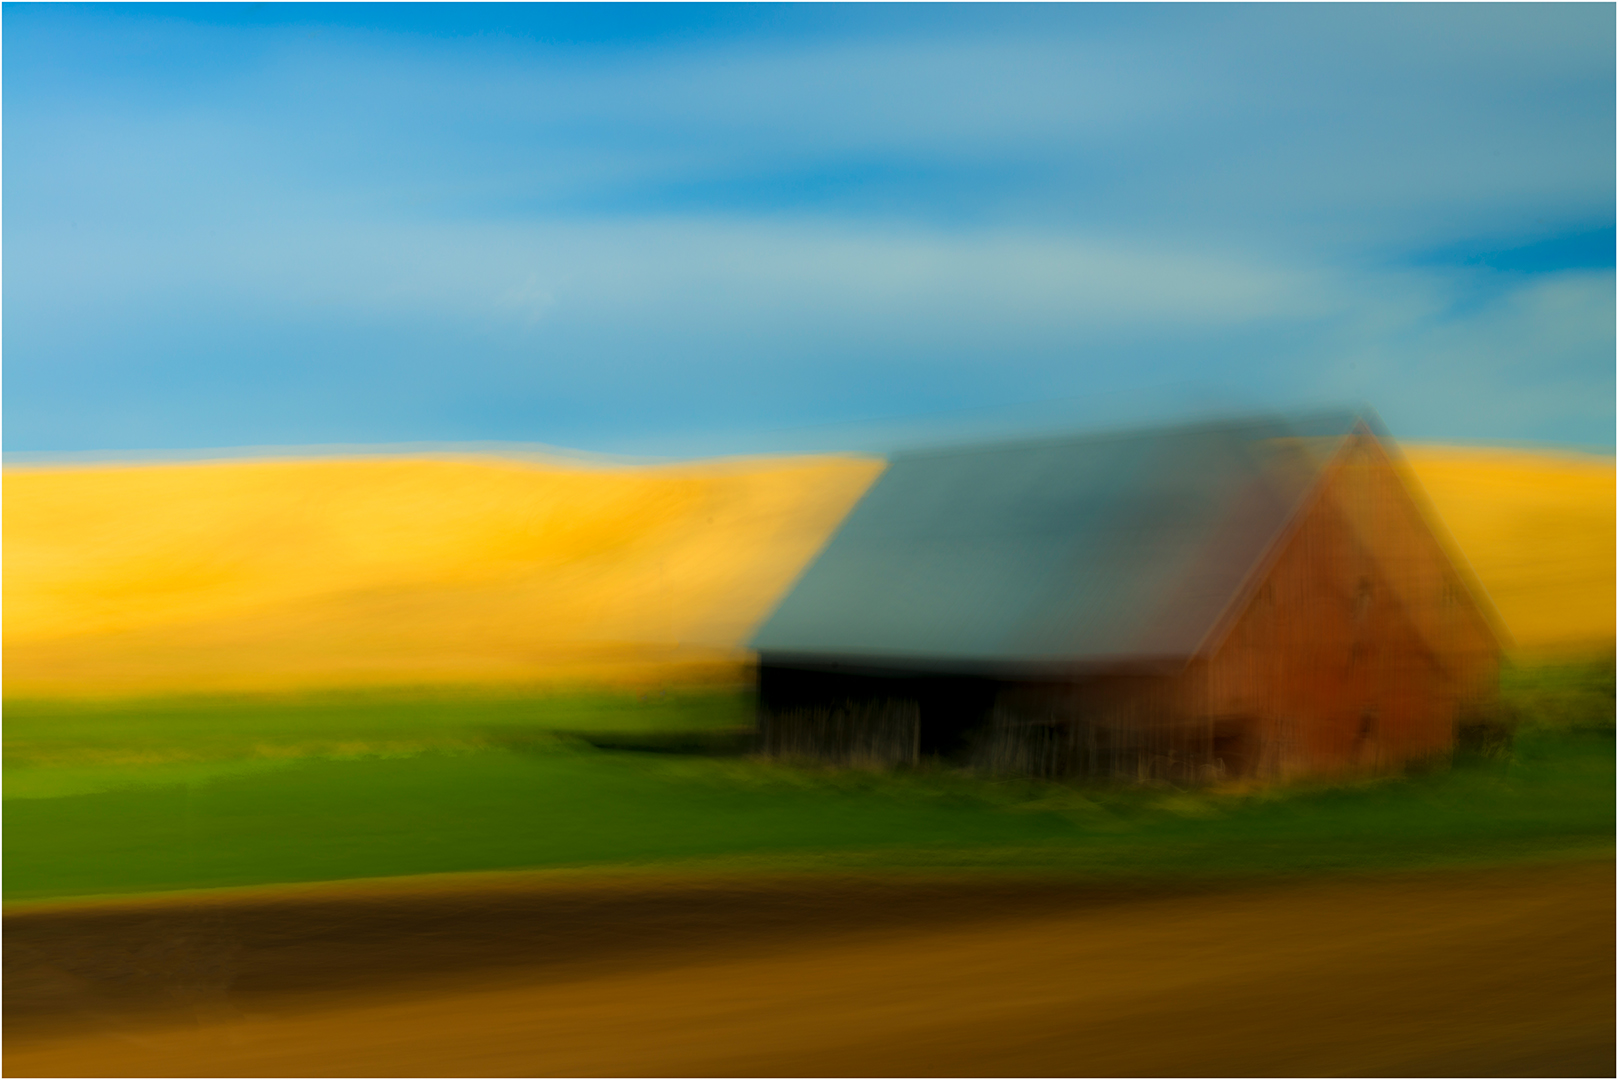
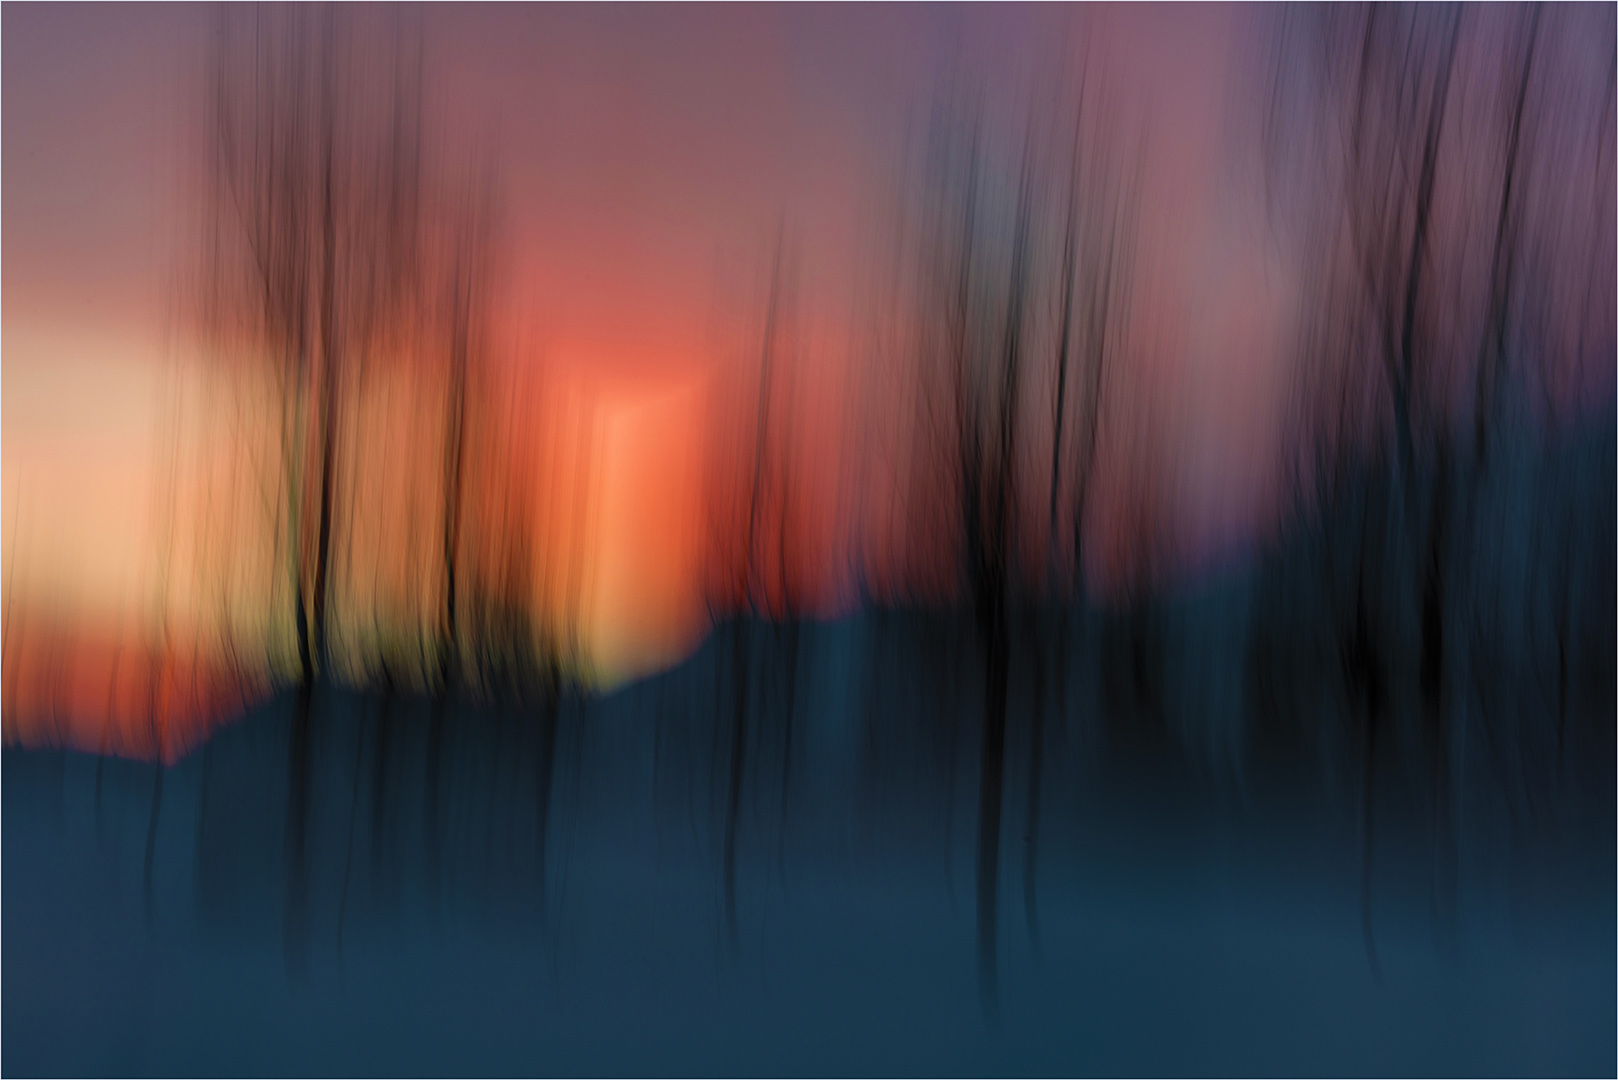
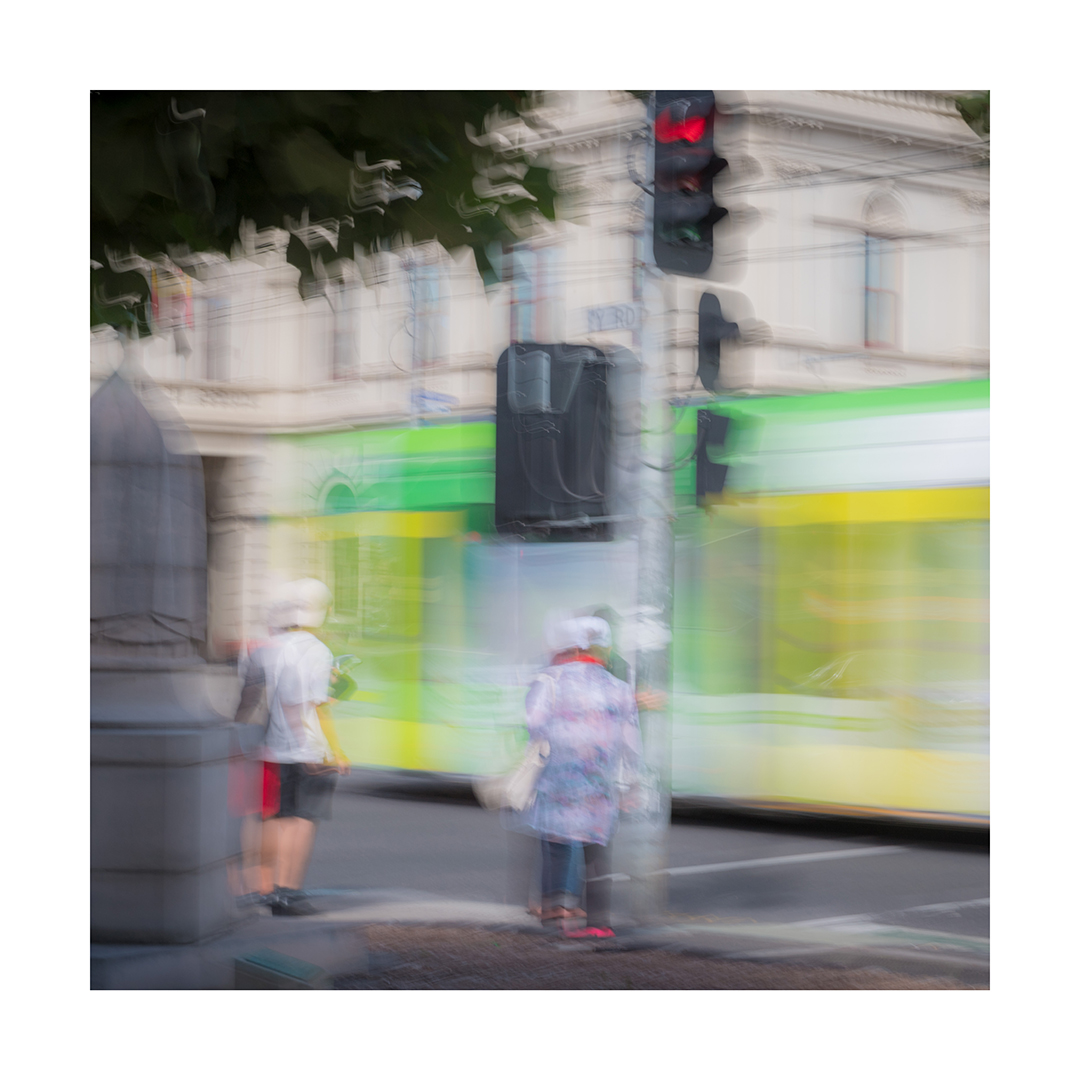
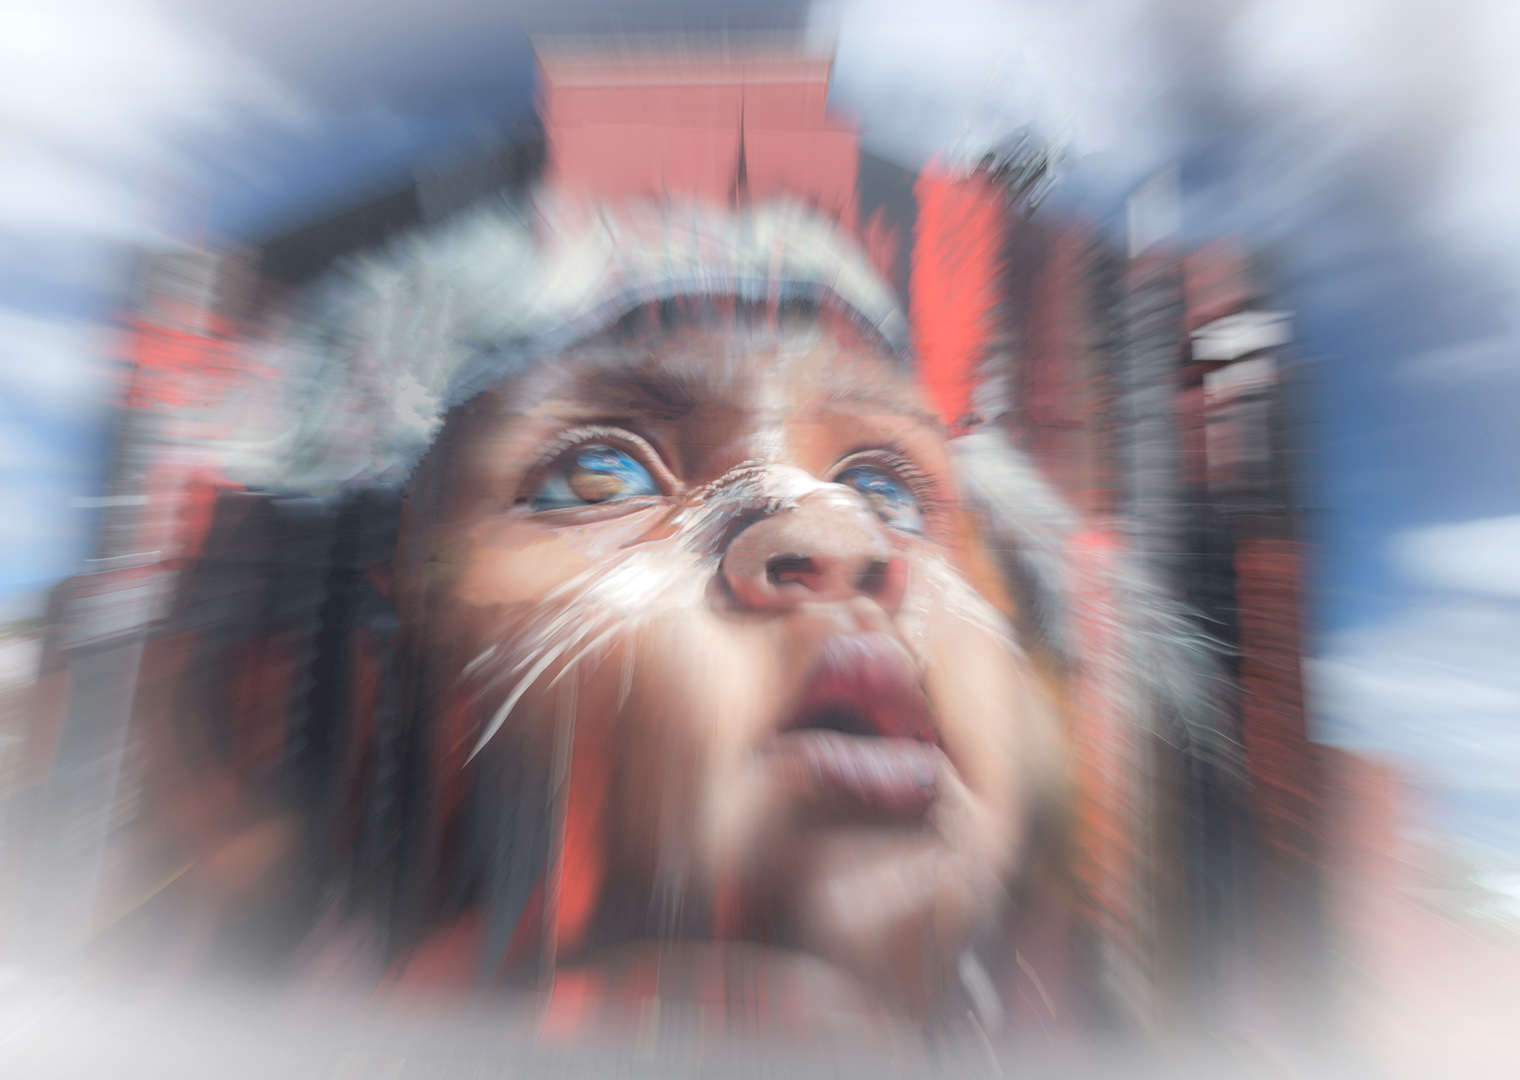
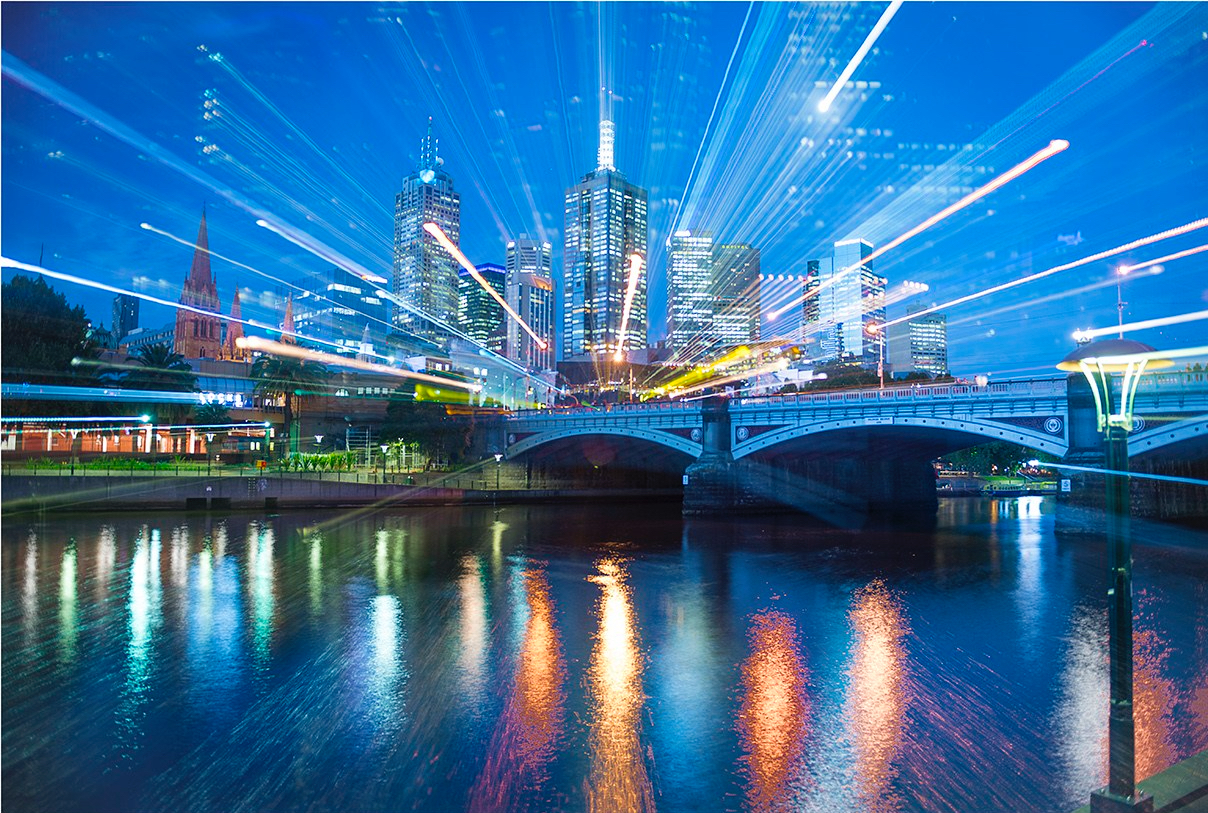
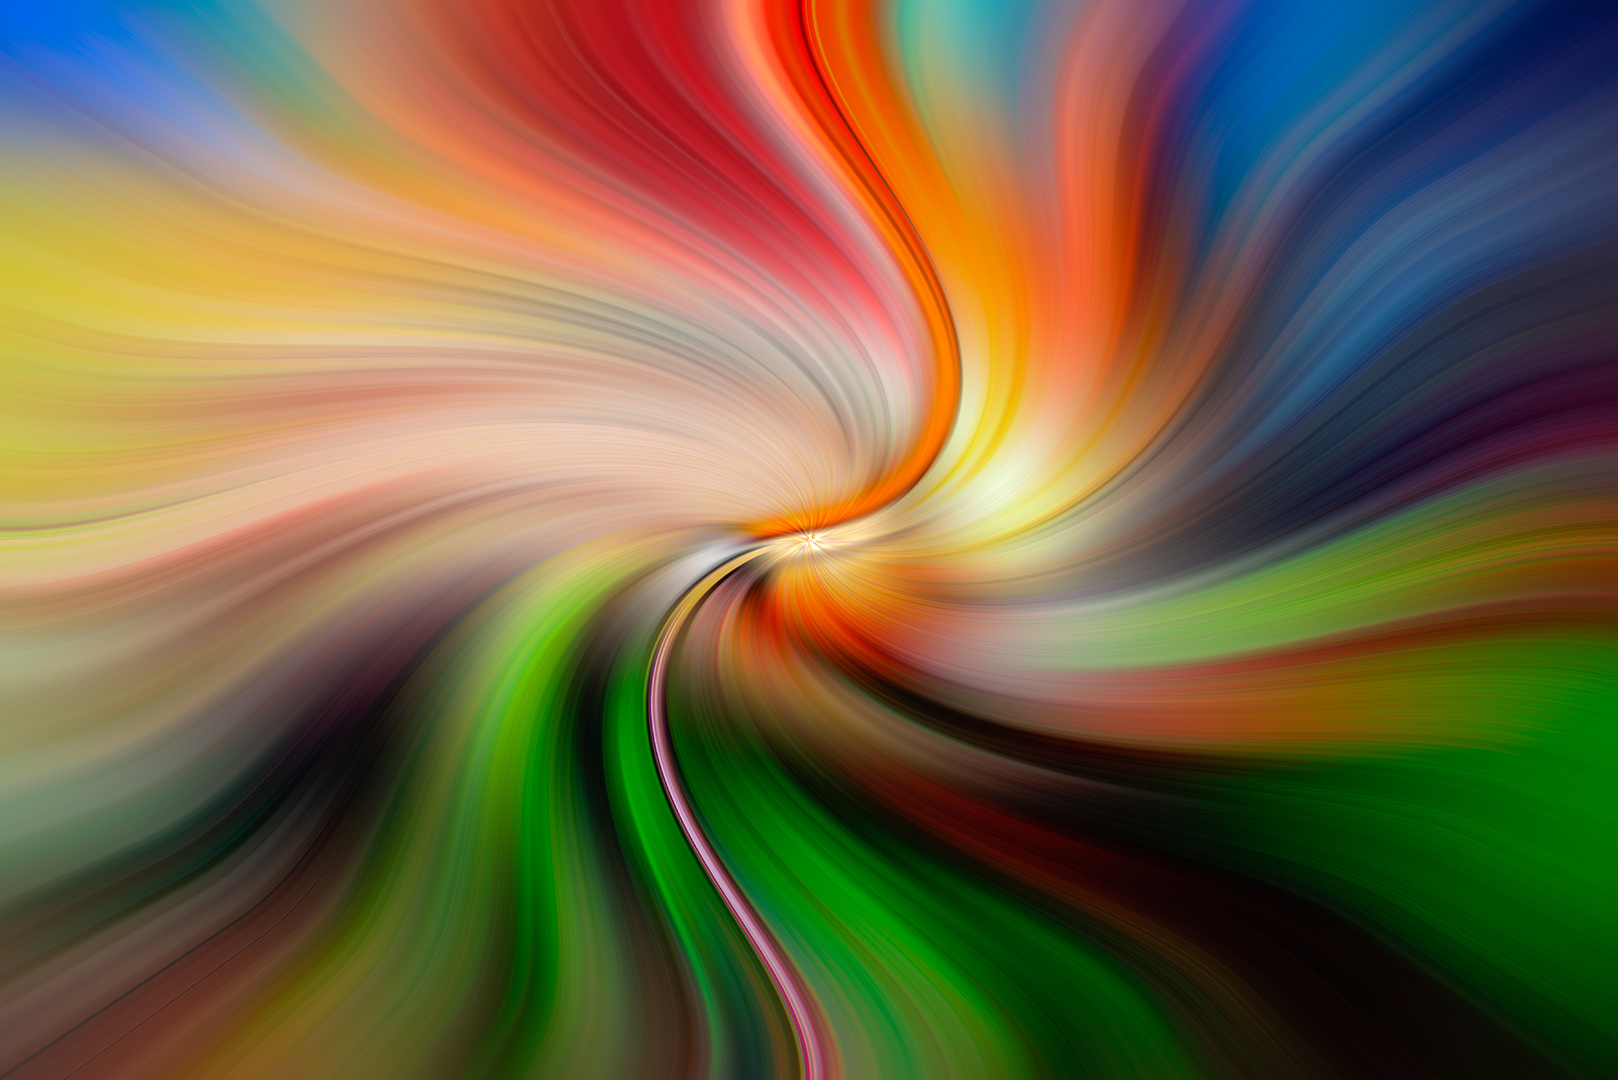
Here are some of my recent and not so recent images that have now seen the light of day thanks to Eva and her course. All images were totally created in-camera except the last two abstract images that were produced from regular images but using editing software to create the effect.


Red Barn

Red Barn

_GNE5138 Redo dpi

Dawn

_5GE1697 B crop dpi

Tram Stop

_5GE1629 V2

Innocence

Behind Bars

Behind Bars

Baby Face

Baby Face

Take Off

Take Off

Dazzled

Dazzled

E_5GE1888 B

Sparkling Melbourne

Whirlwind

Whirlwind

Firefly

Firefly