Especially when travelling, you aren’t really in control of the lighting you are going to encounter. One little trick that was taught to me when I first started travelling and doing workshops with my good friend, Ian Rolfe, was the technique of shooting sun- stars.
Any time that there is a facinating subject, particularly in a landscape, and you are faced with having to shoot into the sun, this technique can be used to great advantage. Like all things, it’s a case of doing it well and doing in moderation. If all your images in a series included a sun-star, it would quickly become boring, rather than adding variety and interest.
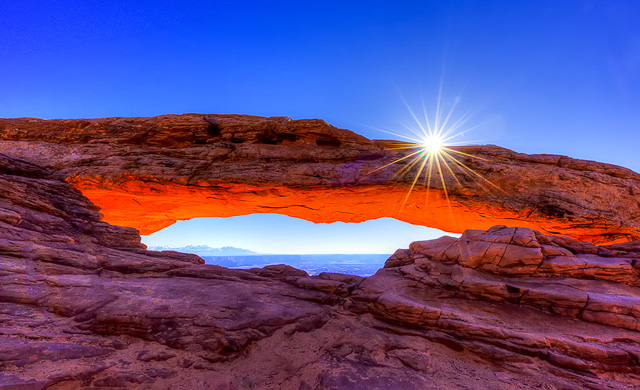
Mesa Arch, Utah, shortly after Sunrise
Firstly, let us understand what we are trying to achieve.
We want the sun to be included in the shot but in a way that causes the light to be diffused by the diaphragm of the lens, allowing leakage of light to occur around the diaphragm’s blades. This leakage creates the star effect without full-blown glare.
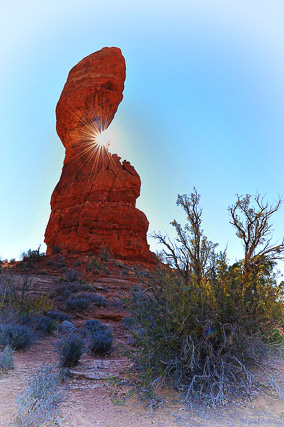
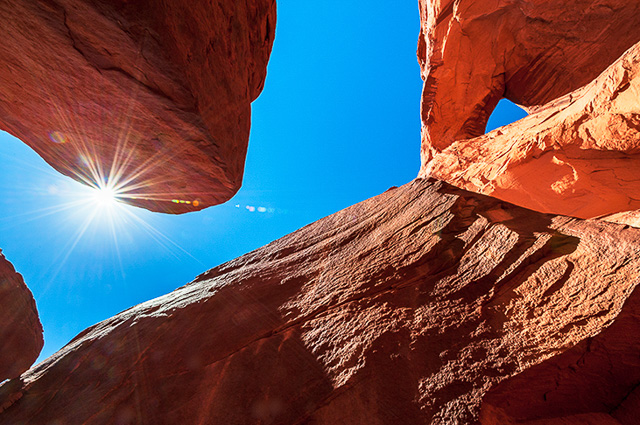
Balanced Rock, Arches National Park, Utah
How do we achieve this effect?
Two main criteria come into play to achieve the star effect.
- A very small aperture of at least f16 or even smaller, f22 if your lens shuts down that far. Some may argue that as a result of using the lens’s smallest aperture, diffraction will cause degradation of the rest of the image. If that worries you, take your lens to its smallest aperture then open it up one stop as a compromise.
- The sun must be partially obscured at the moment the shutter is pressed. Ideally, you only want about half of the sun peeping out from behind the subject. This makes using a tripod very difficult as the sun appears to move very quickly. No sooner have you aligned it, and it has moved too much. Hand-holding the camera and moving the body slightly seems to be more productive.
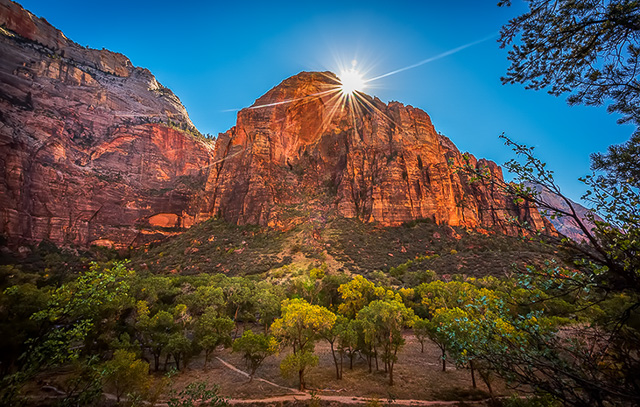
Zion National Park
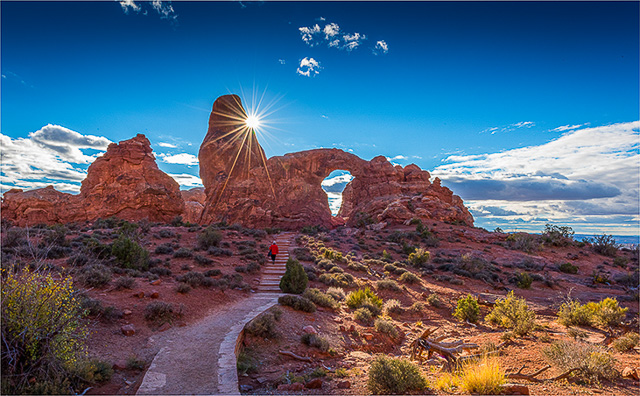
Wide-angle lenses work well
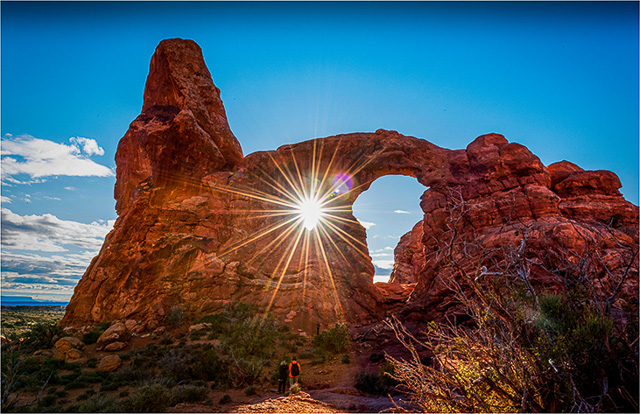
Arches National Park, Utah
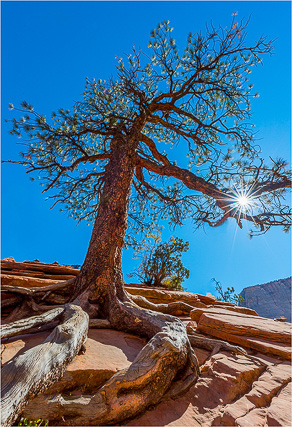
Lens flare can often add to the desired effect. If you find flare objectionable, be prepared to do some careful editing of the image to remove it later. This can be very problematic, depending on the particular image. It is always worthwhile taking several shots at the time of capture then choosing the easiest one to work with later.
Be prepared for lens flare
Clean your lens frequently as any slight amount of dust or salt spray will add to your woes and create unnatural looking blobs of flare. Bulbous front elements of wide-angle lenses are notorious for this.
Arches National Park, Utah
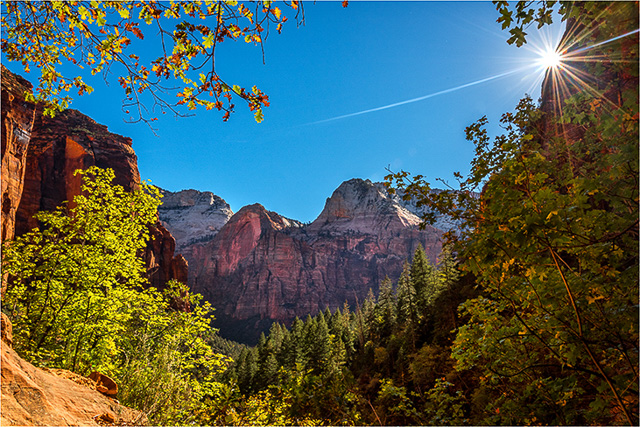
Zion National Park
Have fun experimenting along the way and keep this easy-to-master technique in mind next time you find you wish to add a little variety to your work.
