Following on from my recent article on sunstars here’s another way of adding something different to your portfolio.
Firstly I might add that its a little quirky and may not win favour with the competition judges, but hey, who are you trying to please when you put your camera to your eye.
For me this is a little project that I’ve commenced and the end product will be in the form of a book when I have sufficient material. Ok so what’s he on about I hear you saying !
What I’m on about is Crystal Ball Photography
Using a pure clear crystal ball to capture the whole image as a miniature world has a fascination for me and I wish I had started earlier. I can now imagine how some of the iconic views of places like Monument Valley would have looked had I discovered my passion a couple of years ago rather than a couple of months ago. Anyway the project has begun and the ideas are as clear as crystal in my mind as to what I want to achieve.
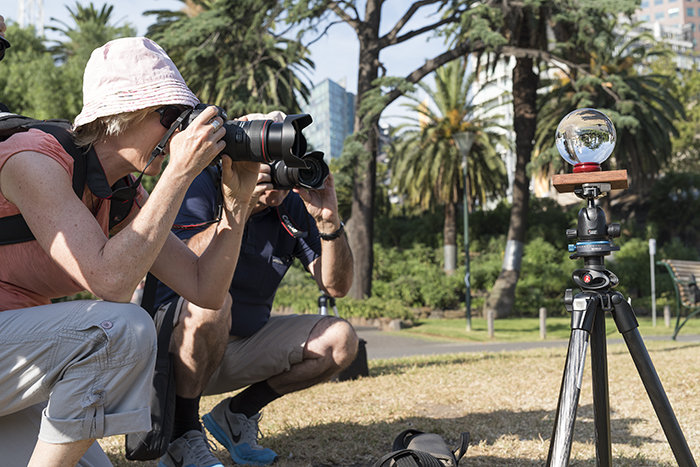
Here’s a shot of the set up that I use. Having the ball sitting on a tripod gives me flexibility to move around freely with the camera in order to compose the image just the way I want it.

As you can see the distance you set yourself up from the ball will be determined by the focal length of your lens and the minimum focus distance it is capable of going down to. A lens with a macro focussing feature will give you the ability to get much closer to the ball of course.

What I do is to set the focus manually to the minimum distance and then move myself closer until the image in the ball is perfectly sharp.
I have found shooting in aperture priority gives me ultimate control of depth of field. The aperture that you use will determine just how much detail you will have in the background according to the dof. I am still experimenting with that and trying to decide whether I want sufficient detail to place the ball image into context with the background detail or whether a totally blurry background drives the viewer’s eye to the sharp image in the ball. I am thinking that it really depends on the image as some seem to work better either way.
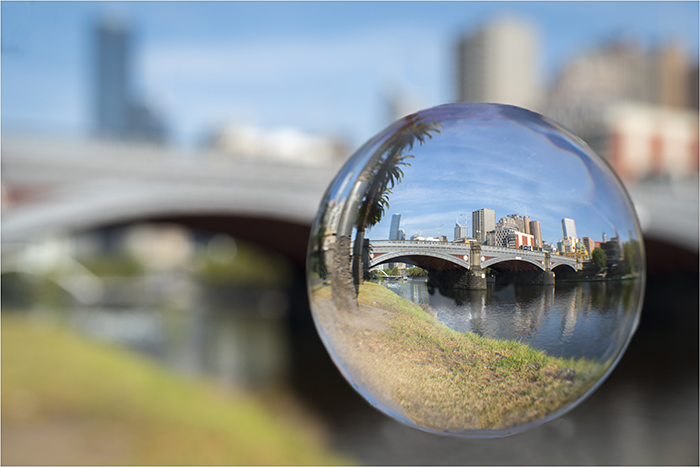
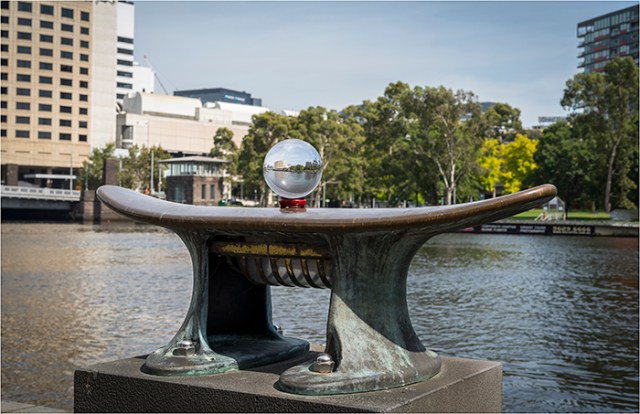
Here’s what I mean about context.

The view of the background while very blurred still resembles the scene to the extent that you can recognise the shapes of the bridge and city buildings. This gives the ball a floating effect, especially if you eliminate the stand in post capture editing.

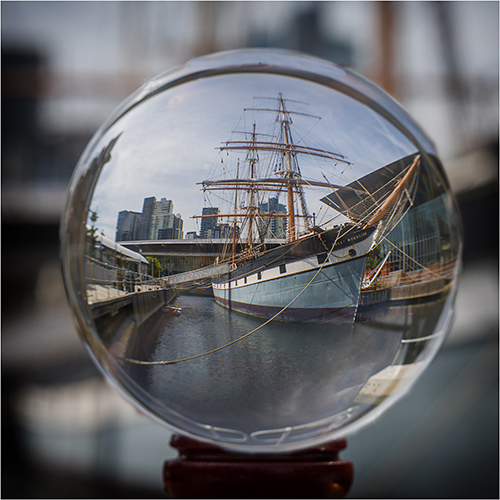
Here in this shot of the Polly Woodside I have purposly blurred out the busy background so the ship is the only really recognisable feature.
One piece of optical physics that you will quickly discover is that your image in the ball appears upside down. That’s when you need good friends with photoshop skills that can teach you how to rotate the ball in relation to the background. It looks much better than having buildings hanging upside down from the sky.
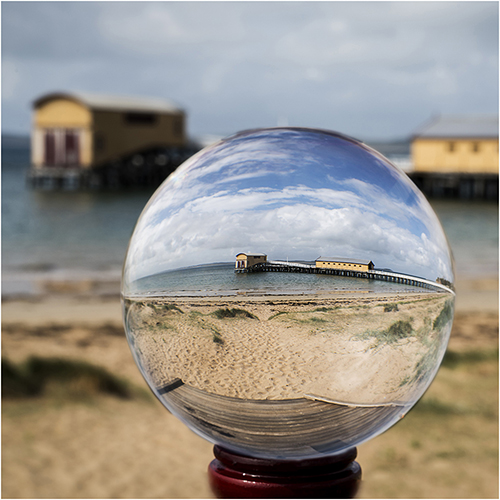
Another thing I have discovered is that for it to be an interesting image within the ball it must be an interesting scene to start with so look around for interesting subjects.

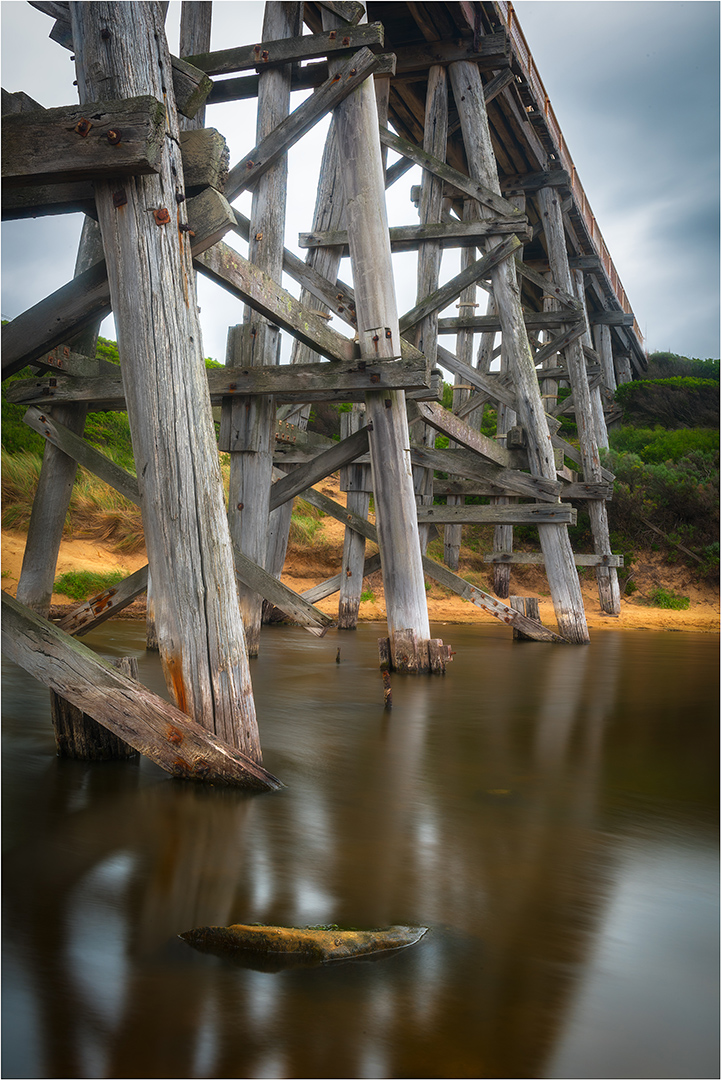
This image taken at Queenscliff was worthy of being photographed either way so a couple of “before the ball” shots are justified. Its all too easy to become so engrossed in what you are doing that you forget to lift your eyes and get the bigger picture as well.
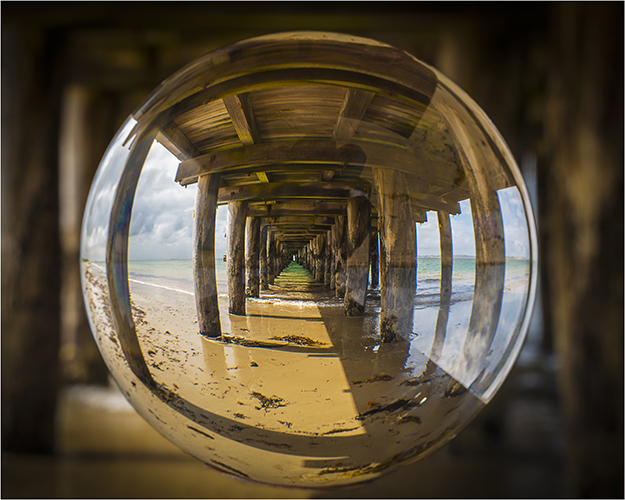
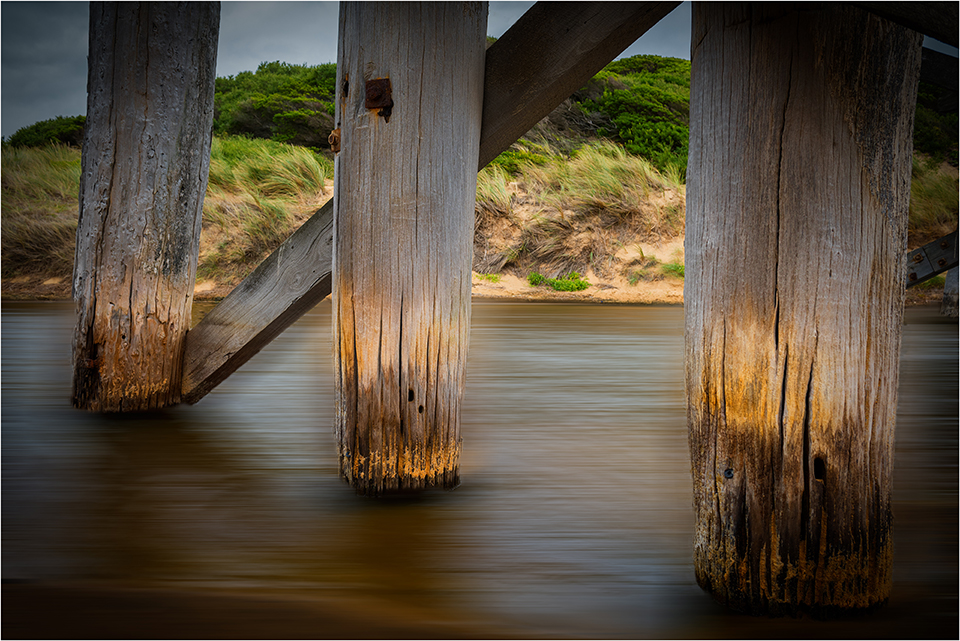
Going under the jetty was fascinating as the fish-eye effect really came into play in this shot in the confinement of the pylons.
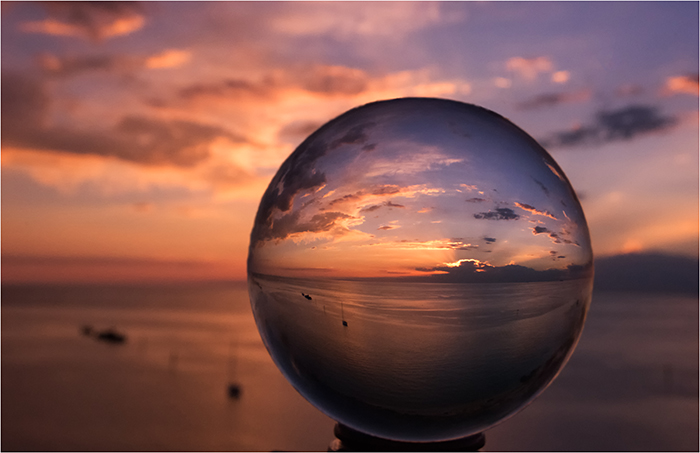
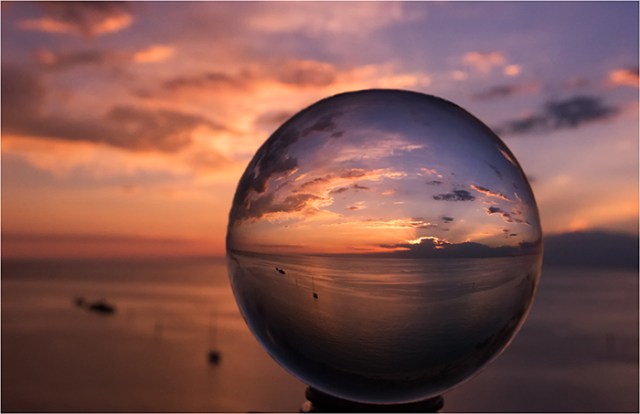
Finally I discovered that sunsets work really well, with this shot taken on a warm summer evening at Half Moon Bay, Black Rock
That about wraps up this session on having fun with your camera. If you have any questions I’ll be happy to answer them of course.
Oh and one last tip. Don’t hold the ball in your hand on a sunny day unless you are good at juggling. I learnt very quickly that the concentrated sun’s rays will burn just like a magnifying glass.

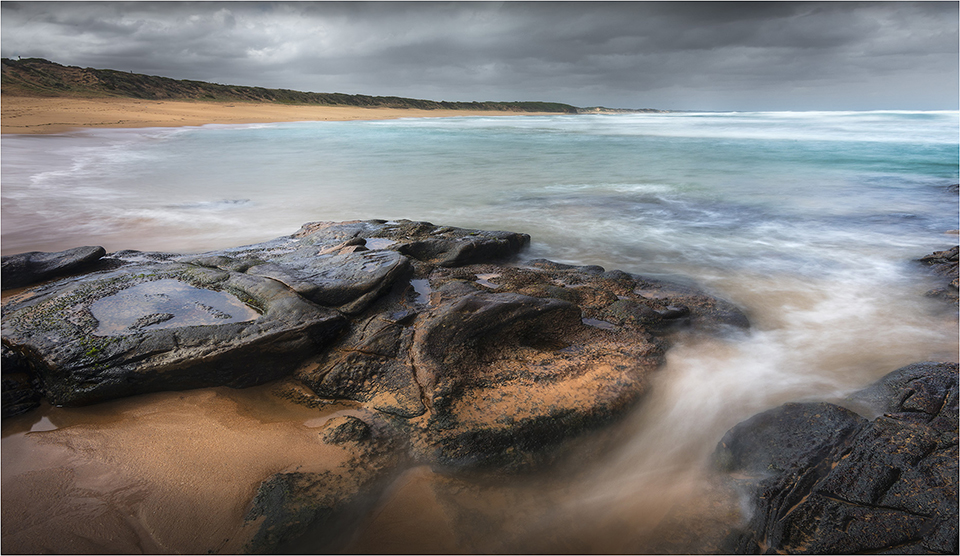
 With the low tide many of the rocks were more exposed than I had seen them before. This gave the opportunity to venture out a litter further than normal and once again some long exposures were the theme.

 Well that took care of a couple of hours of the day, provided some exercise and fresh air in the lungs so all in all it turned out a rather successful venture. A quick visit to nearby Shelley Beach and a hearty lunch topped off the day.