Capturing the world within a glass sphere can be a fun way of expanding your photographic skills in a way that creates both interest and intrigue as to how it is done.
In this article, I’ll walk you through the learning process from beginning to end, as if you’re new to the topic. I will assume you have a basic knowledge of photography using an SLR camera.
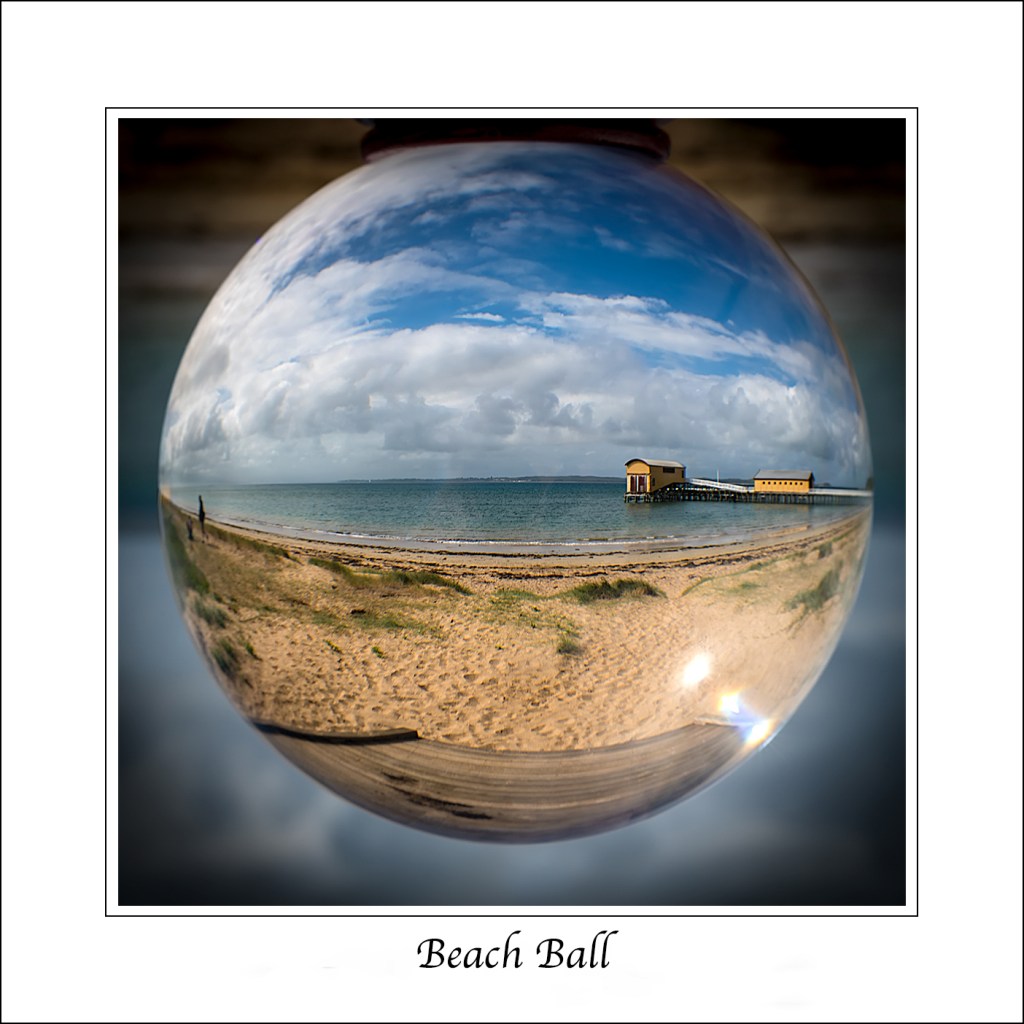
1. Purchasing Your First Glass Ball
When choosing to purchase a glass ball for the first time, consider the size as your first major decision. I suggest a 4-inch (100 mm) diameter ball as your best choice. Smaller ones can be useful, but have an increased degree of difficulty in clearly seeing the image within the ball when shooting. On the other hand, a larger ball, such as a 6-inch (150 mm) diameter, will be very heavy to carry and handle.
The quality of the ball is also an important factor. A crystal ball should be free of any imperfections, such as air bubbles that may be present in cheaper or inferior balls. If the ball is offered for sale as a photographic tool or optical glass, rather than a decorative ornament, then you should be on the right track.
Often, when purchasing a ball, there will be a range of small stands on offer. These can be very useful for sitting the ball on when out in the field doing your photography. They also help in avoiding any scratches on the surface of the ball if it were placed on a hard surface. I have a couple, both made of crystal and wood, that I use for this purpose.
I’ll explain more about placing the ball on a tripod a little later.
A Very Important Warning!
A glass ball will act in the same manner as a magnifying glass when it is exposed to the sun. The sun’s rays will be concentrated at a focal point, where it will burn. Be careful not to leave the ball exposed on a desk or tabletop, or even in the car, where the sun may shine through a window and cause a fire.
When holding the ball in your hand, it only takes a moment for the sun to cause a painful burn. I always handle my ball using a microfibre towel. The use of a towel makes the ball easier to pick up and hold and also shields it from the sun’s rays. Another advantage of the towel is that it keeps the ball clean and free of fingerprints.
2. Lens Choice
When photographing the image encapsulated within the ball, we want to see that image clearly and sharply. My favourite lens for ball photography is a 50mm, as it gives me a nice ratio of background to ball in the shot.
I often try to include the out-of-focus background surrounding the actual ball, which contains the sharp image of the scene. The glass ball acts like a fisheye lens and captures everything uniquely within the orb. To achieve a sharp image and an out-of-focus background, use a mid-range f-stop like 5.6 or 8 as a starting point. Remember, you will want to get the camera close to the subject, in this case, the ball, while the background scene surrounding the ball will be rather distant. The physics of Depth of Field will come into play and will assist you.
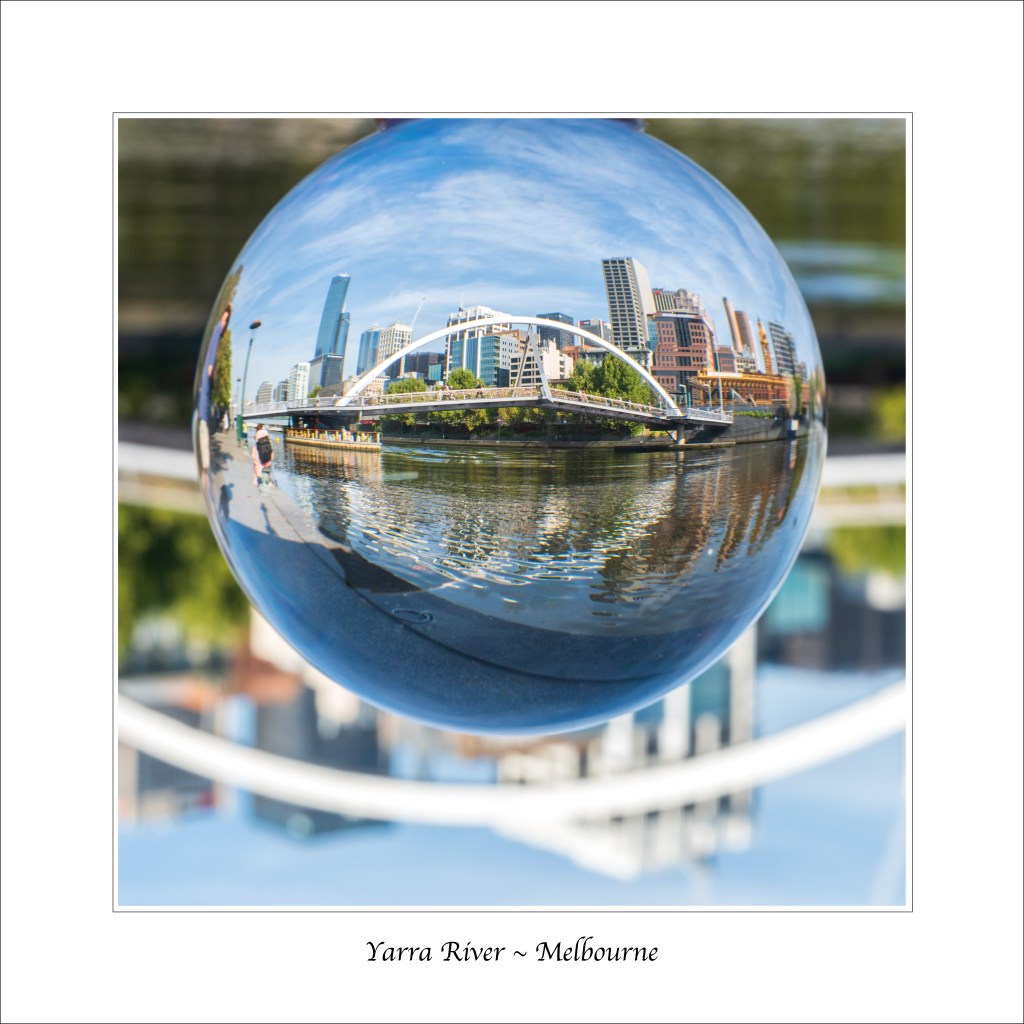
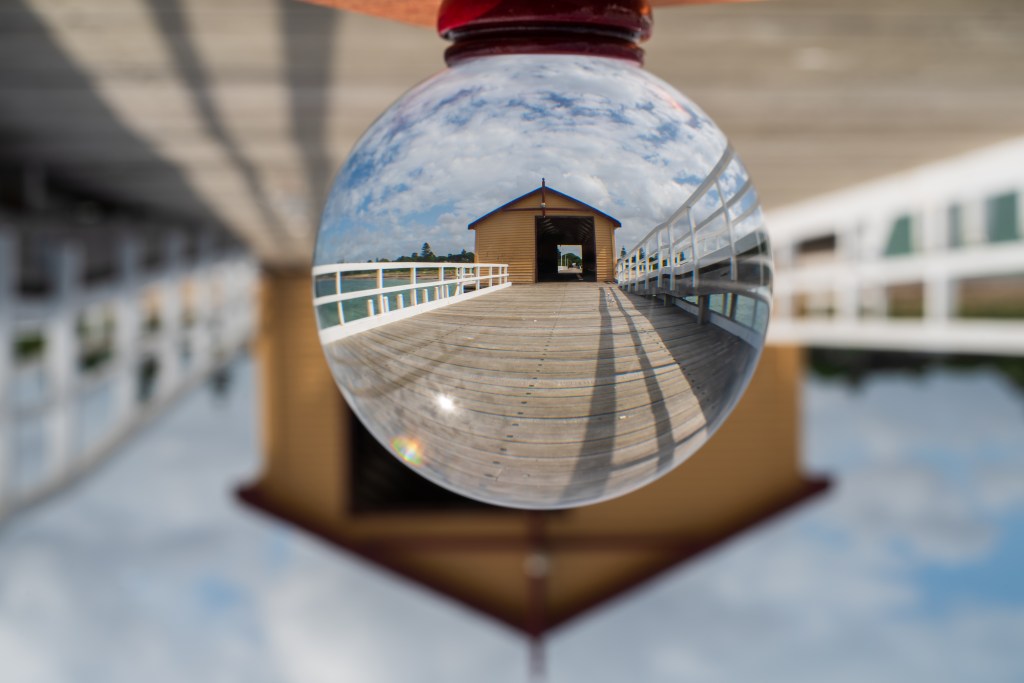
As you can see in the image above, the bridge and buildings are sharp within the ball, and the surrounding background is out of focus but recognisable, giving context to the scene.
Image Inversion
The image captured in the glass ball will always appear upside down. Some photographers like to display their ball images exactly the way they were seen when taking the photo. My preference is to invert the scene within the ball so that it appears the right way up.
The image below is as seen when taking the shot.
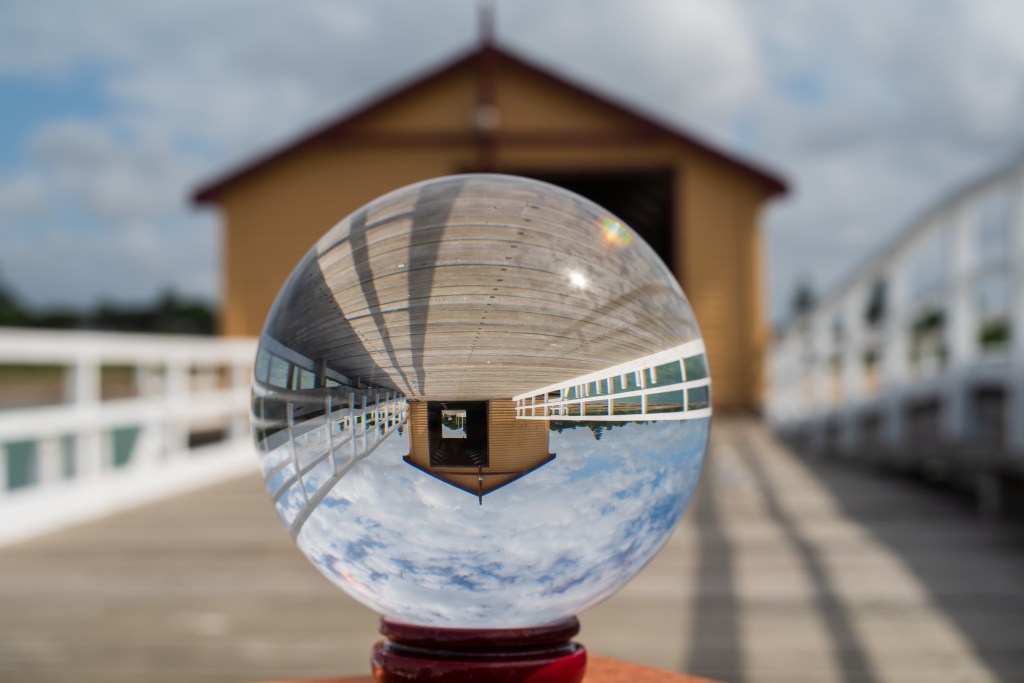
The simplest way to achieve the scene within the ball to be the right way up is to invert the photo 180 degrees, as shown in the image below.
As you can see, with the image now rotated, the recognisable features of the background are upside down. This causes the viewer visual tension when looking at the photo. So, how do we overcome this situation, you may ask?
The answer is to select and rotate the ball within the image so that they are both the correct way up.
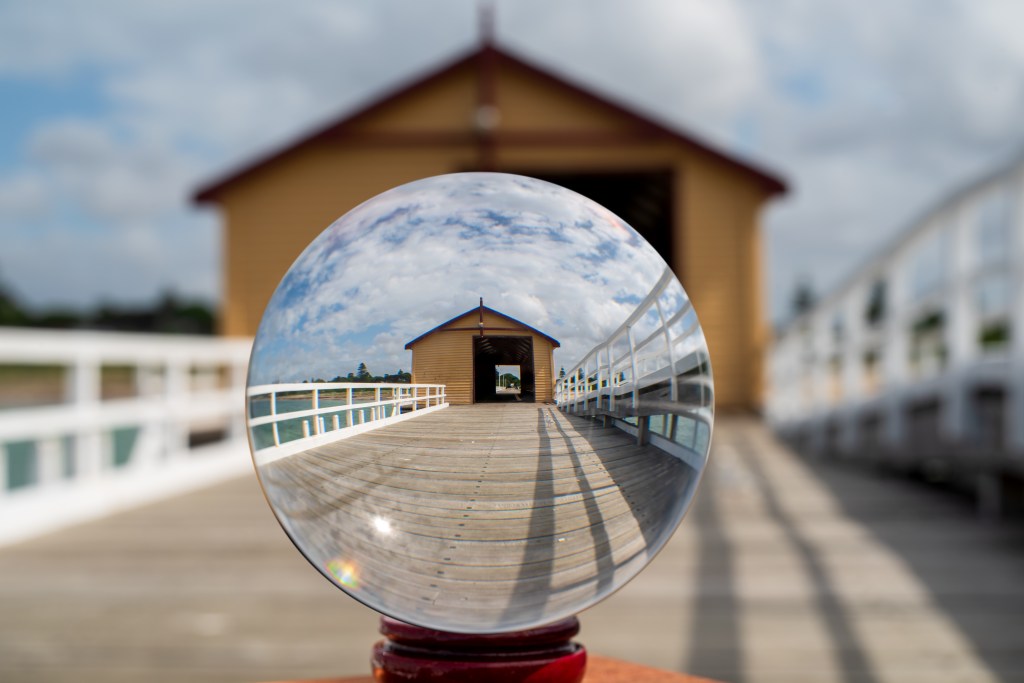
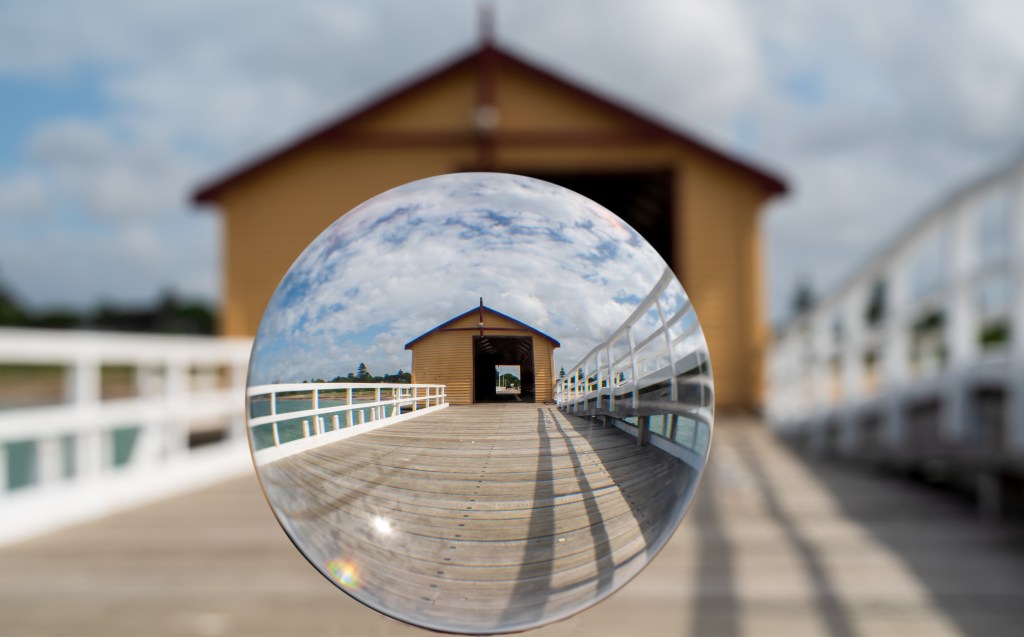
In the image below, the stand for the ball has been removed, thus giving the ball more of a floating effect. You may or may not like that floating effect; it is your choice as to whether you leave the stand in the view.
The choice of having a wooden stand, a crystal/glass stand, or any other chosen stand is an option, as shown in the images below.
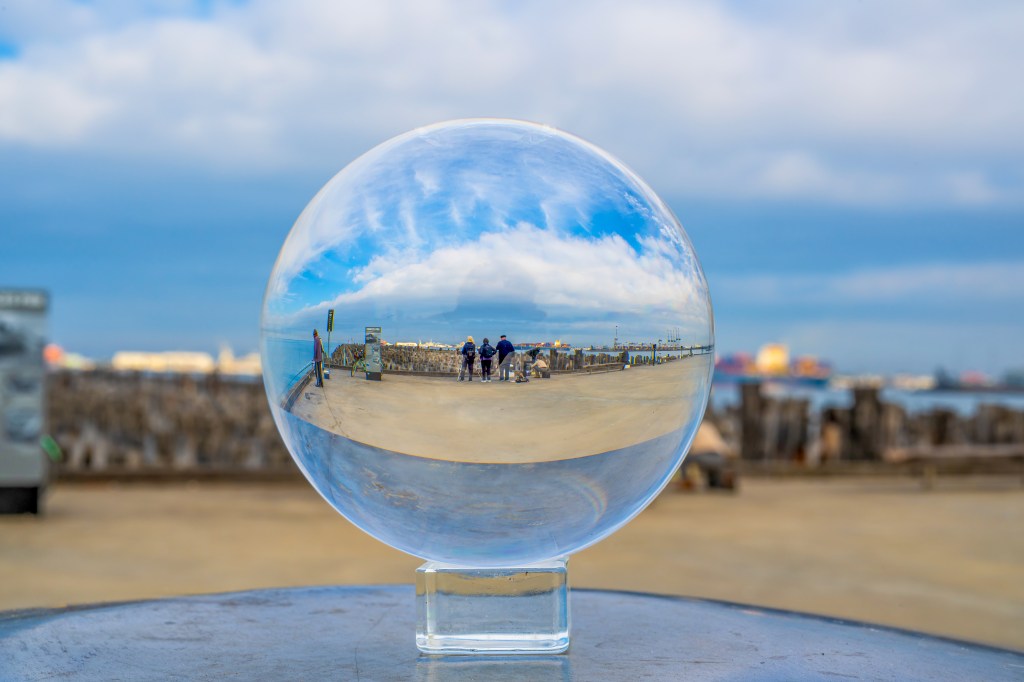
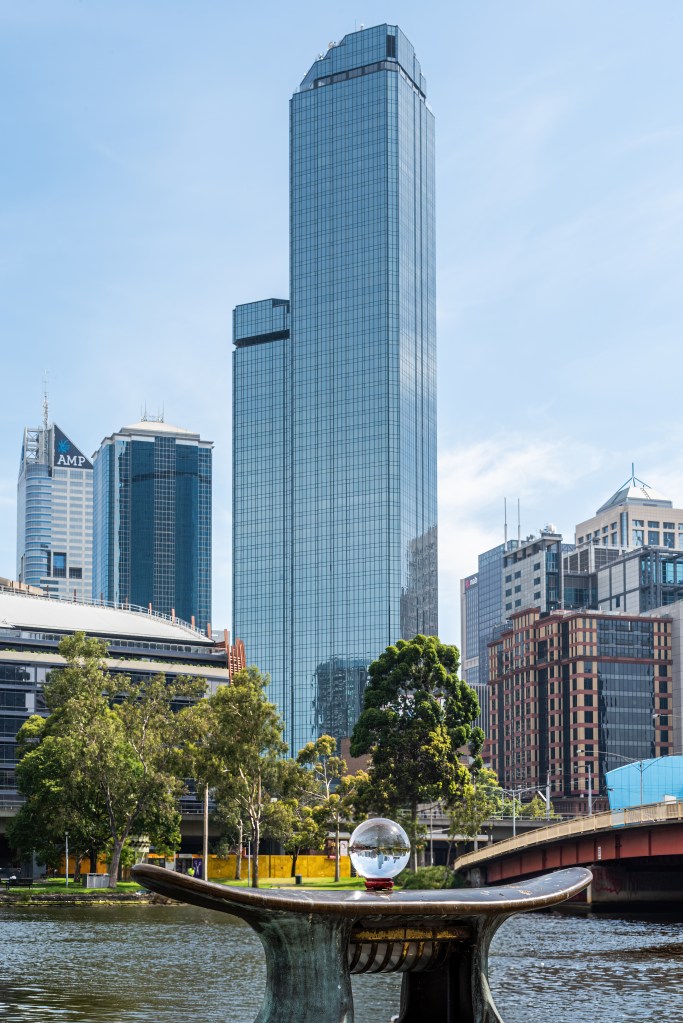
Here, the inclusion of the ball and stand, combined with the general view of the location and buildings, puts the scene into perspective.
Tripod Setup
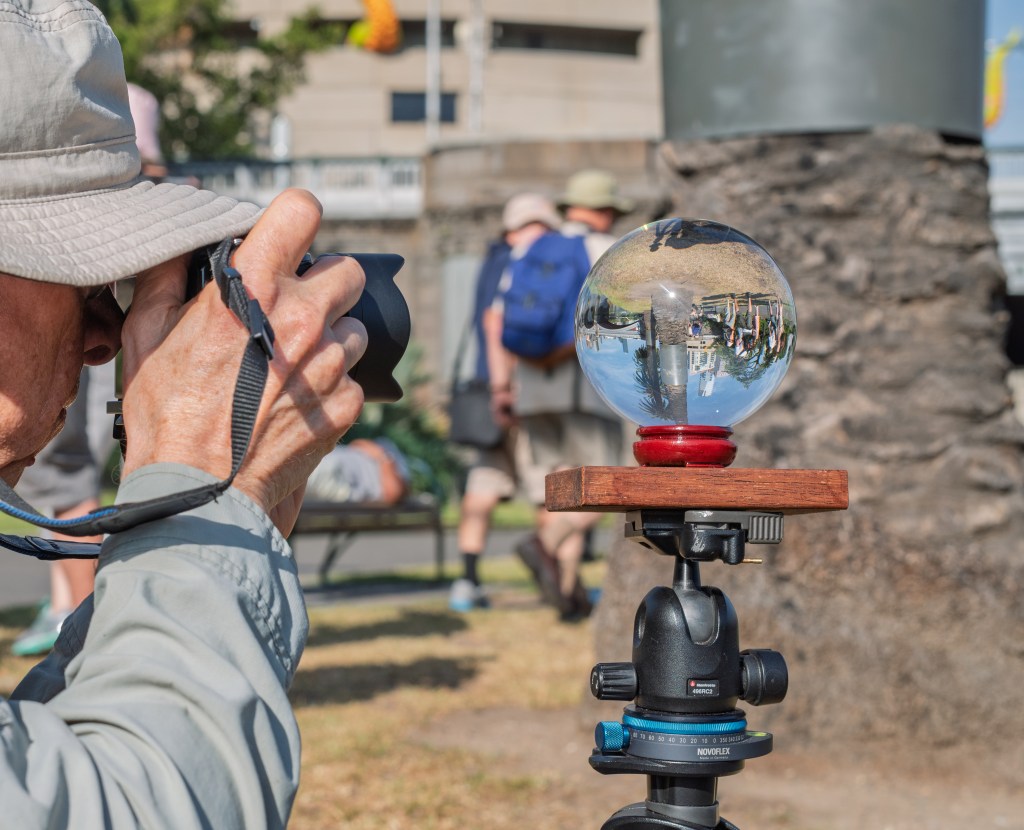
For my work, I made a small platform for the ball stand to sit on. A small block of wood with a tripod mounting plate, held in place with screws, gives me a firm and stable base and the ability to move the camera around freely to find the best composition.
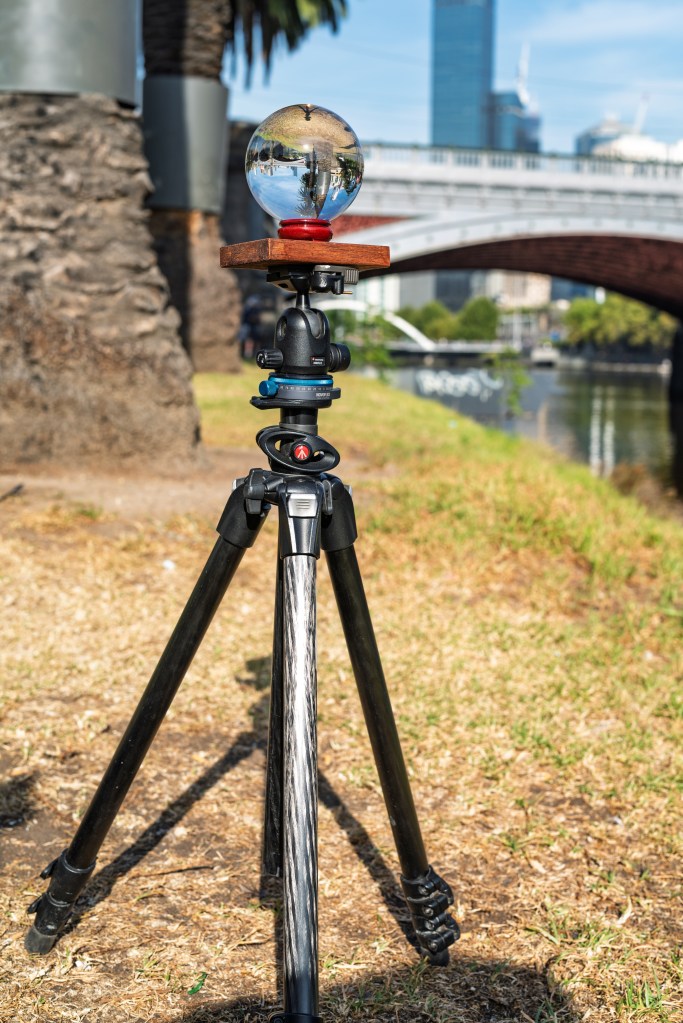
Above: The working setup
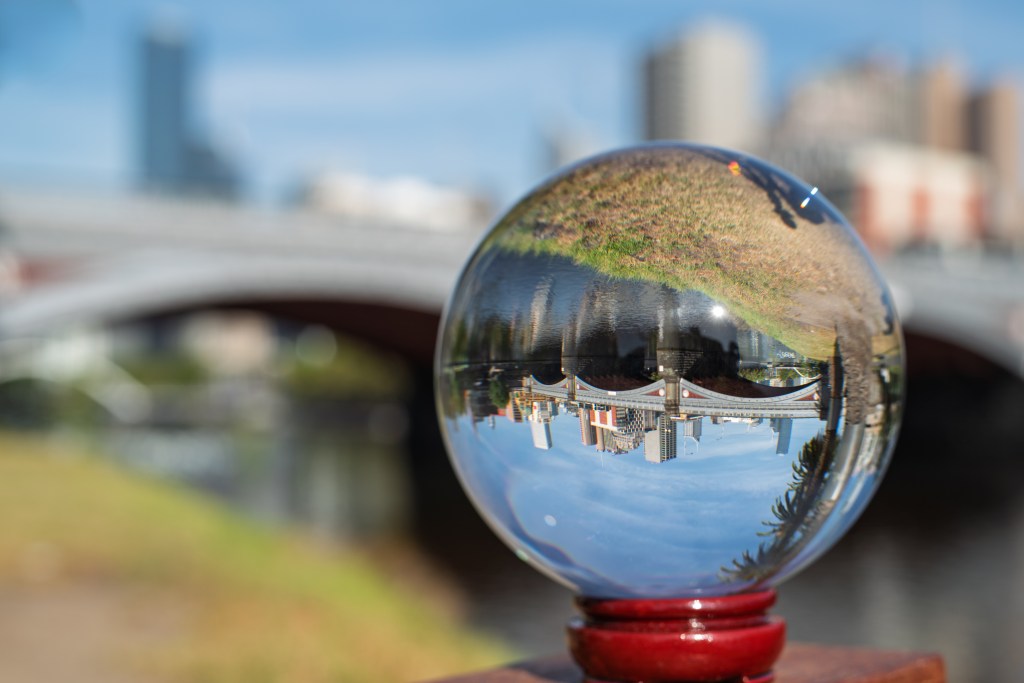
Above: The scene in the camera’s viewfinder
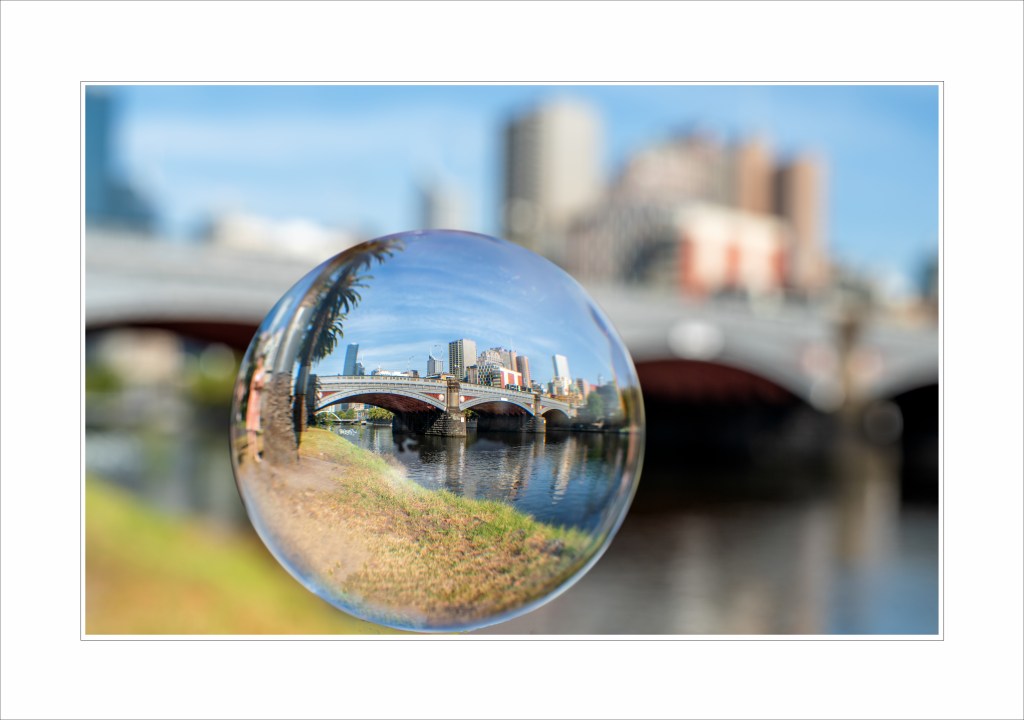
Above: The finished image
Choice of Subject Matter
Think carefully when choosing a subject for your glass ball photography. Look for interesting subjects that will have an impact. Bold and recognisable shapes work well, as do colourful scenes with leading lines that are accentuated by the fisheye effect that you are working with.
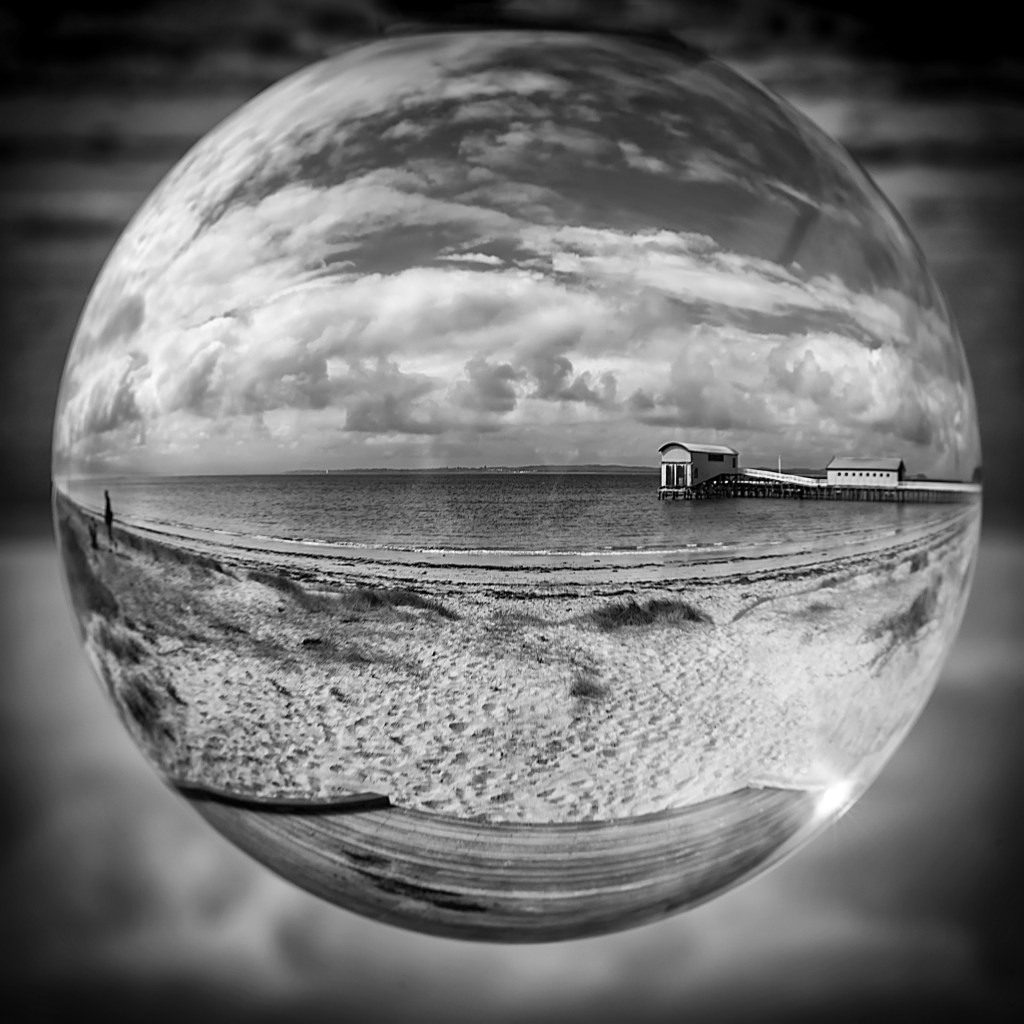
Some of my Favourite Images
I leave you with a selection of some of my favourite images taken over the past eleven years.
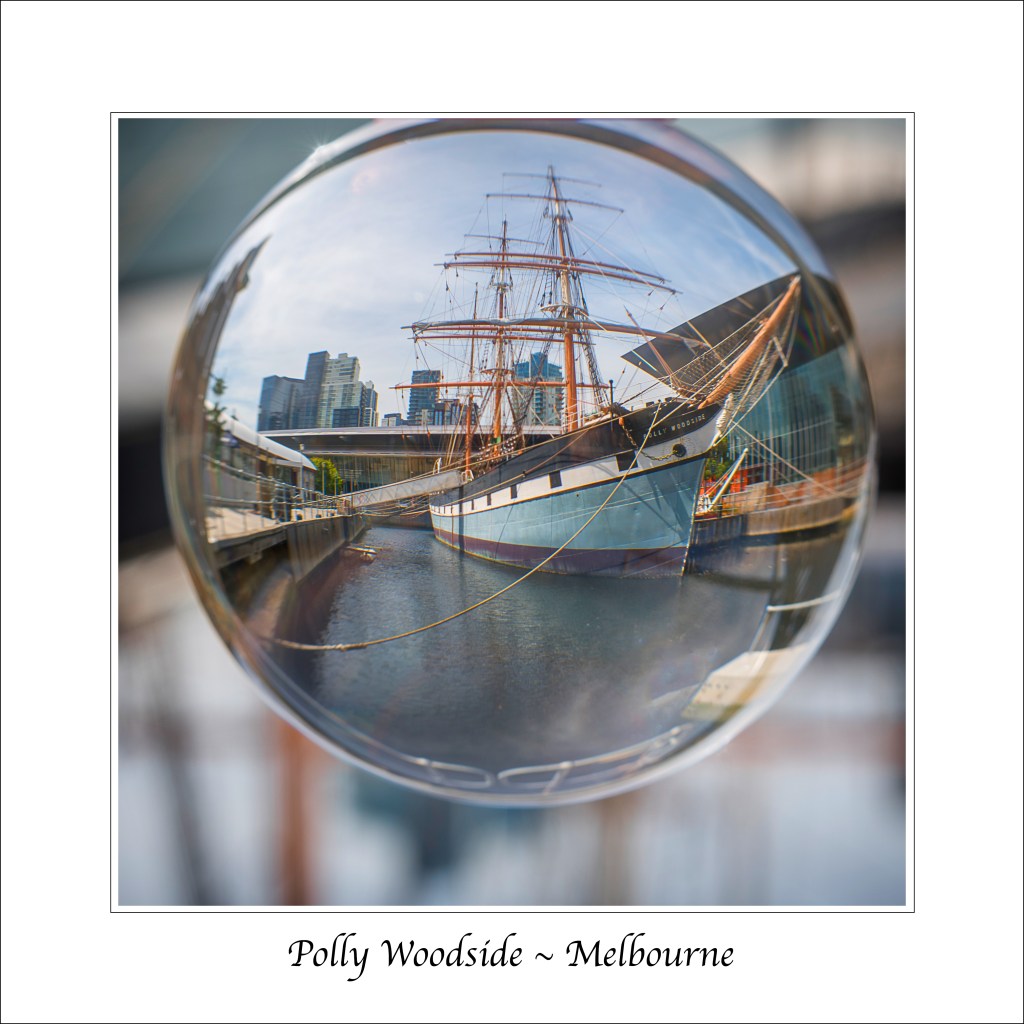
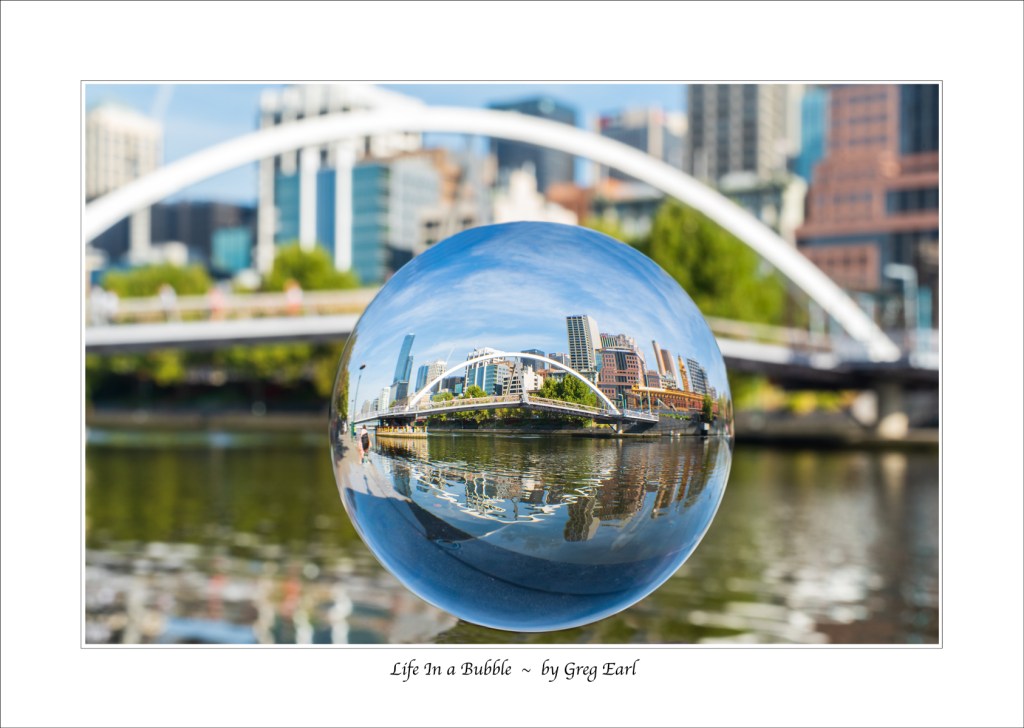
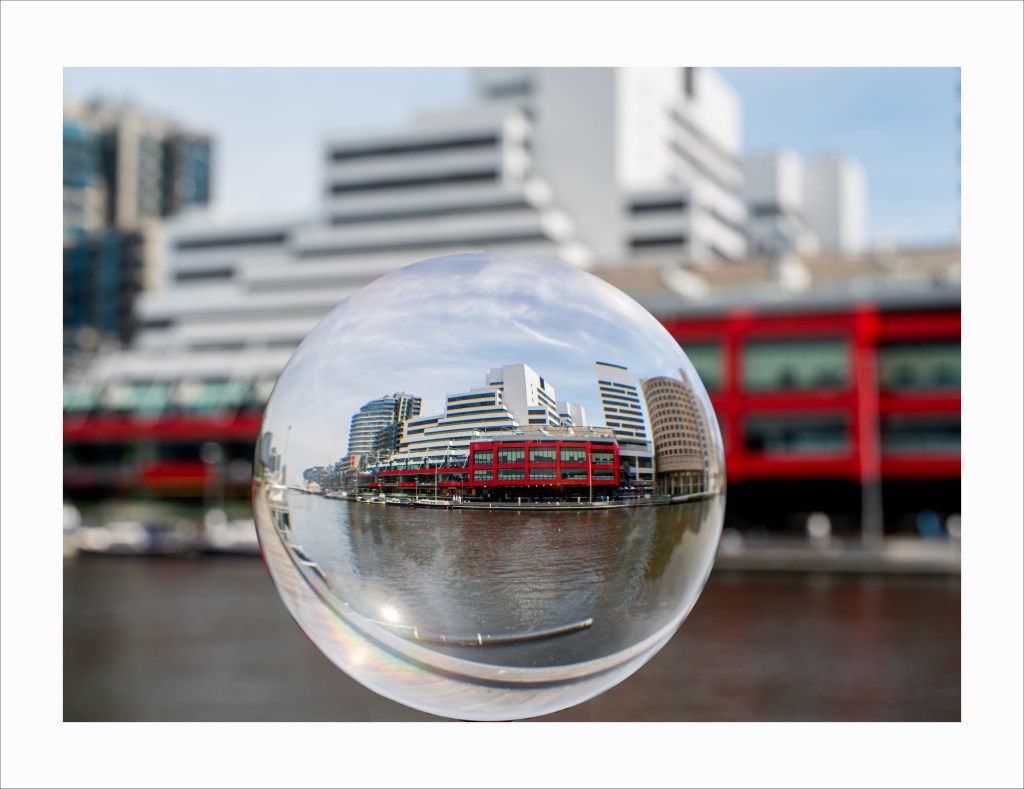
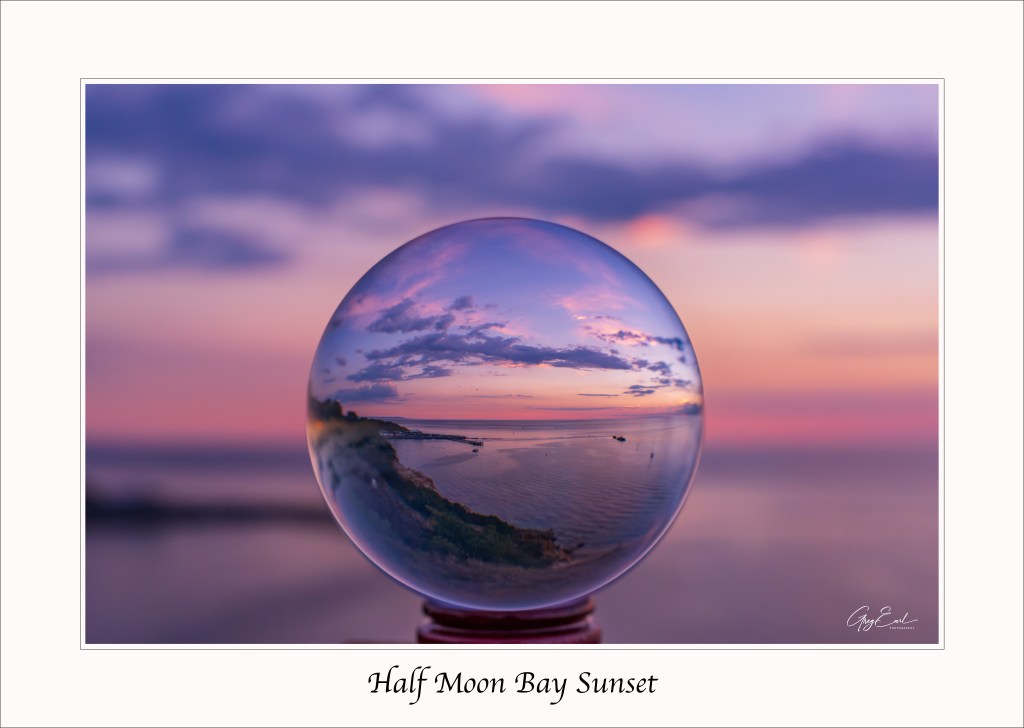
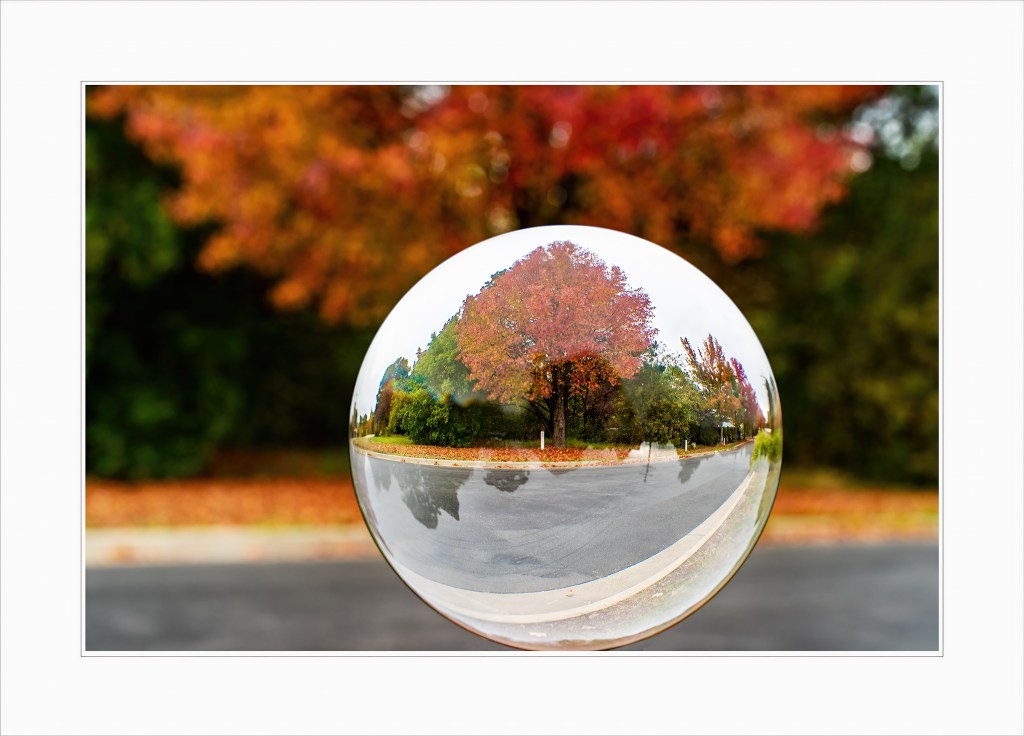
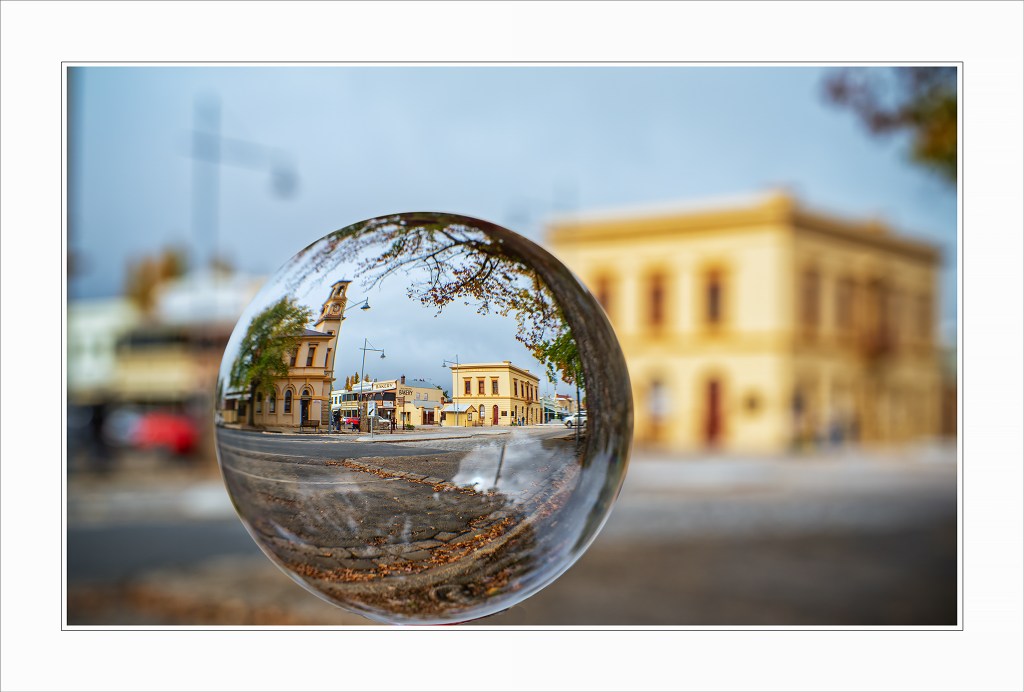
I hope you have found the subject of glass ball photography both fun and fascinating, and give it a try.
You will have a ball!


Thanks Greg, Your comments have inspired me to get out my ball again. I like the idea of inverting the whole scene. Cheers, Di
Sent from Gmail Mobile
Greg, your photos using the glass ball are stunning. Thank you for the step by step instructions on how use a glass ball for photography. Your photos with the bridges are my favorites and perfect for the bridge challenge. Thank you for participating in the challenge.
Greg, your post with the hook of lens-ball photography is a great twist on the challenge. I’ve done some lens-ball photography, but I learned a trick. Invert the ball and include the de-focused subject in the background. My usual technique is to crop heavily around the ball and reduce exposure in the background. I’ll have to dust off my lens-ball and try your technique.
This was I unique way to show bridges, they are wonderful. Great creativity
Excellent tutorial, Greg and wonderful photos.